
The Mite
Part: 17
Fitting Honda seats and a later-model collapsable steering column
 |
Now for some interior work! I've had a pair of Honda seats in the den for a while and now it's time to fit them into the Mite. First the stock Honda mounts must be cut off |
 |
Here's another look at the stock mounting tab that is held on by rivets that had to be drilled out and ground flush. |
 |
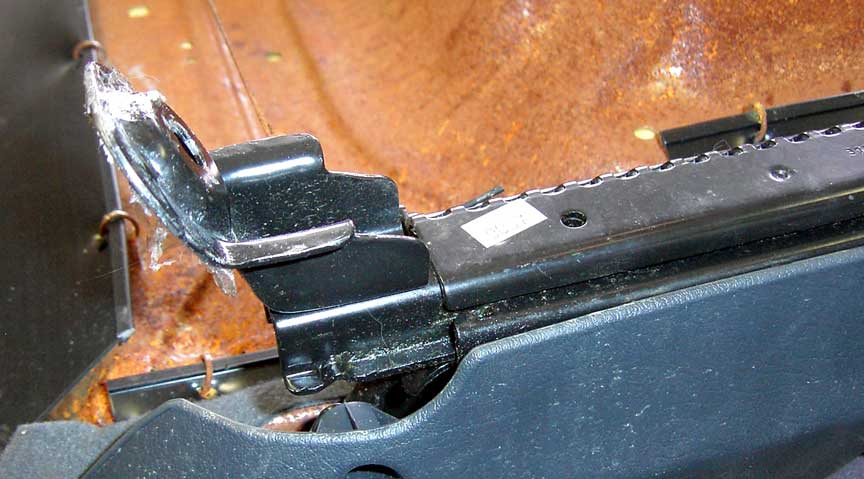
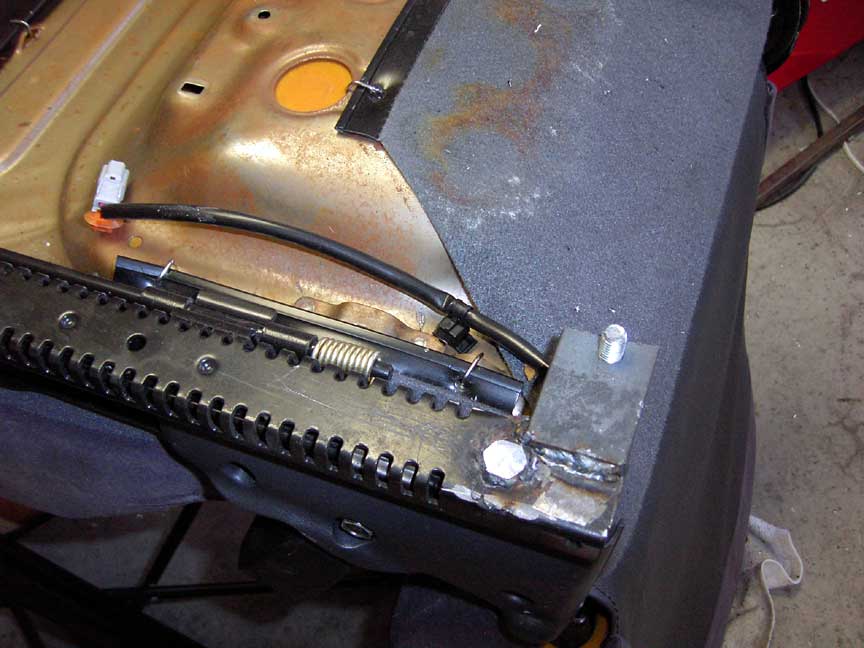
I did not want to have to try to get a wrench under the seat to bolt down the tracks, so welding bolts to the tracks is the method used. These will go through reinforced holes in the floorboard and hold the seats down. The bolt heads also provide clearance between the seat adjusting mechanism and the floorboards. This shows the adjusting mechanism and needed clearance. |
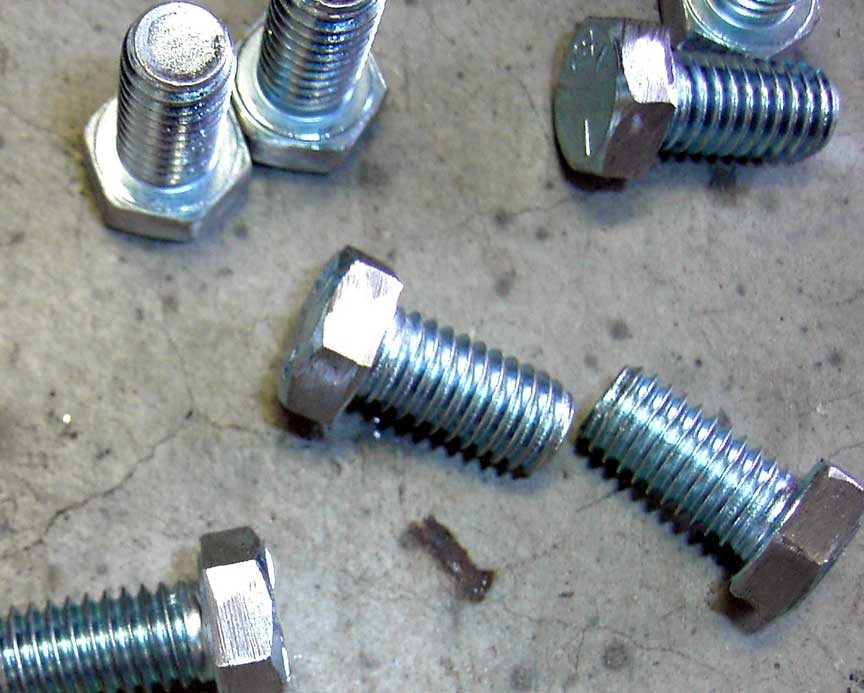 |
This is a handful of bolts that have had the zinc plating ground off so they can be securely welded to the seat tracks |
 |
Another view of the bolt before welding |
 |
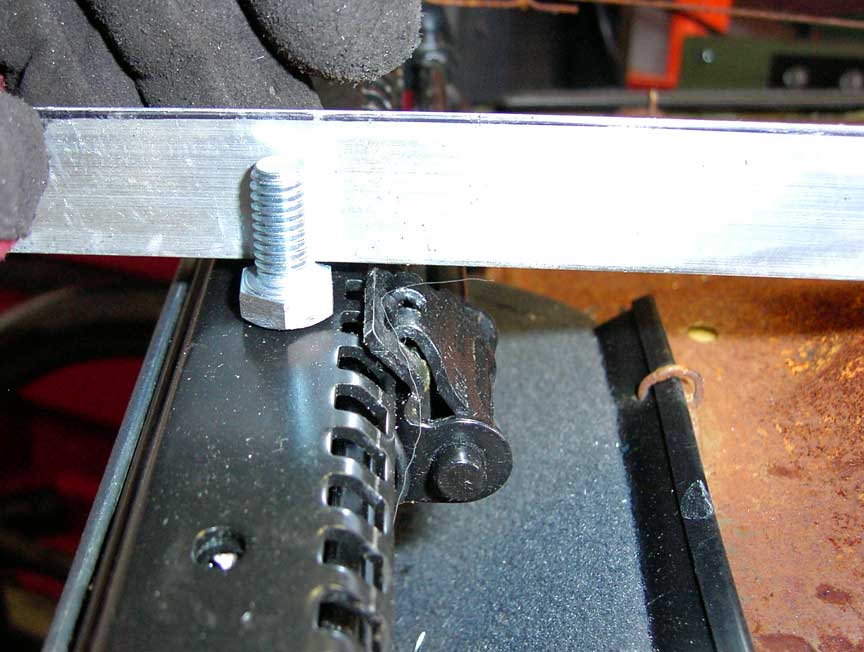
Here's one bolt welded onto the track |
 |
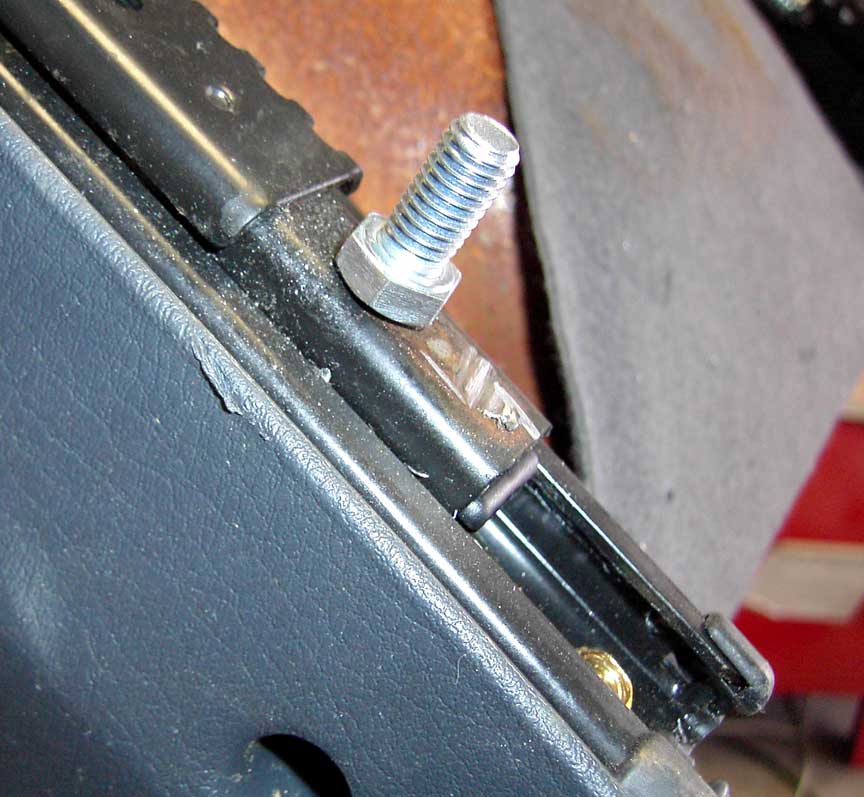
The other side required that the bolts be moved inward just over an inch, otherwise they'd protrude into the frame re-inforcment under the car and I'd be unable to bolt them down. |
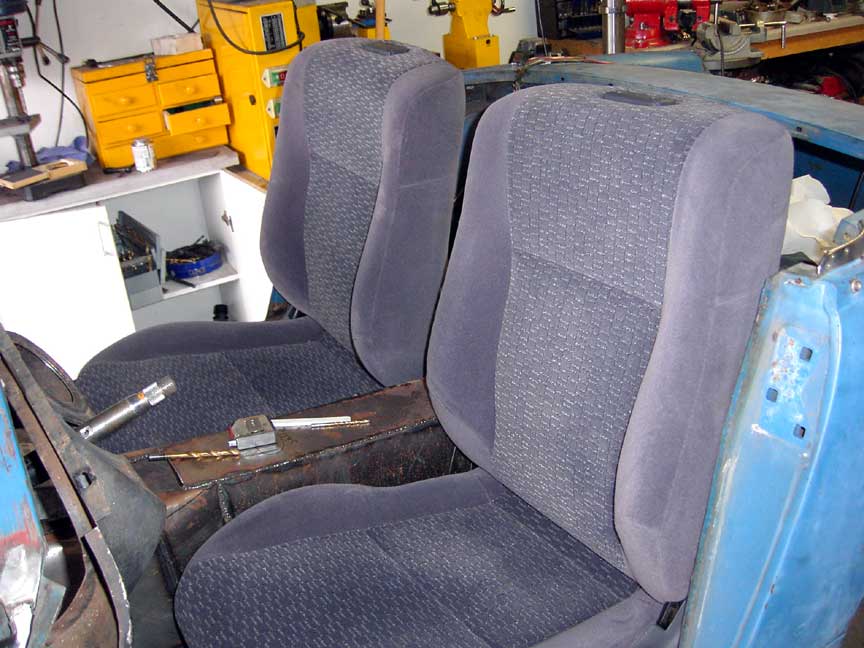 |
Here's the two seats in the car. They are a pretty tight fit, but both have a bit of fore/aft adjustment and recline, too. Much more comfy and way cheaper than re-covering the stock seats. |
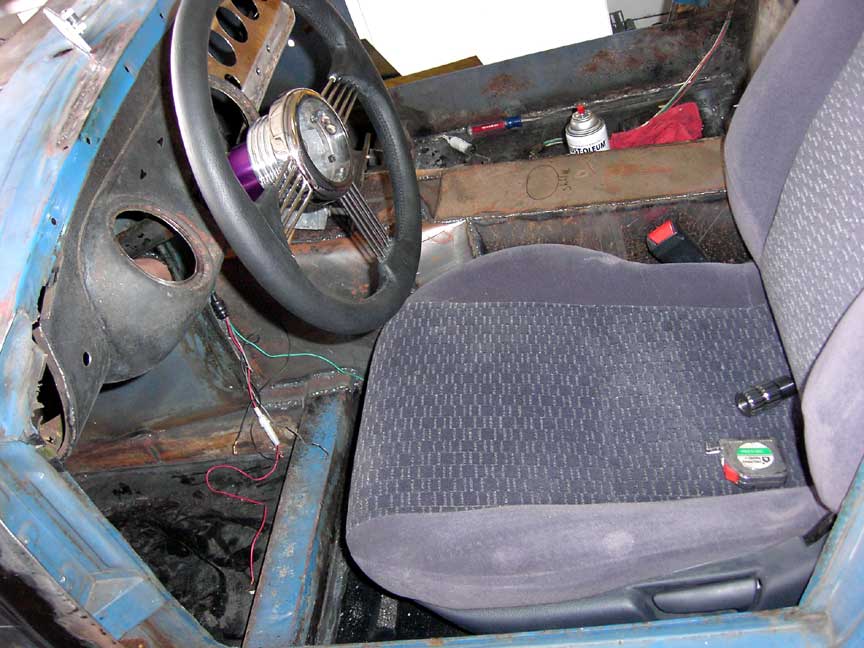 |
The driver's seat with the steering wheel and dash mocked up |
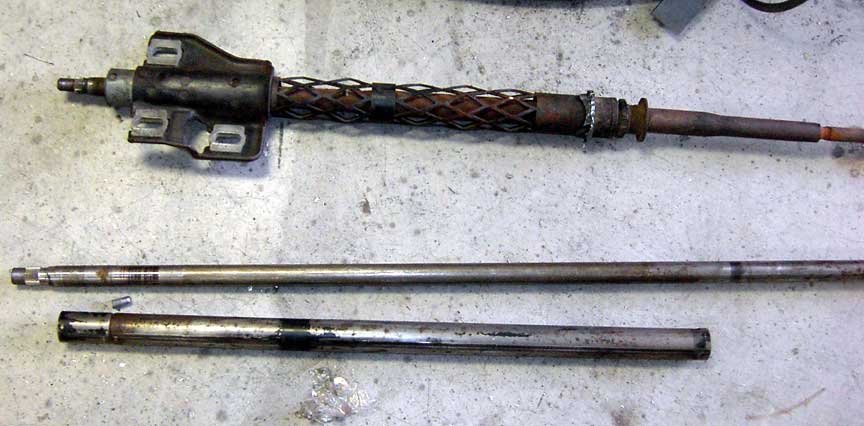 |
The largest project of the weekend is to replace the solid steering column (bottom) with a safer later-model collapsable column (top) The collapsable column will mash down onto itself in the event of an accident instead of impaling the driver. |
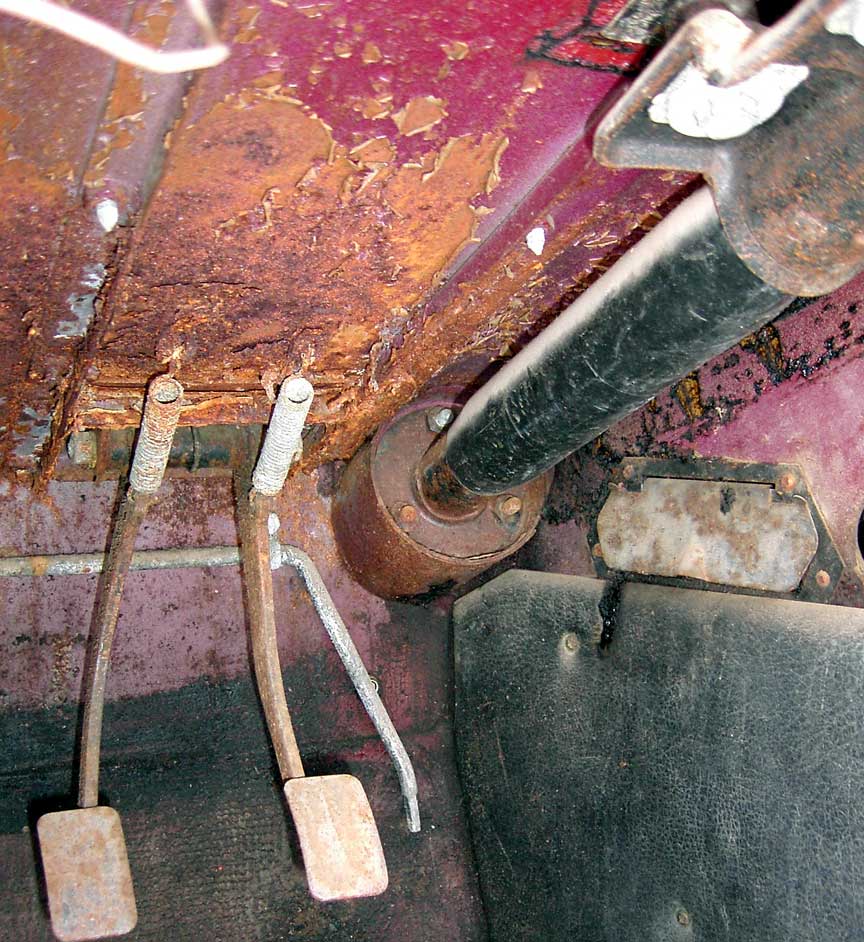 |
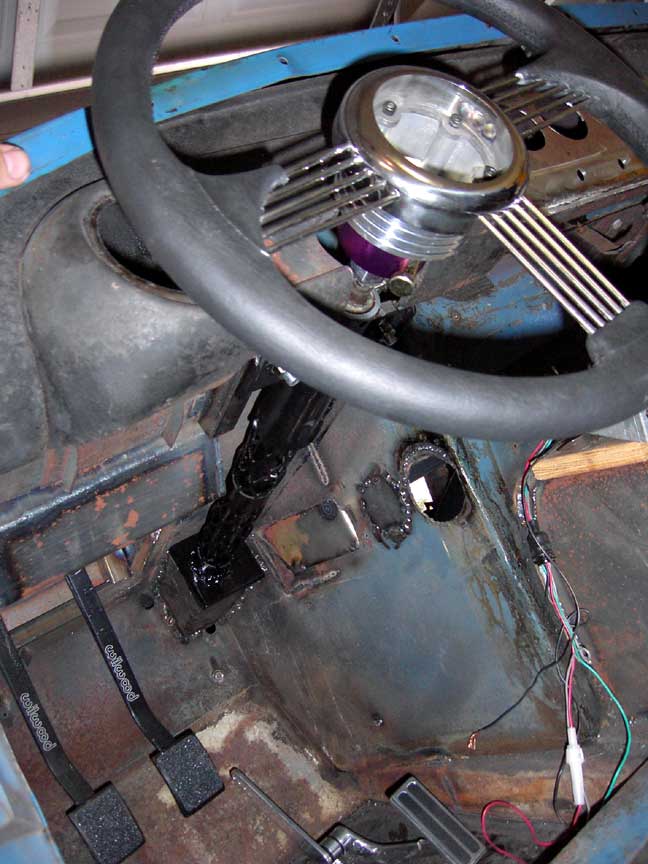
This is what the footwell of a Midget with a collapsable column looks like. I'll have to add a kick-out box to the footwell of the Mite |
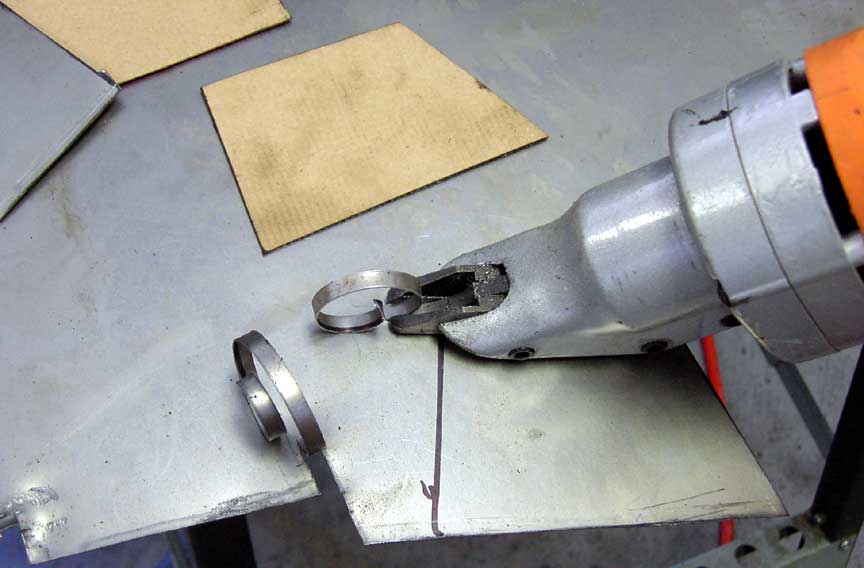 |
Some cardboard templates and this great electric sheet metal shear |
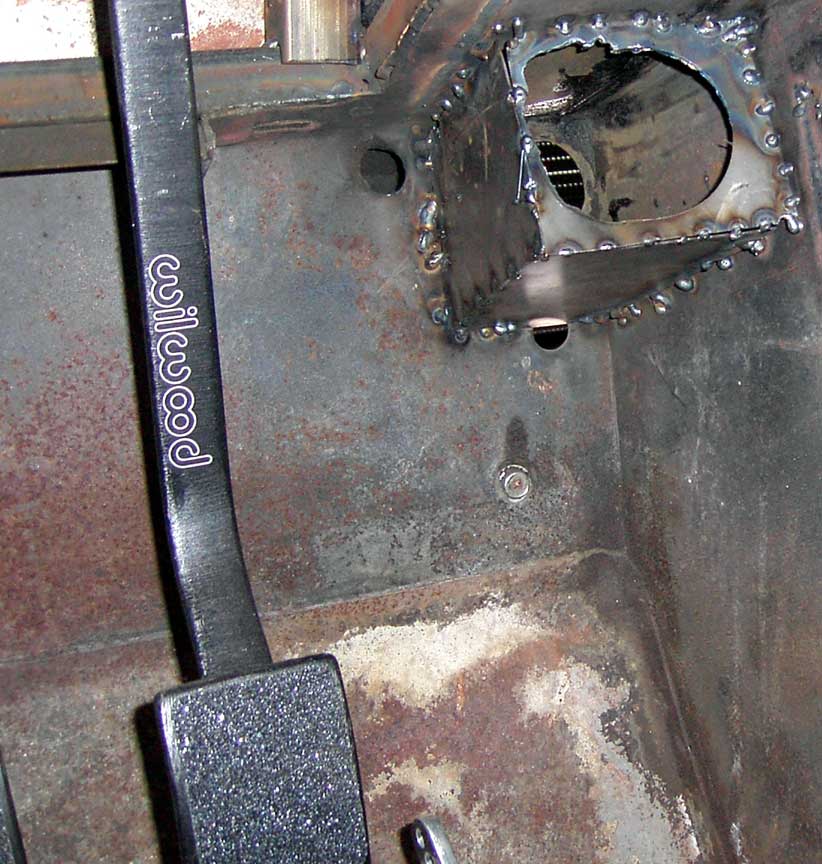 |
This is the box roughed in before final welding and grinding |
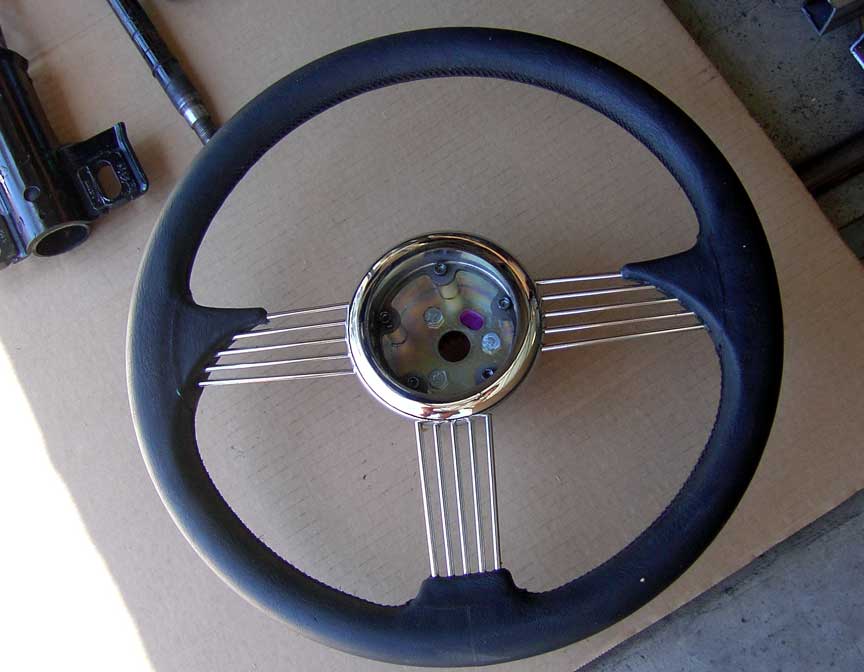 |
Here's the new banjo style wheel |
 |
I've elected to put a steering wheel quick release |
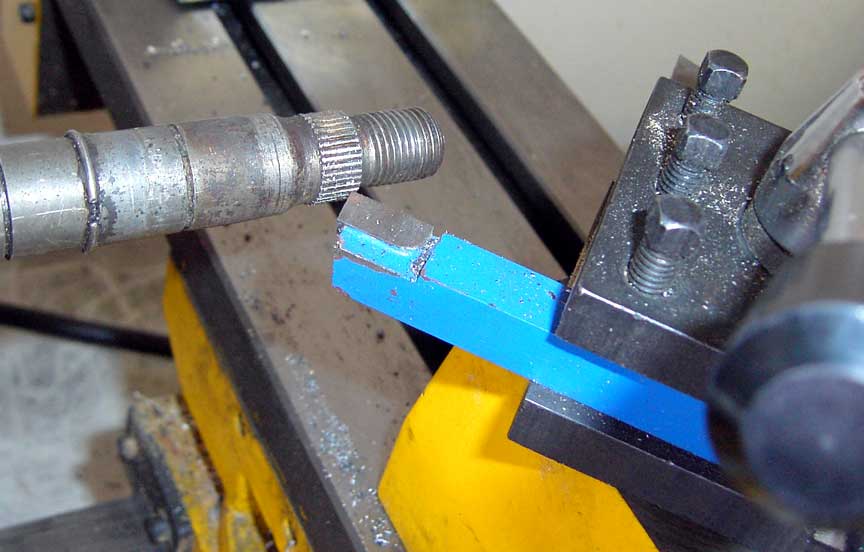 |
I turned down the end of the shaft on the lathe to allow a nice snug fit between the splined quick release end and the shaft to facilitate concentric welding so the wheel does not wobble |
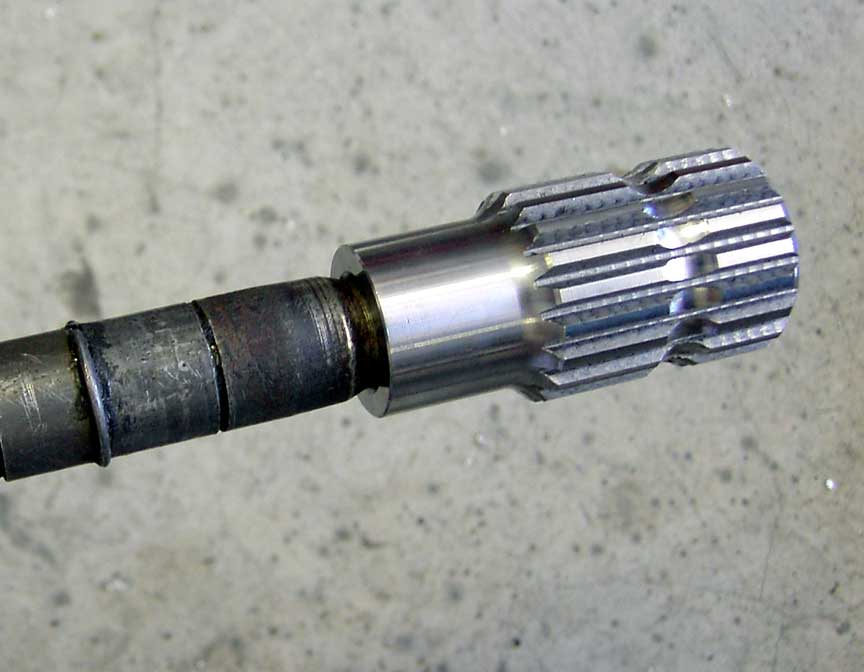 |
Here's the fit. The splined adapter must be welded on after the column is assembled, so for now it's just a slip fit. |
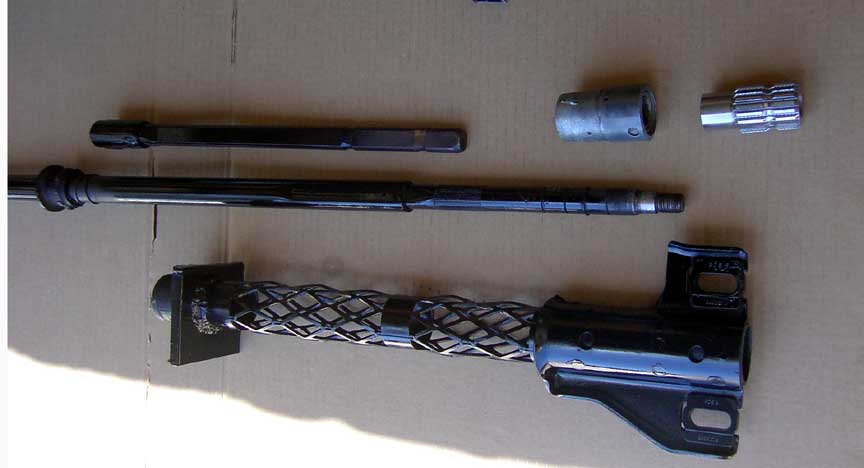 |
Here's all the pieces freshly degreased and painted. As soon as the paint is dry, I'll re-assemble the bottom bearing with its loose balls and lube the top one, assemble everything and weld on the quick release adapter. |
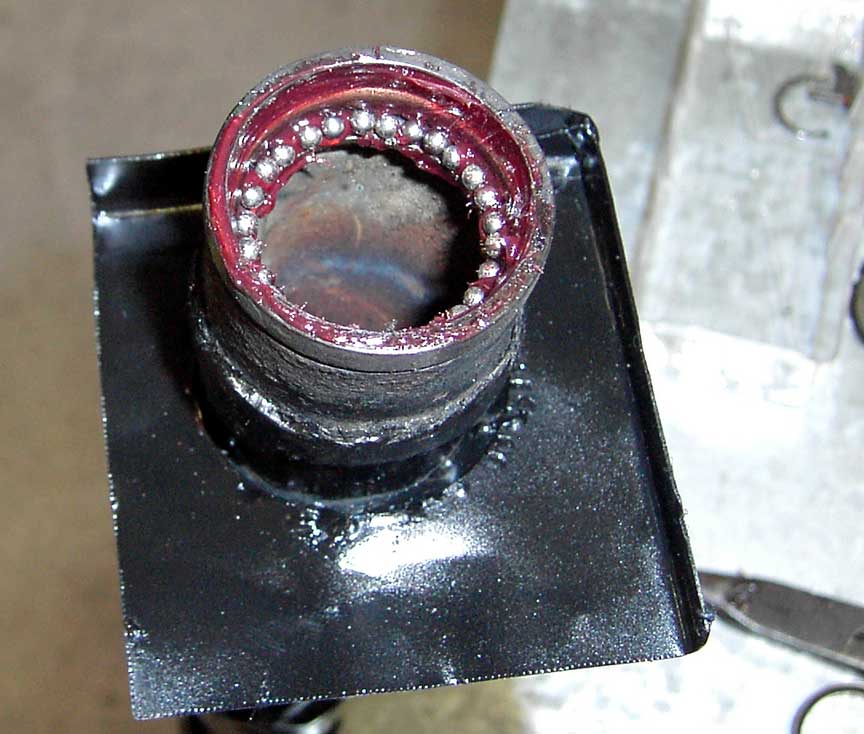 |
The paint is dry now and the lower bearings are just loose balls and had to be held in place with grease until I could slide the column with the inner race onto the shaft. |
 |
The shaft is reassembled and I am preparing to weld the splined quick-release adapter onto it. Since the bearings were already greased and assembled, I kept a wet rag on hand and after a bit of welding, cooled the shaft with the rag to keep the bearings and grease and paint from overheating |
 |
This is the column and wheel in the car. |