
The Mite
Part: 19
Fitting a Rollbar and Radiator
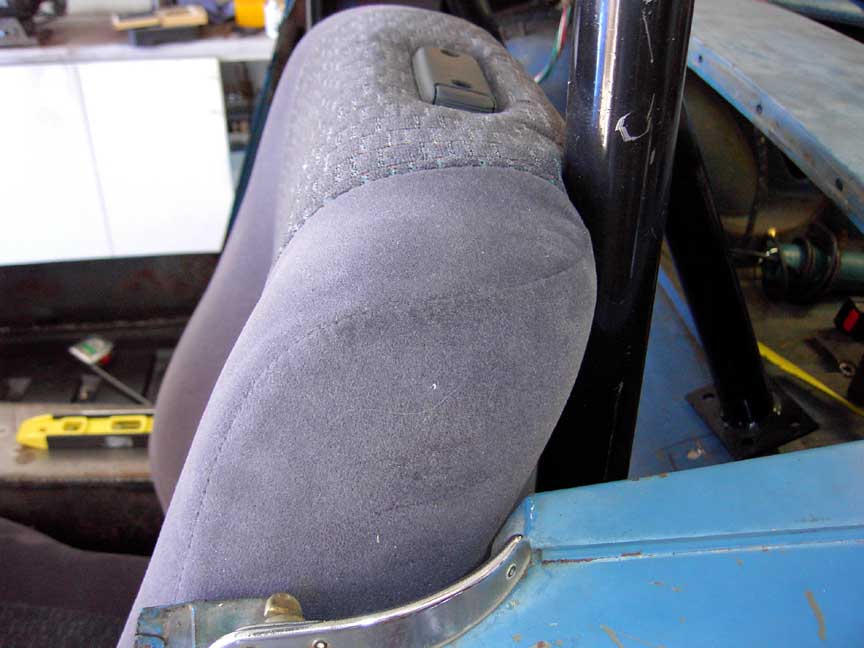 |
I got a rollbar for the sprite that was meant to work with the stock seats in the stock seat location. Since the Honda seats are bigger and I mounted them further back, the back of the seats hit the rollbar. If you look closely in this pic, you can see that the rear rollbar support is about 2 inches back from the holes drilled and the outline that marks the location for stock seats. |
 |
Here's the bar finished. I was afraid that it would be a difficult job to make the rollbar fit, but it only involved shortening the tubes by 2 inches and welding on new mounting plates. The next time I flip the car over, I'll weld on large reinforcing plates on the underside of the chassis to provide the necessary strength. |
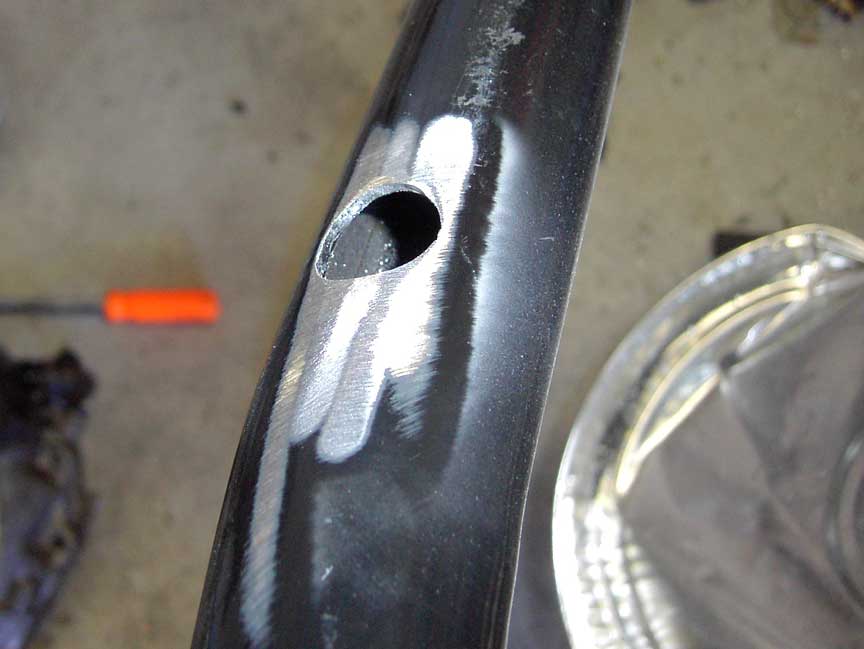 |
This Sprite did not come with 3 point retractable seatbelts, but I wanted the added safety of a modern seatbelt. Aftermarket seatbelts are made to be mounted to the sheetmetal of the rear wheel well. I am going to mount the seatbelts to the rollbar. This hole was drilled through the bar and a 3/4 inch, .120 wall tube was welded through to provide a mounting point. I brought a bunch of stuff down to get powdercoated, including the rollbar, before I took a picture. I'll get an image of the finished rollbar when the stuff comes back. |
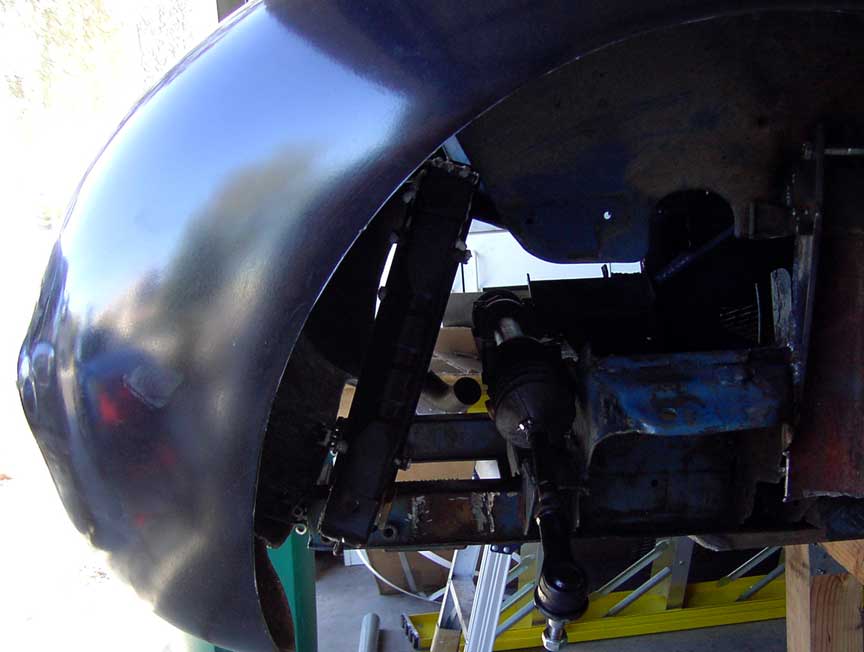 |
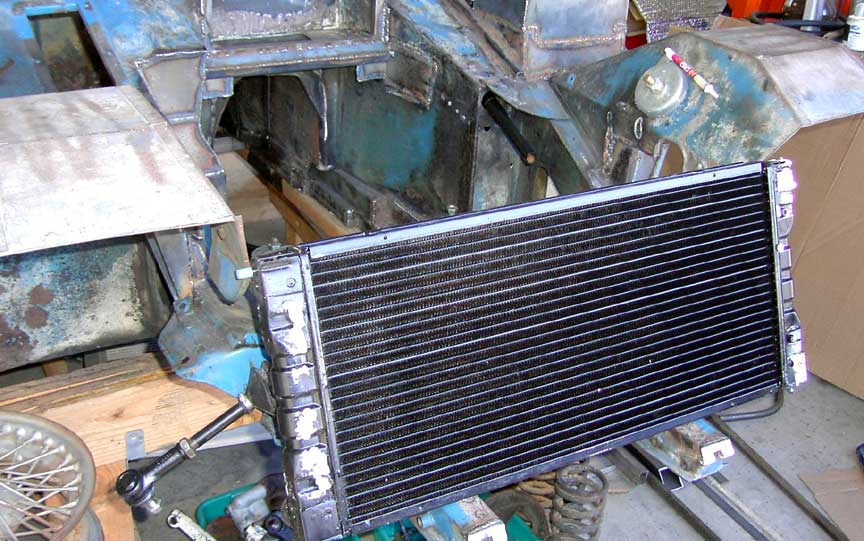
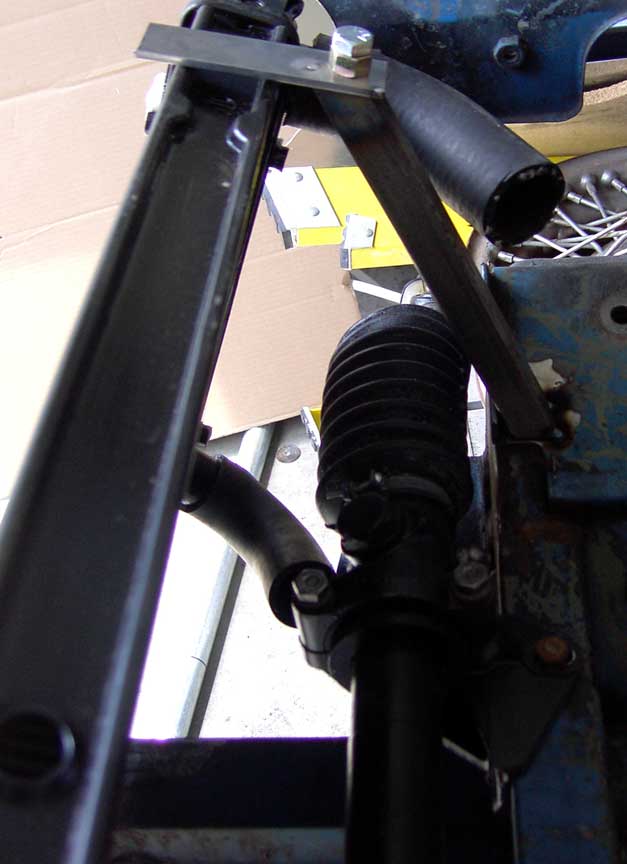
Next order of business is to mount the radiator. I put the bonnet on the car and measured the available room. Then, I went to the local "u-pull-it" junkyard with a measuring tape and found that a VW Jetta radiator was just the size I need. Here's a view of the radiator from the side |
 |
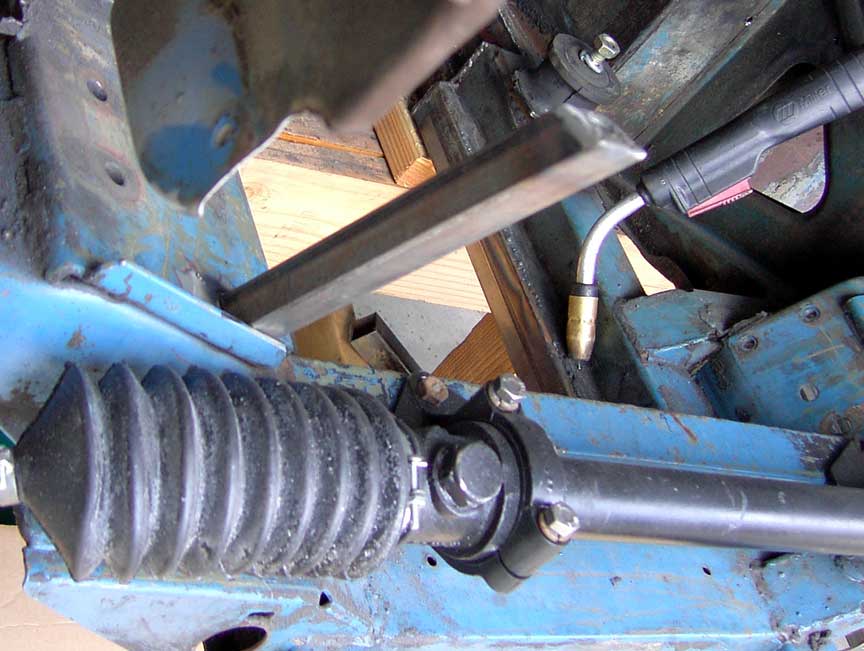
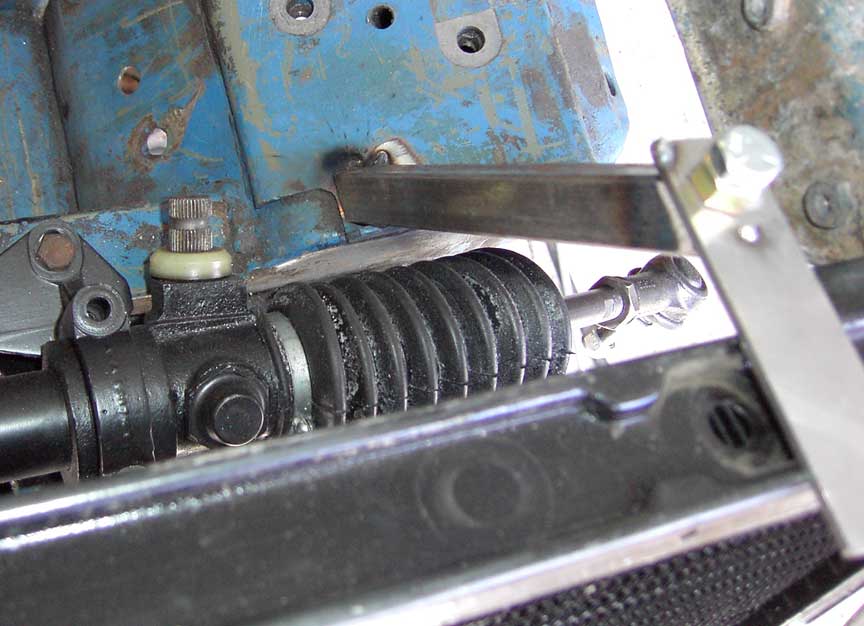
The radiators at the junkyard were of dubious quality and condition, so ..I hit Ebay.. I found a place that had brand new radiators for Jettas that came to just over $40 with shipping. A bargain! Though it does not look like it, there's about 4 inches between the rack and pinion and the radiator. |
 |
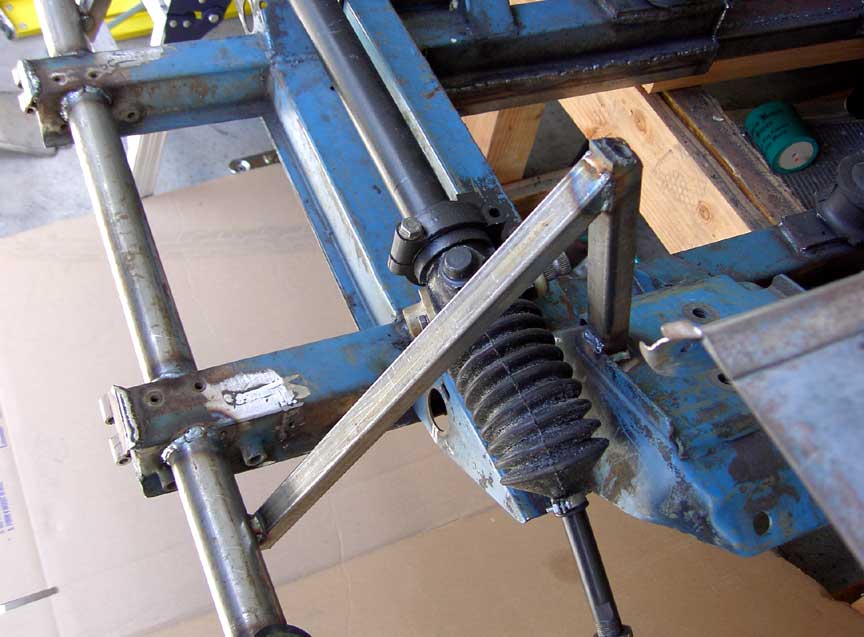
Another area of potential interference was the headlights. This radiator will clear the headlights with no problem. |
 |
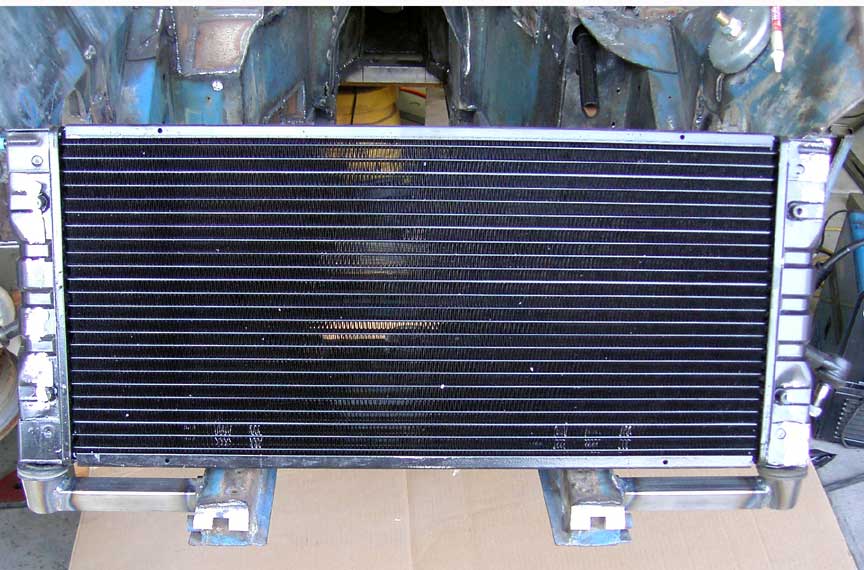
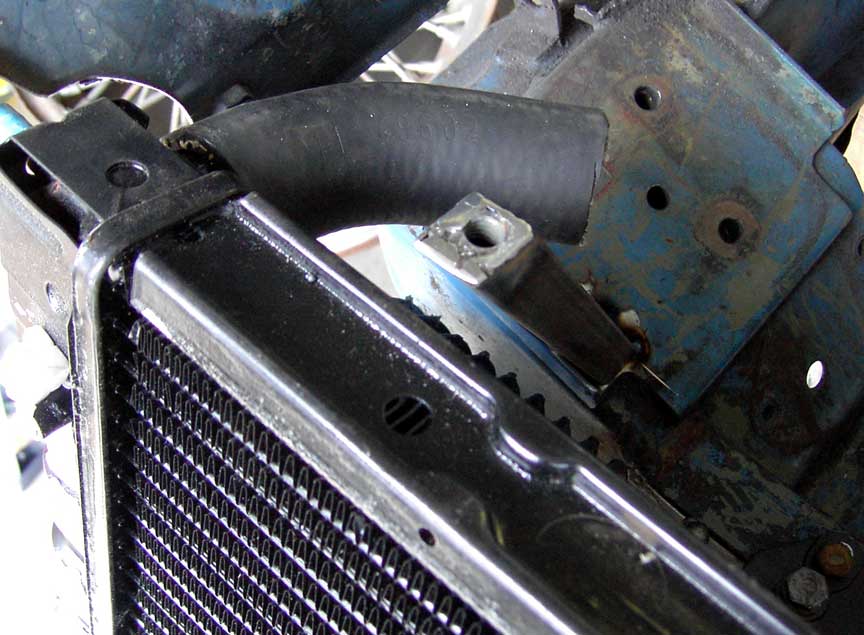
This is the radiator in its spot with no hood |
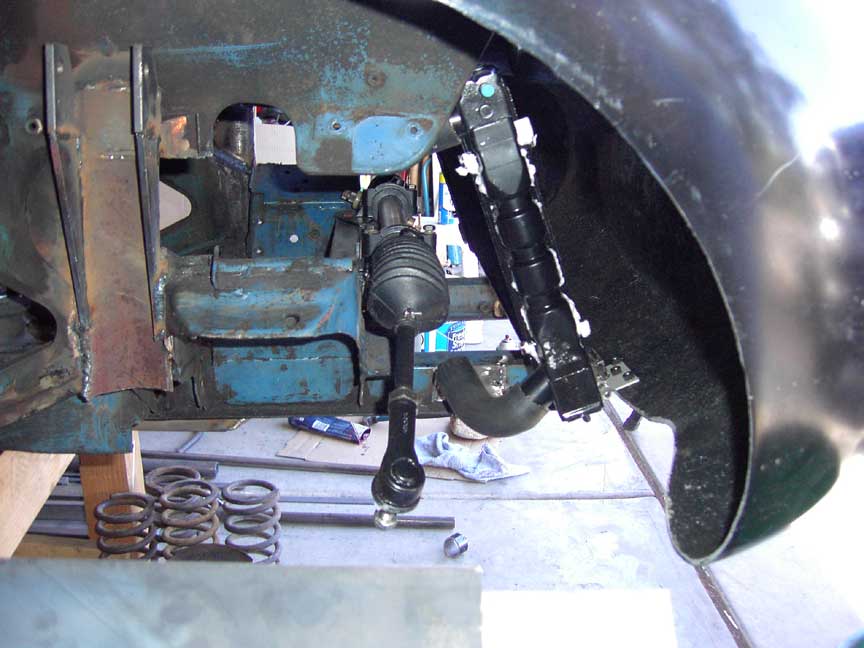 |
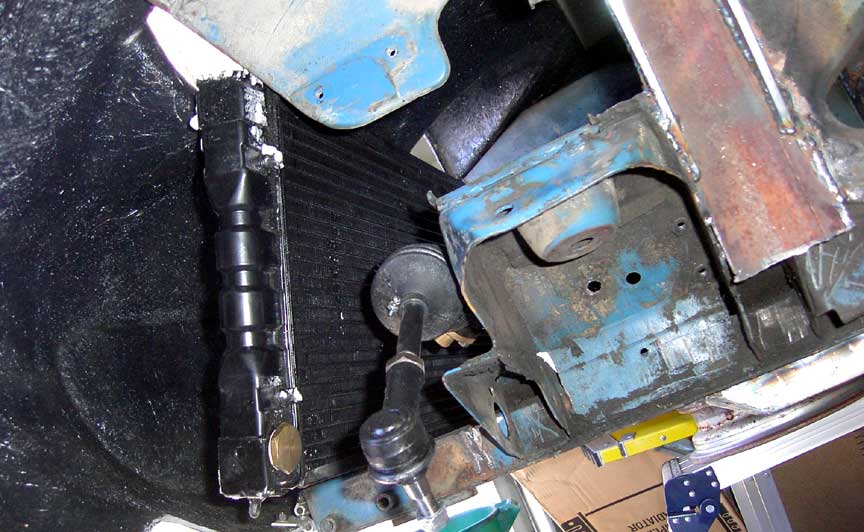
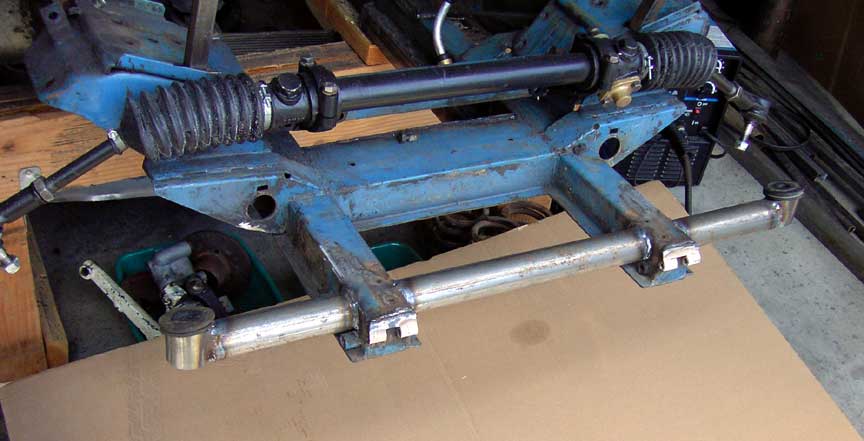
This view clearly shows the distance between the radiator and the rack and pinion. There's plenty of room for the hoses, too. I'll have to make some ductwork to direct air from the grille to the radiator in the future. |
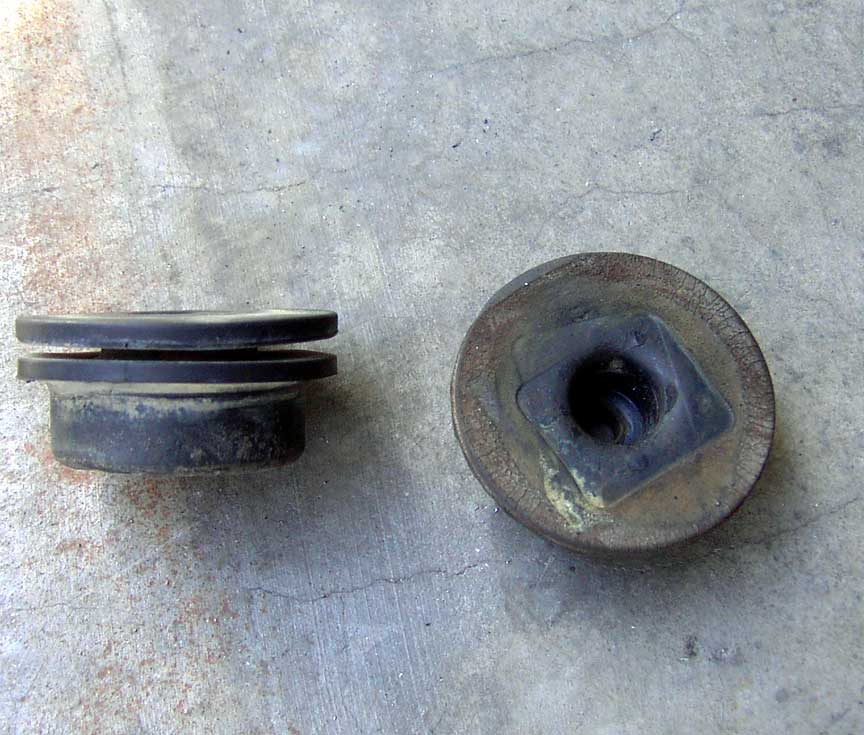 |
Now, to mount the radiator, I need some soft mounts. Back to the U-pull-it and I found these two. Perfect. |
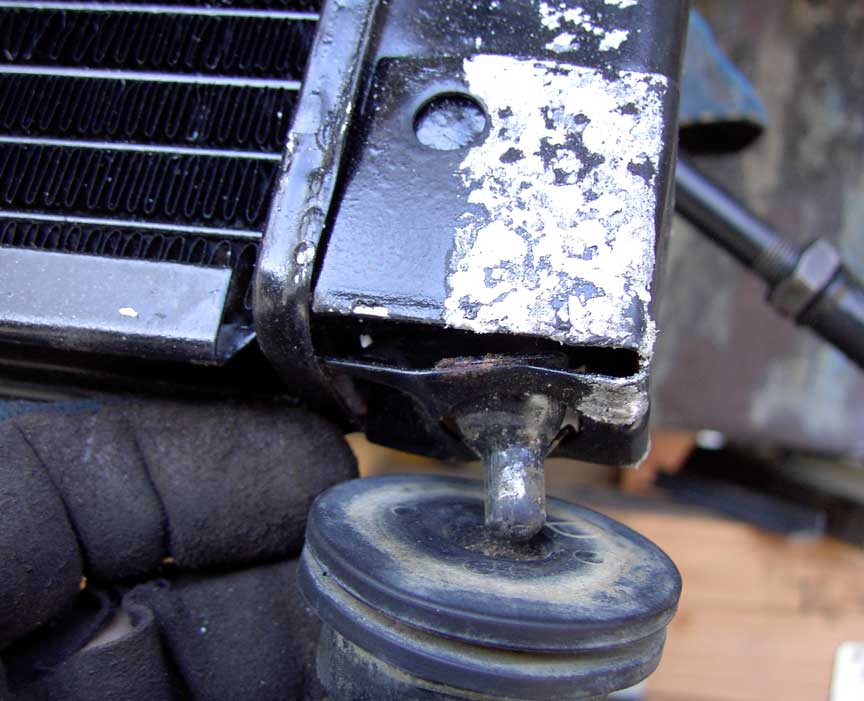 |
This is how the bushings fit on the radiator. That crappy stuff on the radiator is styrofoam from the packing. It will wipe off before I finish the car. |
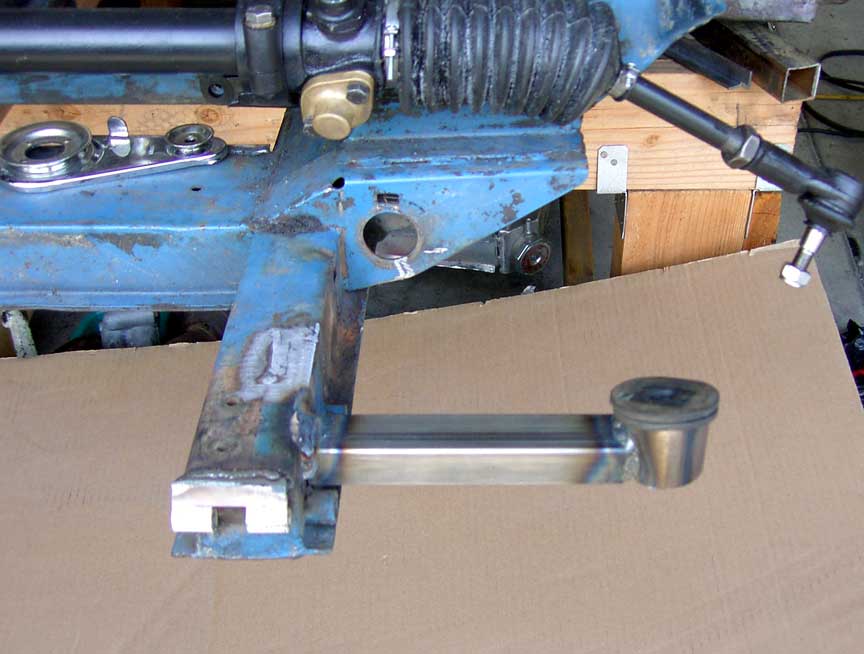 |
So, cut some tubes at an angle, weld up some square tubing to the frame and....lower radiator mounts! |
 |
This is how the radiator will mount. |
 |
Scratch the Above. I cut off the mounts I had put on and drilled 1 1/2" holes through the front of the frame and put a 0.090" wall tube through both frame rails and welded them in place |
 |
This is what it looks like from the front. This is a much stronger mount and will add some rigidity and strength to the front of the car |
 |
So, now to begin the upper mounts. I cut a couple of pieces of square tubing and welded in some nuts as a beginning. |
 |
The upper mounts are welded to the car and are far enough apart to allow for a fan between them. |
 |
Then, I mocked up the upper brackets |
 |
Another view of the brackets that will hold the radiator in place |
 |
I added a couple of diagonals to help make everything secure and strong |
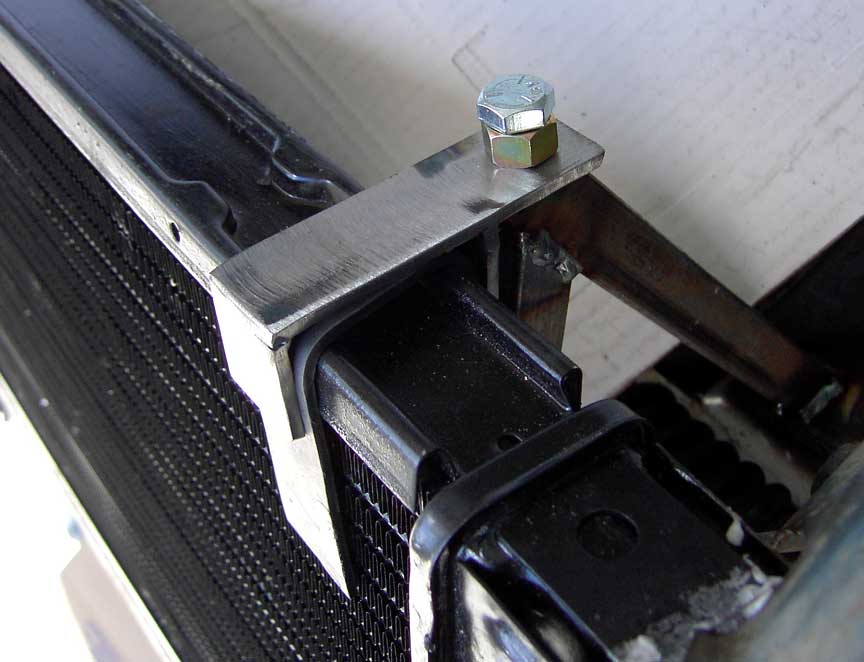 |
This is how the top brackets turned out..There's a strip of rubber between the bracket and the radiator, and when the bolt is tightened, the bracket squeezes the radiator downward about 1/8" to keep in securely in the bottom mounts |
 |
Here's a side view of the radiator in place |
 |
And the front view of the radiator securely mounted into the car. Done. |
 |
Last week after finishing the steering column, I made a spot for a radio under the dash. Here it is. |