
The Mite
Part: 20
Electrical Box, Frenched Antenna, Battery Box, etc....
 |
Since the entire
car has been stripped of electricals and I'm using a Japanese engine and
aftermarket computer, I got an EZ Wiring harness (similar to a painless harness |
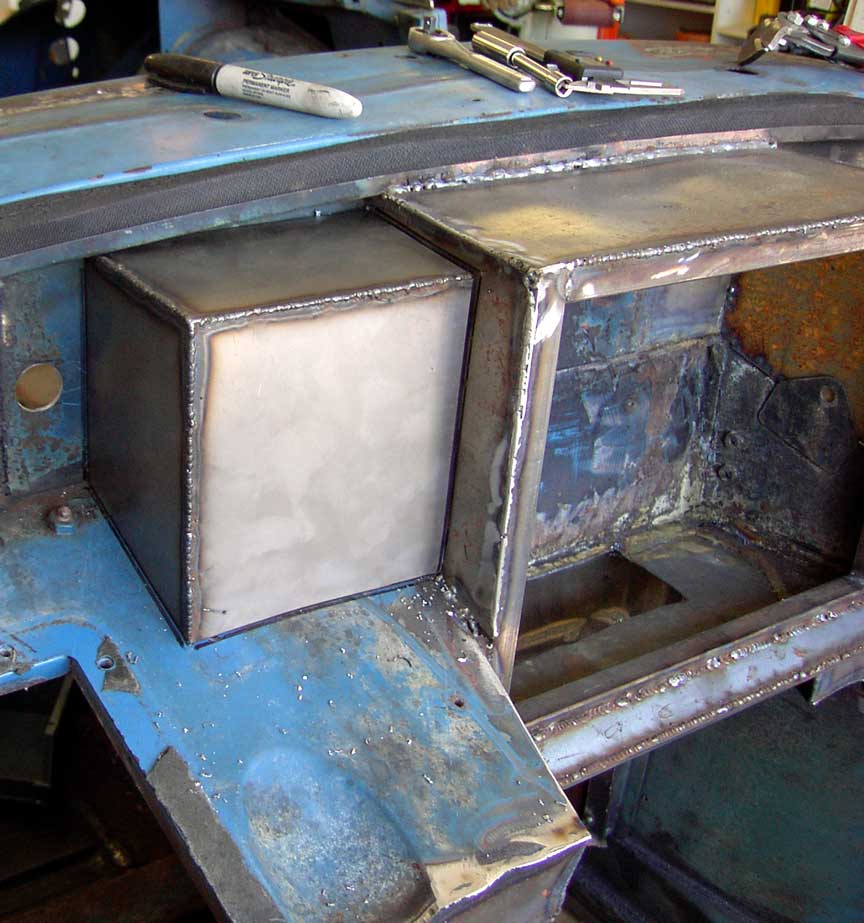 |
It needs a little cover to keep fumes out of the driver's compartment, so I welded one up out of sheet metal. It will be secured with bolts and sealed with rubber gasket stuff. The wires will pass through the firewall into the passenger compartment and then out grommets in the firewall to necessary places. |
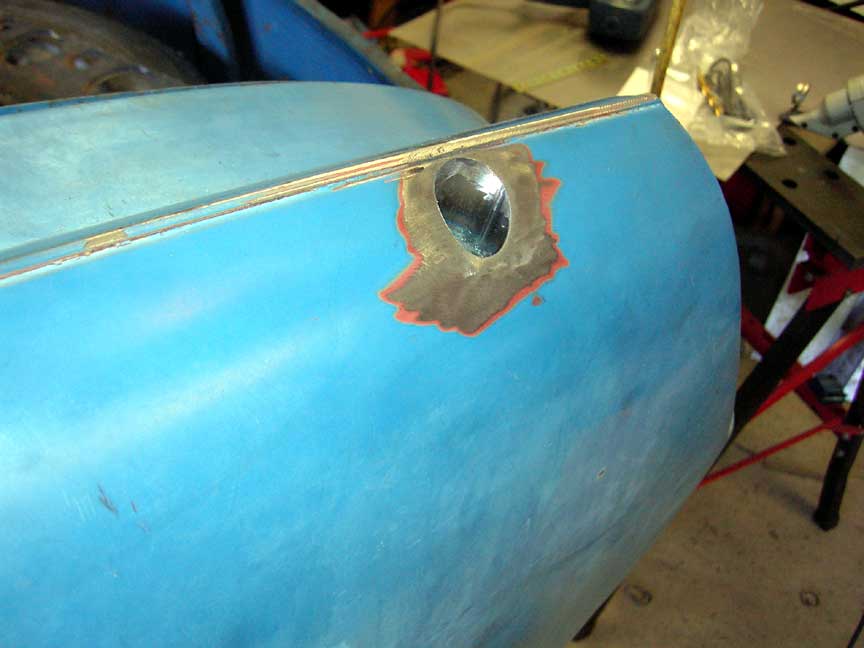 |
And..what's a custom car without a frenched antenna?
|
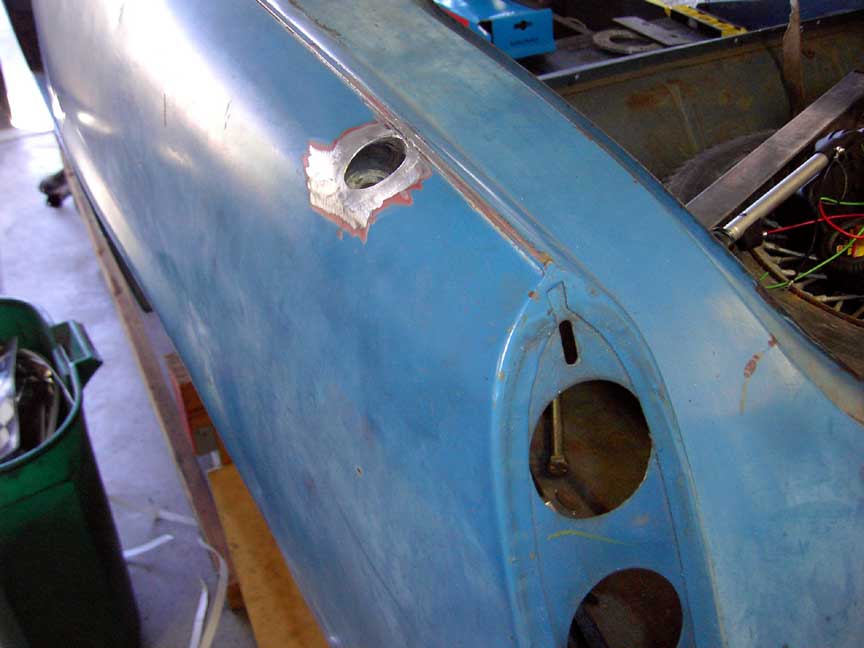 |
It should work ok. |
 |
Next is a battery tray in
the trunk. There is no room under the hood for the battery, so it needs
to be relocated and secured in the trunk. I put the spare tire in place
and made sure there was room for the optima battery |
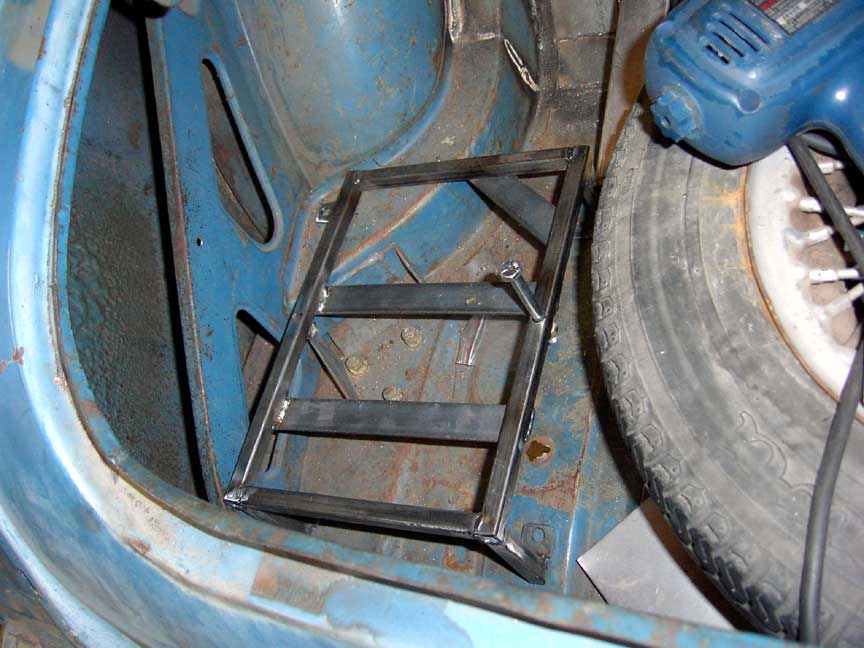 |
The fab was pretty simple, just a rectangle of square tubing with some legs and cross-braces. It's all nice and level and there's nuts welded into the side for the hold-down. |
 |
Then, looking behind the seats, I noticed that the package area is not level, which would allow my 12 packs of beer (unopened) to slide around on the way home from the store. Also, since there's no glovebox, I figured out a way to kill both birds with one welder. |
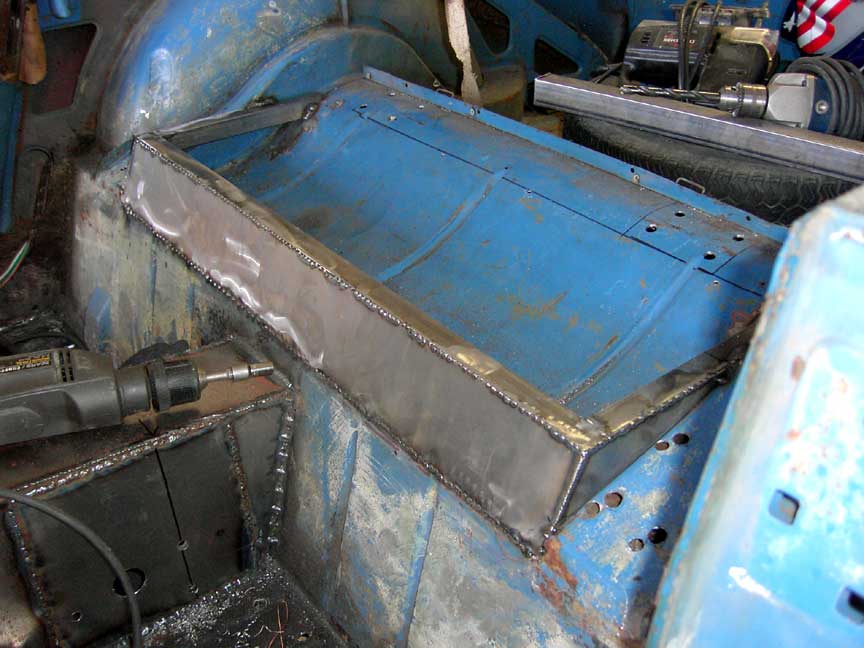 |
I made a locking compartment behind the back seats that has a flat top on it. This will allow storage of small items like registration and insurance in a locked box and provide a level package shelf so items don't slide around. |
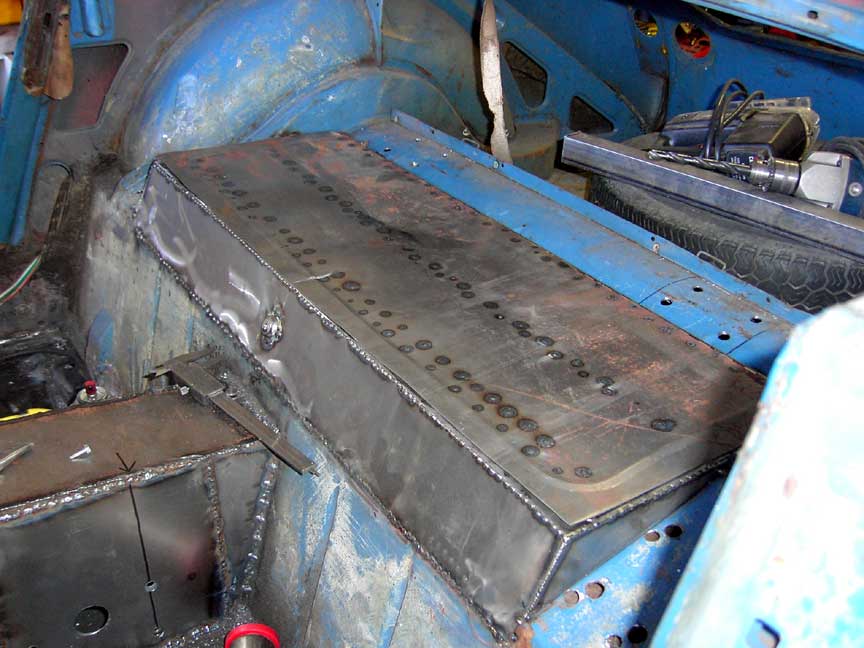 |
Here's the package tray finished. The lock works but has been taken out before this pic was snapped |
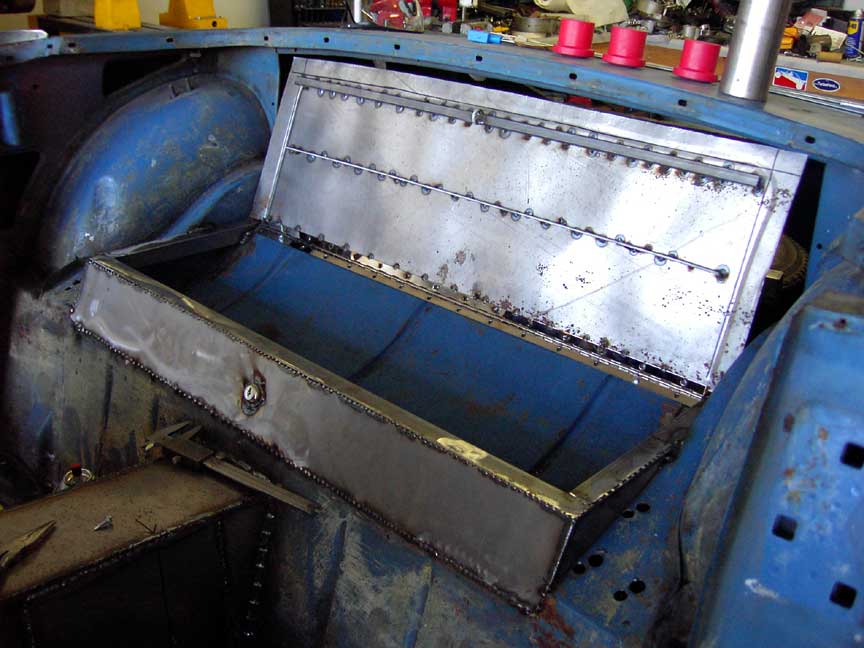 |
This is the lid open. I used
a 30" continuous hinge |
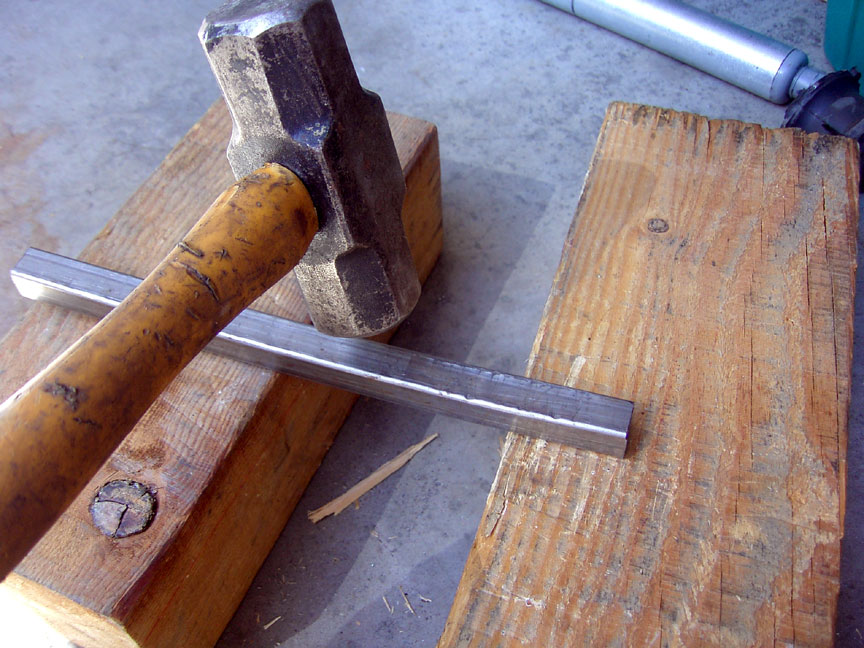 |
Then, onto the fiberglass bonnet. I did not want to use dzus fasteners on the outside of the hood, so I had to figure out a way to securely latch the hood closed some other way. First thing is to add some needed rigidity to the fiberglass hood in front of the A-pillars using 3/4" square tubing. Since the hood curves and I don't have a ring-roller, I bent the square tubing the old fashioned way...with a big hammer. |
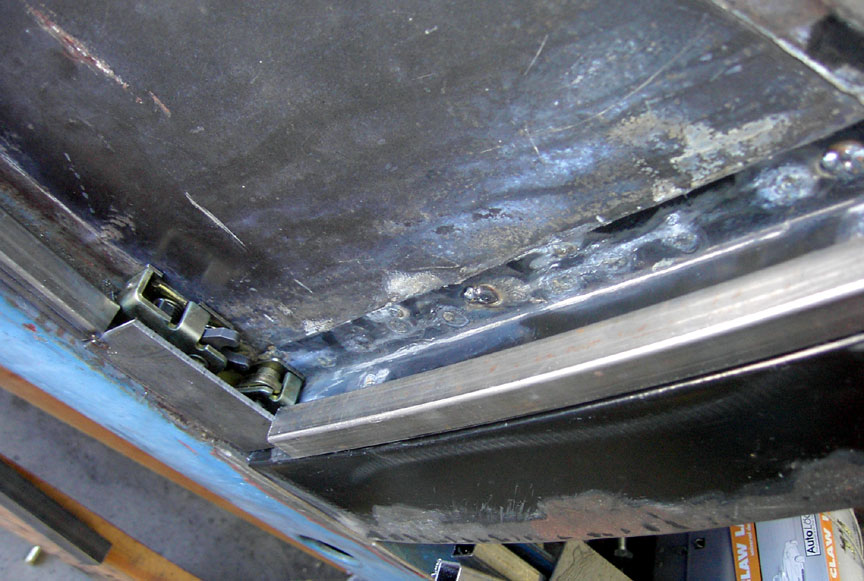 |
I decided to use the hot-rod standard "bear claw" door latches to hold the hood down. You can see one of them bolted to the corner of the car at the bottom of the A-pillar. Note the nice fit of the square tubing...it follows the car radius exaclty! I welded the square tubings to a metal plate with studs sticking out so I could bolt the catch onto the hood and allow for some adjustment. |
 |
Here's the re-inforcements temporarily screwed to the fiberglass bonnet. After some more precise fitting of the hood to the body, I'll fiberglass these into place and make them a permanent part of the hood. The Hood/Bonnet is from Speedwell Engineering. It is of great quality and fits VERY well. I've heard and read a bunch of horror stories about how the aftermarket fiberglass bonnets from other vendors don't fit well., so if you want a quality item, get a Speedwell Bonnet! |