
The Mite
Assembling and installing the Rear Axle
 |
Its been slow progress for the last few weeks. The holidays were busy at work and we had family visit for a while, as well as SNOW a couple of times. We're pretty wimpy out here in the southwest when it comes to cool temperatures, but when the snow started, everyone in the neighborhood ran outside to take pictures. It was a funny scene with a bunch of middle-aged people in their bare feet and shorts standing in the street taking pictures of the snow... |
 |
Anyway, when I got the rear axle back from the powdercoater, I washed it with soap and water to remove any traces of sand from the sandblasting. That's what the white spots are...hard water deposits on the shiny black powdercoat. This is also where the axle seals must go. |
 |
I went to Mazda and got rear axle seals for the 1985 RX-7 rear end and popped them in using this piece of metal and a hammer. |
 |
Here's the seal installed in the housing |
 |
There's no gasket listed at Mazda for the housing-to-differential interface, so I used a bead of RTV. The pumpkin (limited slip differential) was then installed and the bolts torqued. |
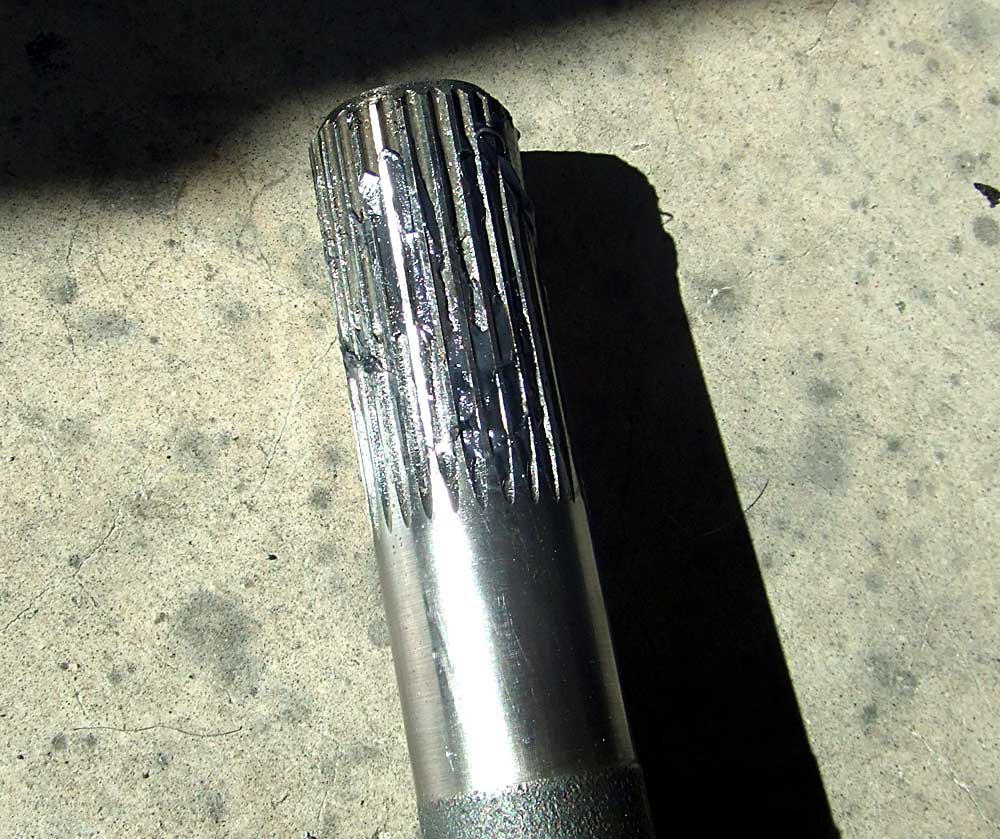 |
I lubed the splines on the axles.. |
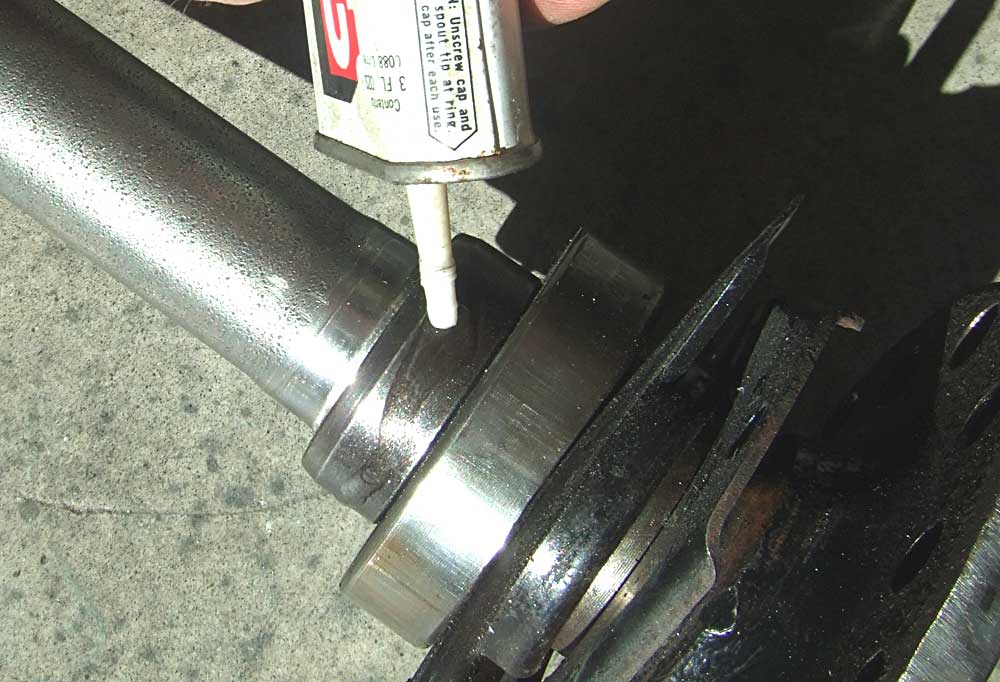 |
And the bearing retaining collar where it rubs on the axle seals |
 |
and installed the axles |
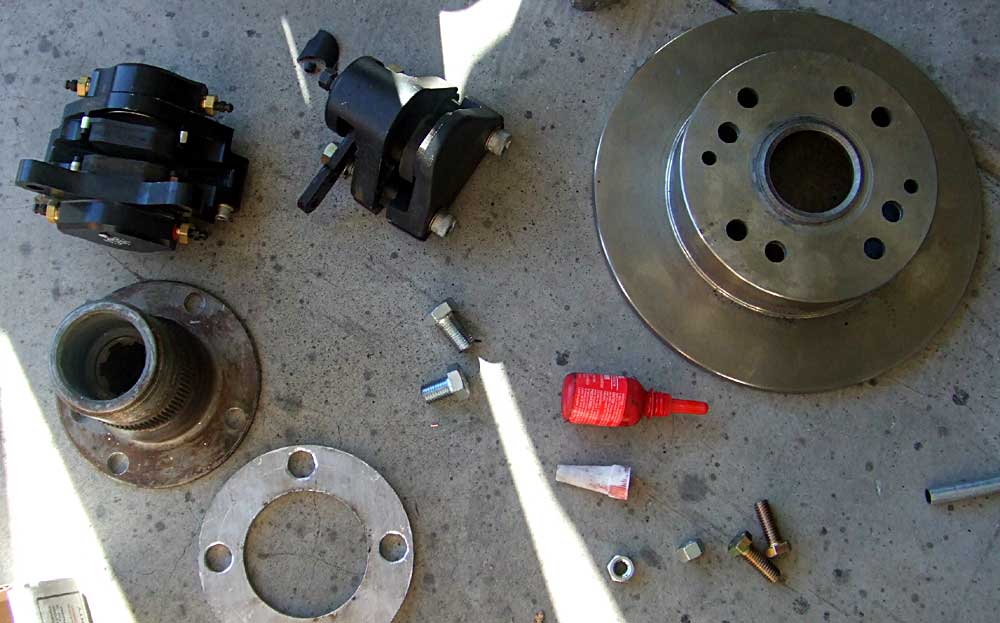 |
These are the rest of the parts for one side...a spacer to provide clearance between the wheel and brake calipers, the rear splined hub, the brake caliper, the emergency or parking brake caliper and the brake disc. |
 |
The tower with the threads sticking out is for the bump-stop. |
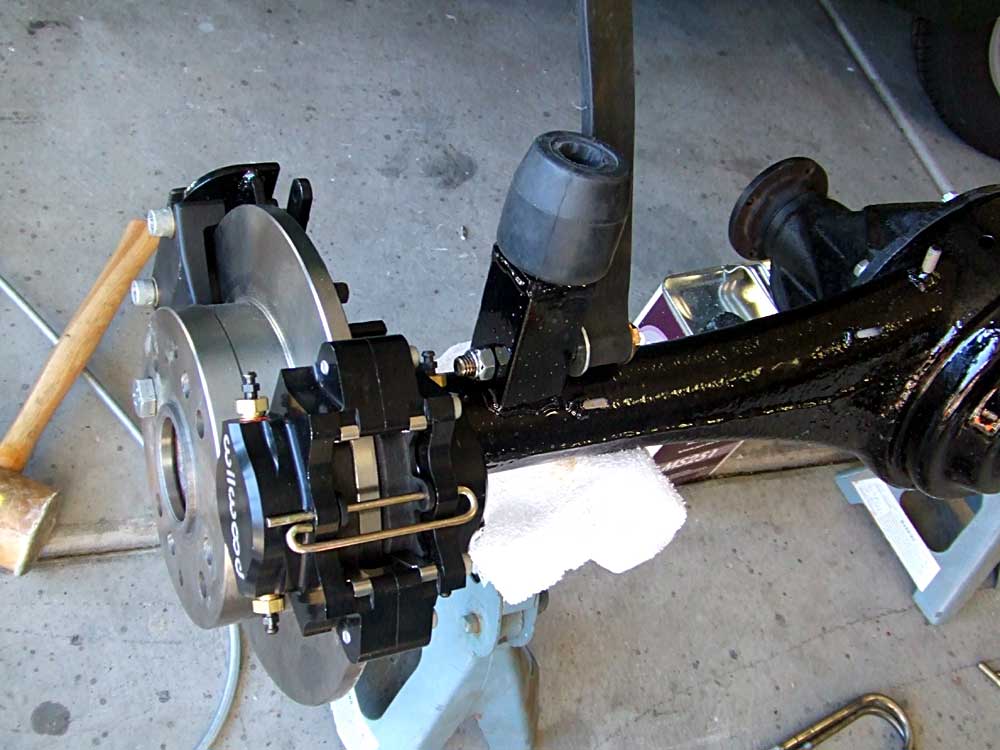 |
Here's the bump-stop installed with a nut and washer, and the brake calipers and rotor installed |
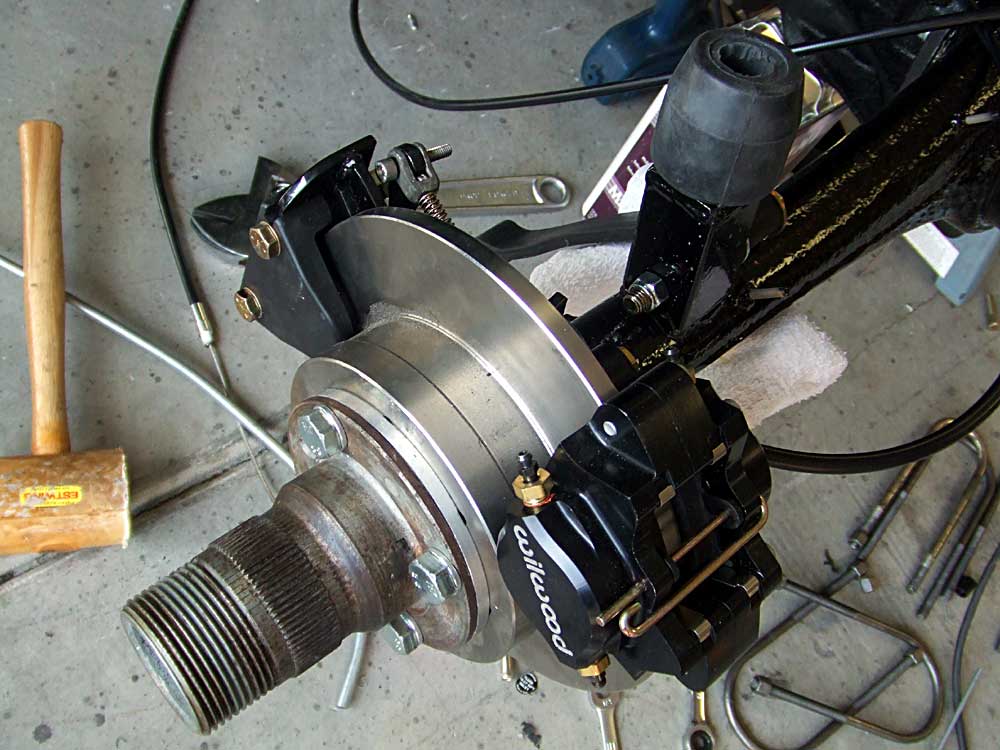 |
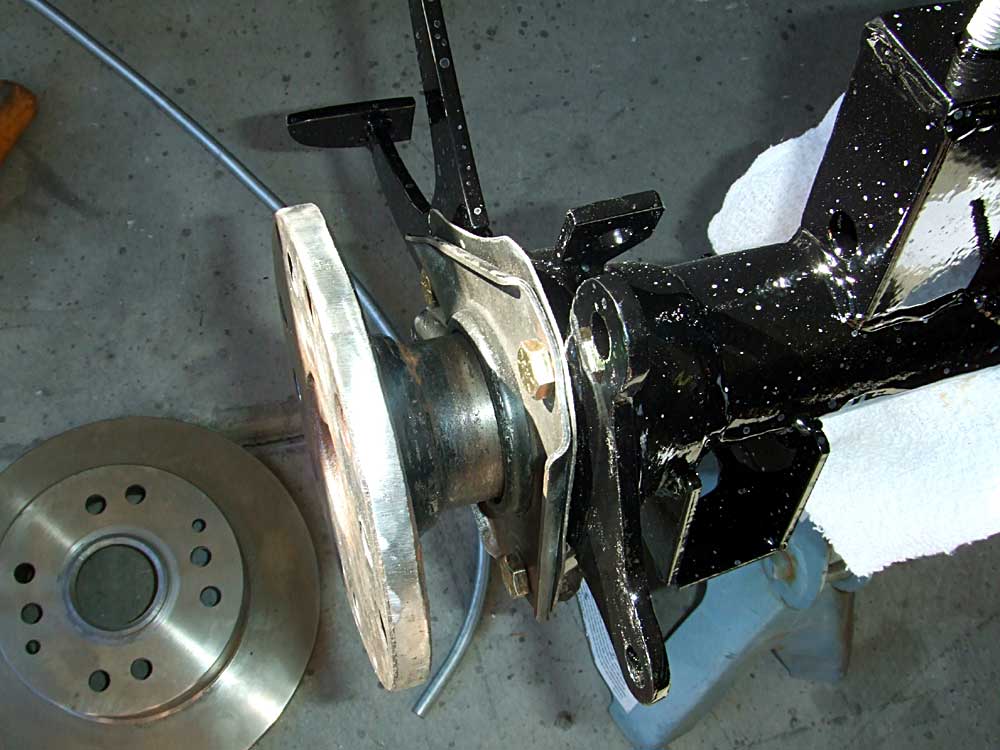
Then, the spacer and splined hub are bolted down to the axle |
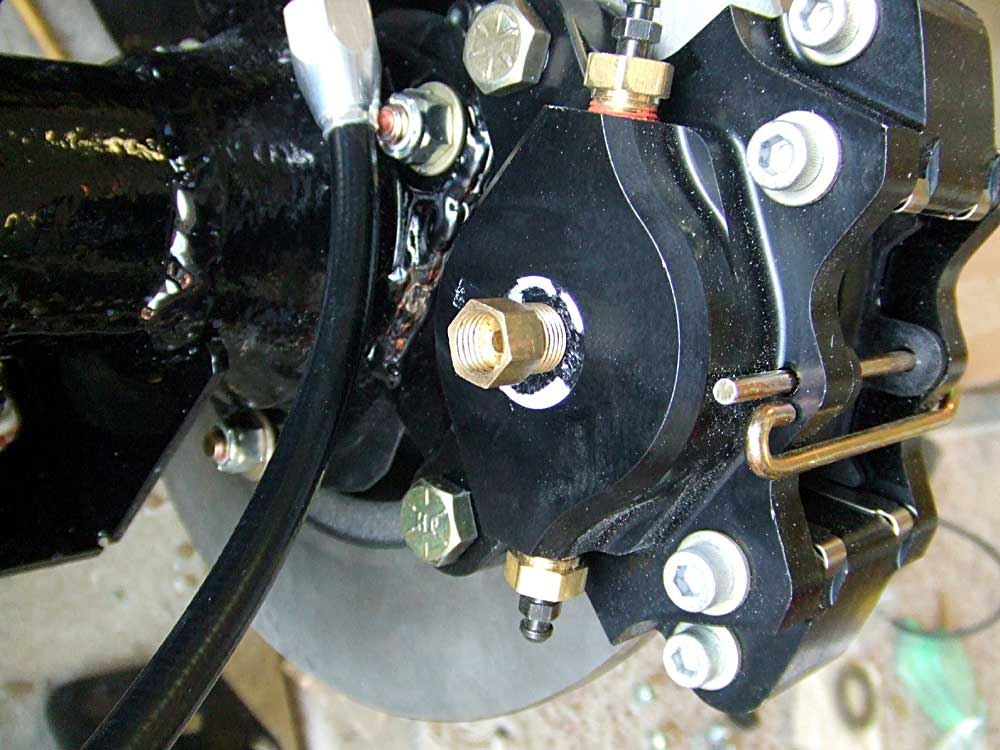 |
The emergency brake cable and the 1/8 pipe thread- to -internal flare adapter in the wilwood caliper/ |
 |
I cut the clevis from the stock Sprite parking brake arms and drilled a hole in it to allow the new parking brake cable to attach to the actuator arm on the mechanical spot caliper |
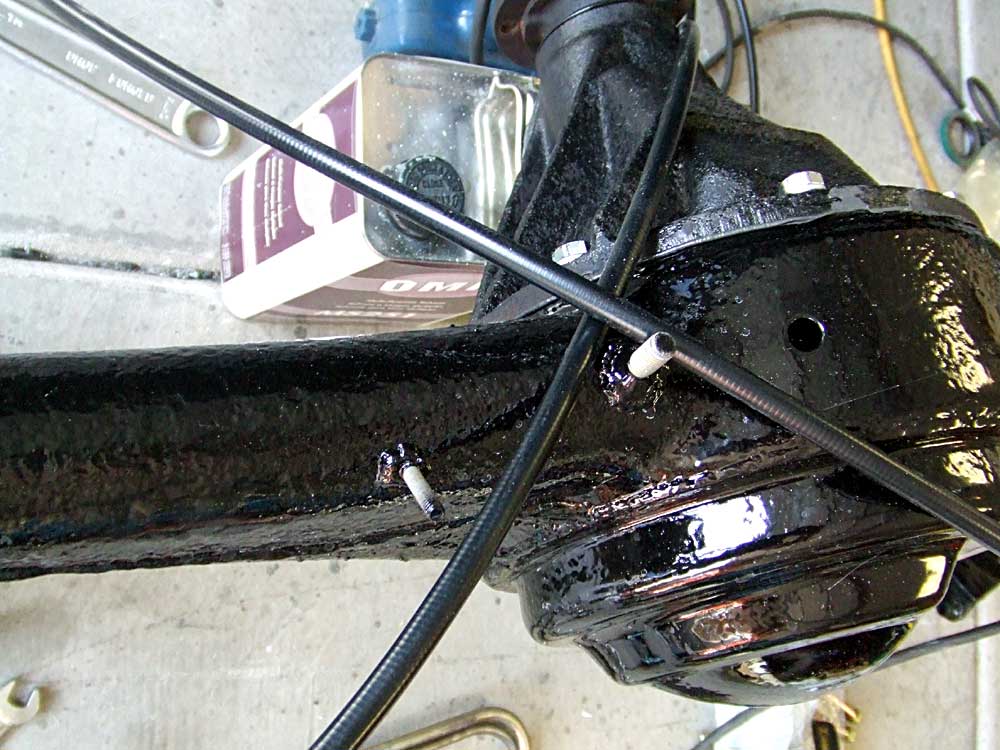 |
The cables need to be attached at this bolt on the rear end |
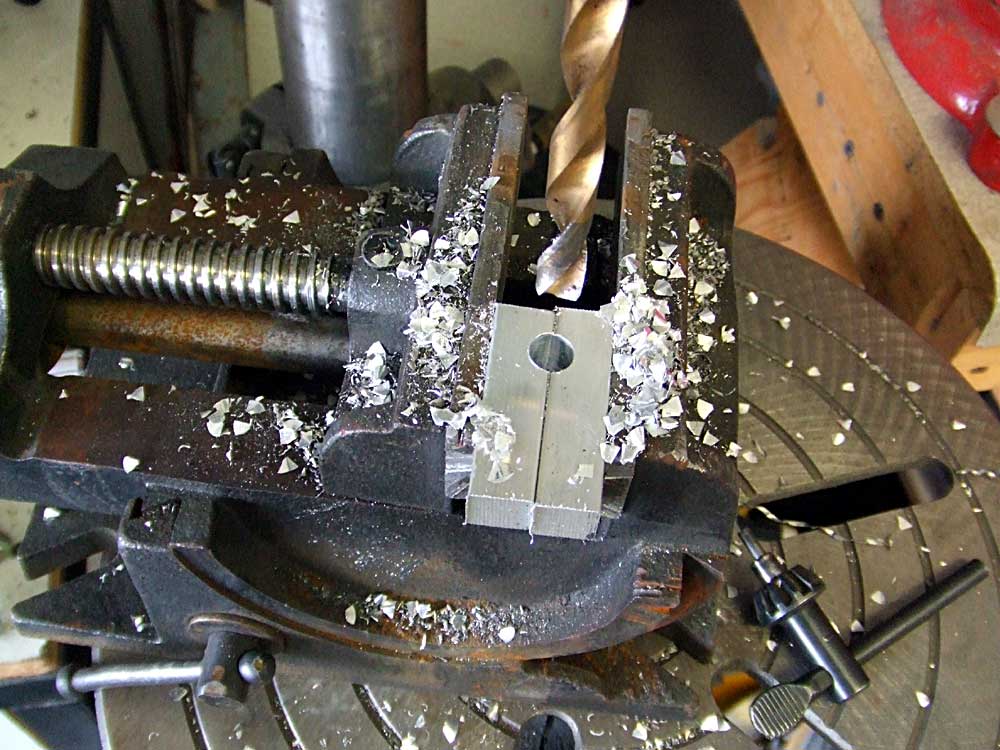 |
I need to make a mounting point that will hold the cables securely without pinching them, so I took two pieces of aluminum and drilled a few holes |
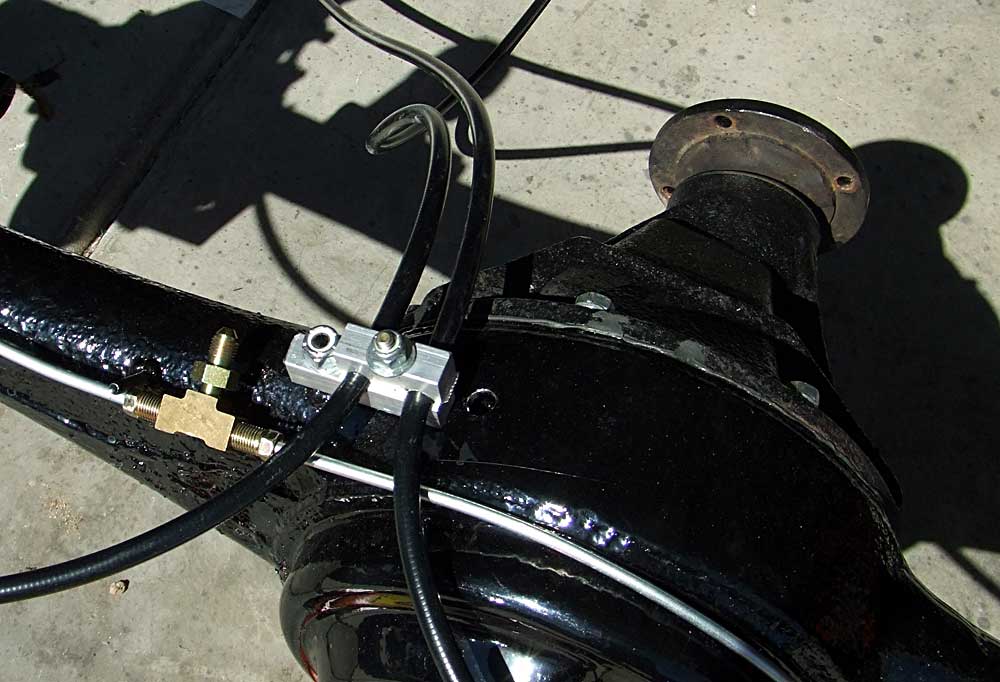 |
This is the finished cable clamp. |
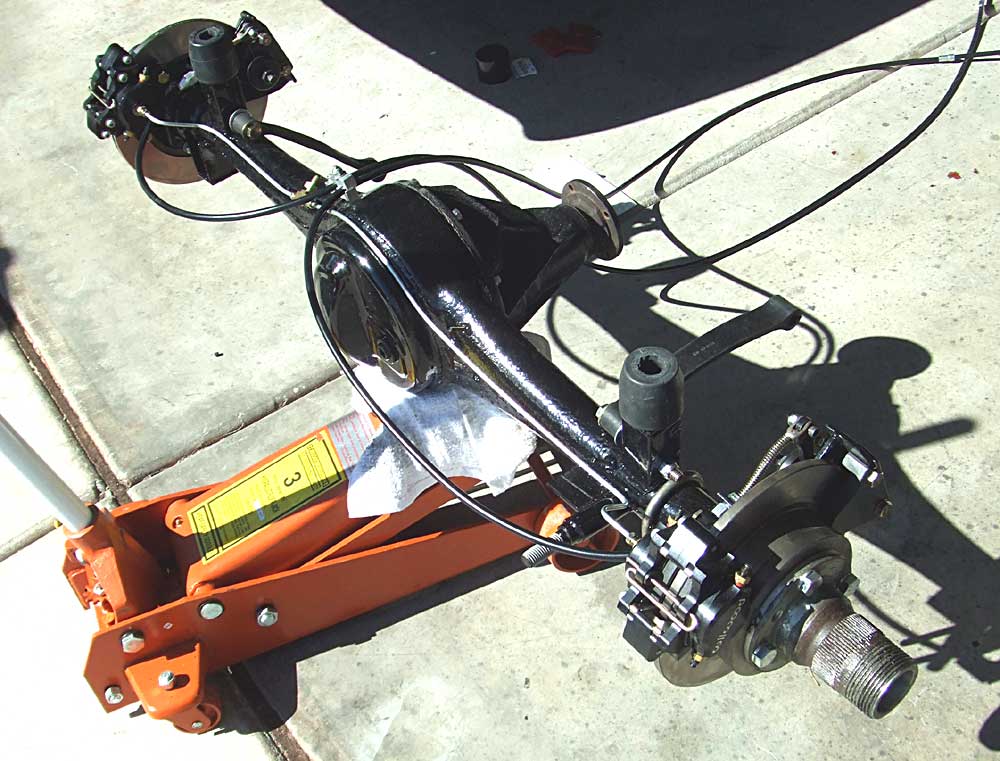 |
And here's the complete rear axle with the brake fluid lines bent and ready to install |
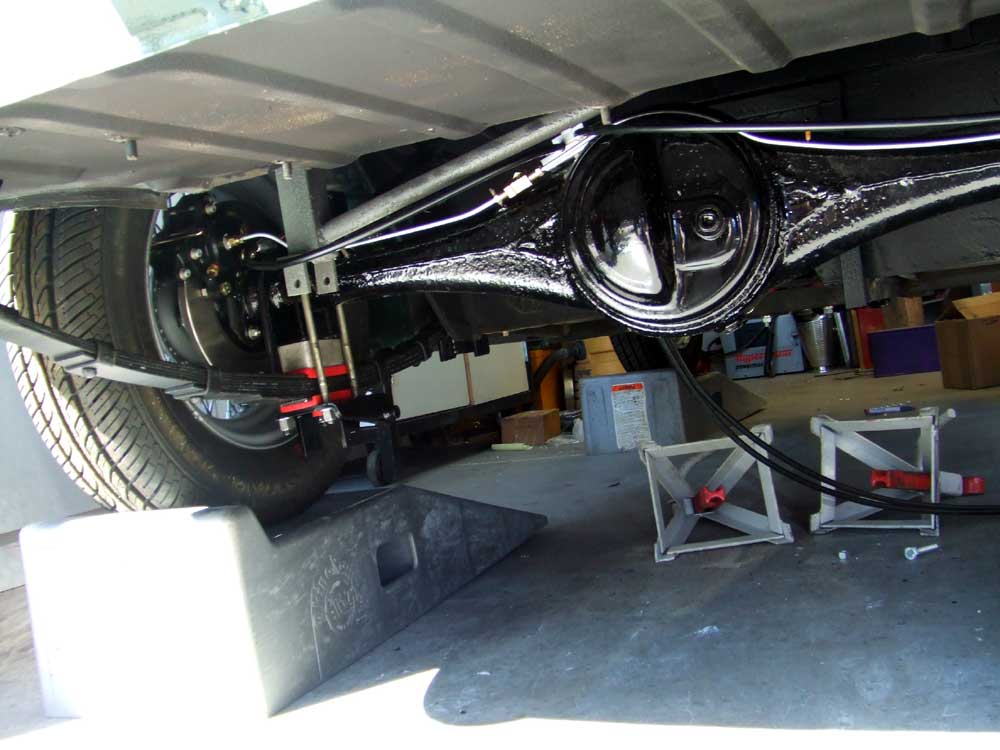 |
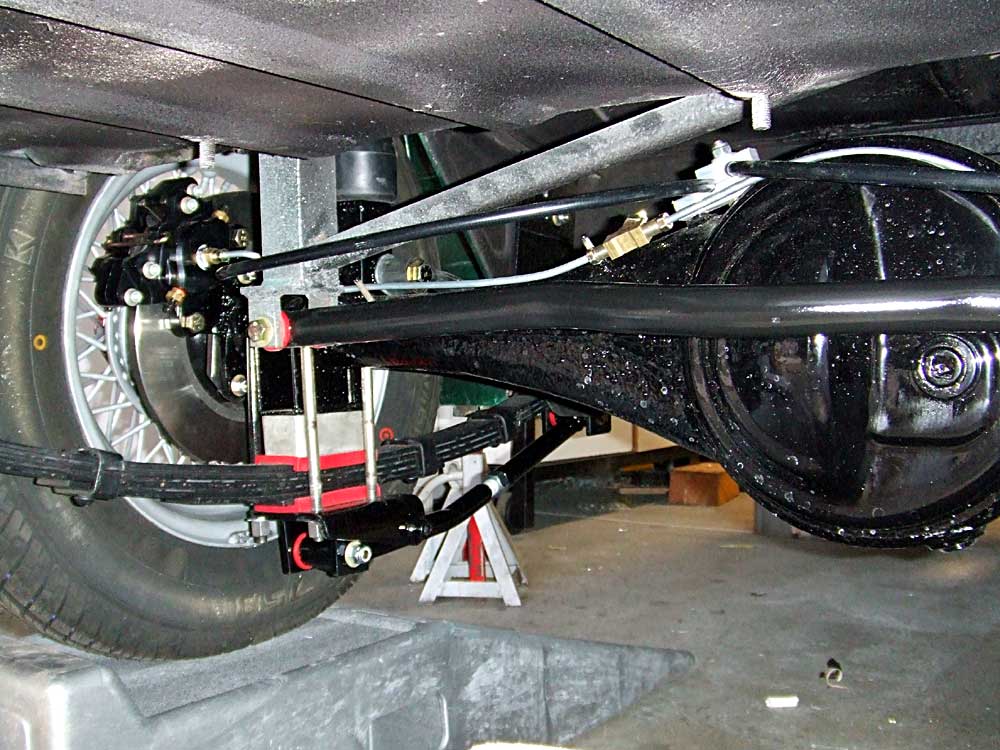
The axle installed in the car. I added some lowering blocks that I had to bring the rear down another inch. I also had to have some U-bolts made to fit the larger diameter of the Mazda rear end near the bearing housings. |
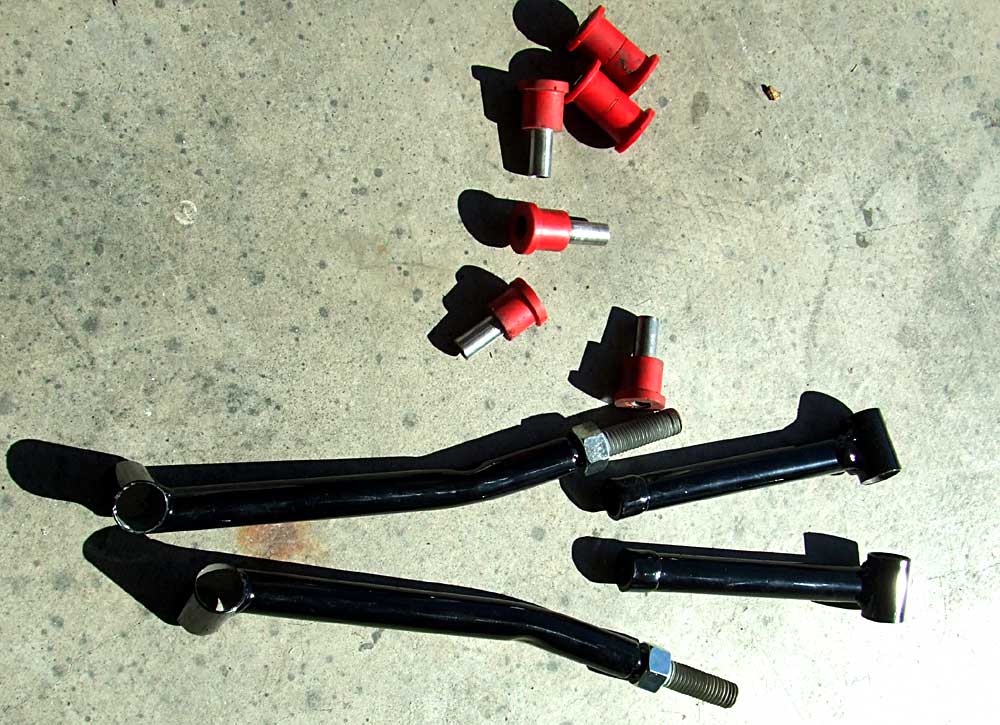 |
The anti-tramp bars, freshly powdercoated and ready to intall... |
 |
here they are in the car. The suspension does move freely through full travel, even with the bars installed. cool. |
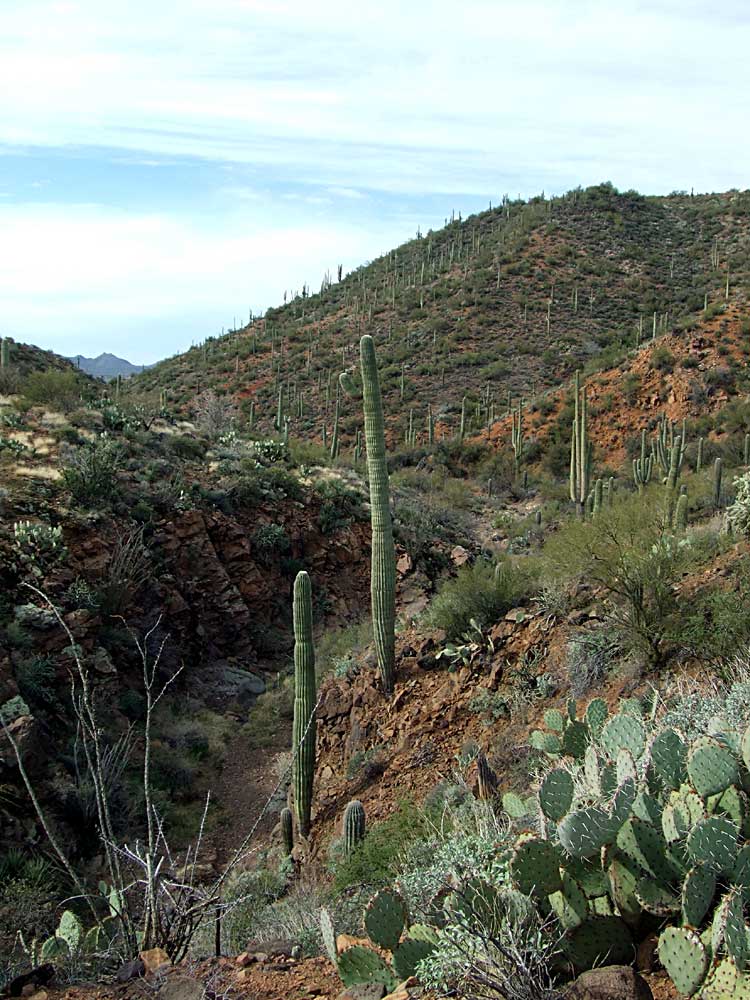 |
The next step was to modify the panhard rod to fit the larger Mazda axle and finish the emergency brakes. Alas, the camera was off on a hike while I was working in the garage. This is what the camera saw. |
 |
Saguaro and prickly pear cacti, and natural Sonoran desert. All this is 15 minutes away from my house. |
 |
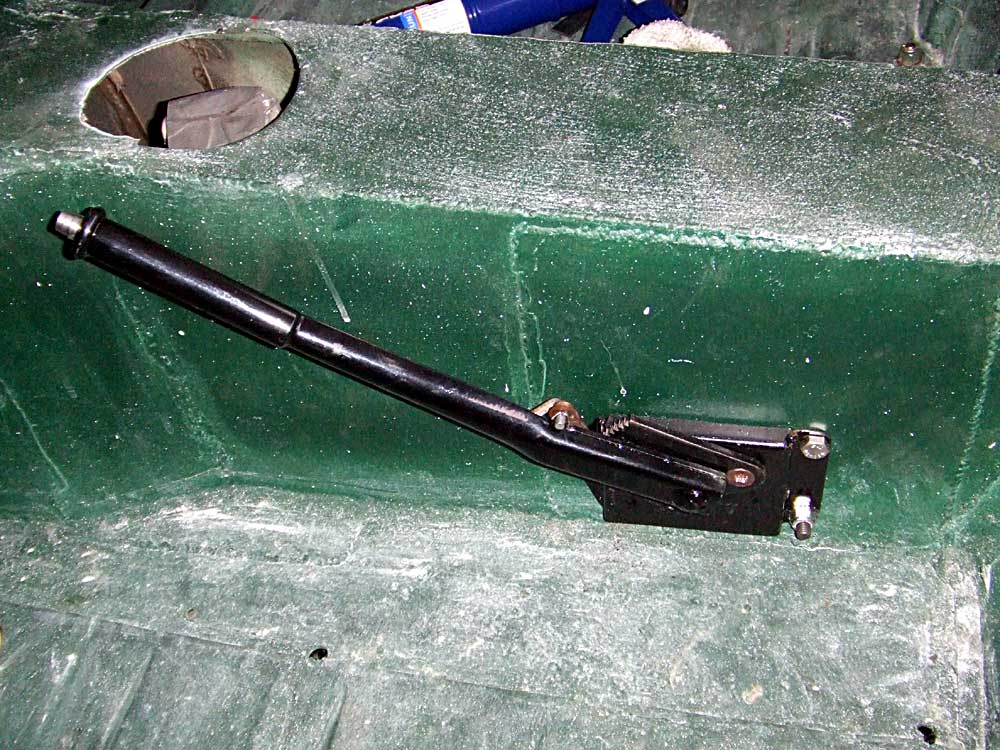
So, when I got the camera back, this is what was done. I cut the panhard rod at the end and installed a urethane center heim (rose) joint and used the tubing bender to put a bend in the bar to clear the back of the rear axle. |
 |
On the right is the heim joint. I also hooked up the parking brake cables |
 |
WIth a few modifications, the lokar parking brake cables fit on the stock Sprite e-brake lever. And they work, too! |
 |
The brake calipers as seen through the wheel. |