
The Mite
Part 4
Why the "Mite?"
By now you are probably wondering why I've named the car "The Mite." I had originally planned to create a nice little driver of a car, not paying too much attention to a full restoration, but allowing for some modern conveniences. I wanted cloth seats because the Arizona sun is so hot that it heats vinyl seats up enough to sizzle your legs, and I wanted modern wiring and electronics. I was going to rebuild the 1275 cc engine that came in the red Midget and use it in the Sprite, but the engine was roached. It would have needed cylinder sleeves and new crank and rods in addition to the regular overhaul parts. Hmmmm..why not drop a cheap Japanese engine into the car instead? It would be about 1/3 the cost of a stock rebuild and much less expensive than a performance rebuild. Sure!
SO, I got myself a nice little
dual-overhead cam engine from a Miata with the matching tranny and wiring
harness. Just over 100 HP stock and smooth running fuel injection, too! Well,
if any of you have ever done an engine transplant on any vehicle, you know
that it is never easy. I begin here to weld a frame to the bottom of the car
for added support and strength:
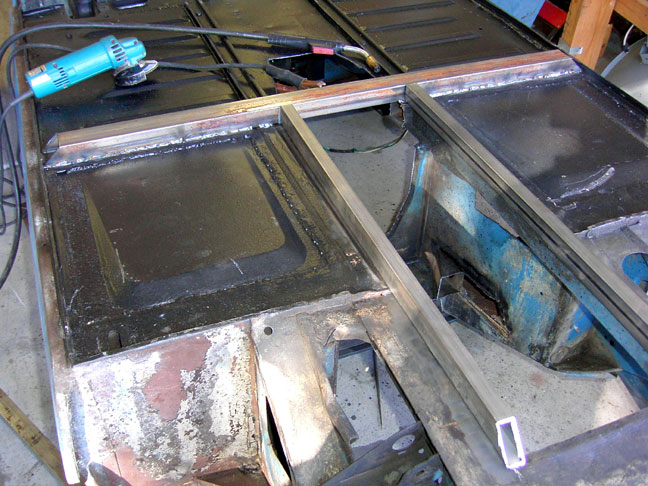 |
Here's the beginning of the frame, using 1" x 2" 0.090 wall square tubing and 2" x 2" 0.090 wall square tubing. |
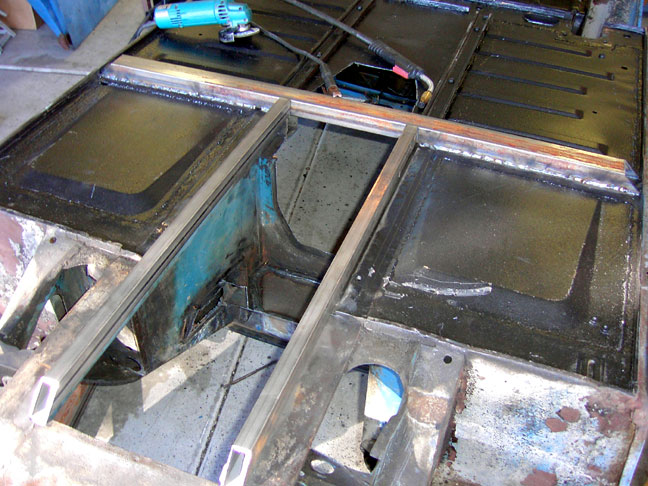 |
I welded it
to the bottom of the existing frame rails and then to the seat track supports.
This should add some strength when the unibody is trimmed to fit the engine. I use an older version of this welder: Miller 907335 Millermatic 140 Auto-set Mig Welder |
 |
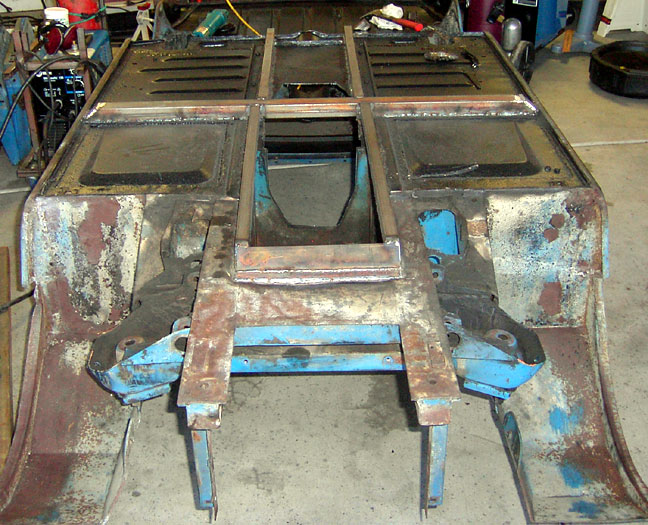
This is the back of the supports, spanning the length of the passenger compartment |
 |
In the front, I used 3/16" thick plate to create a beveled piece under the crossmember. The crossmember was pretty dented from years of jacks and bottoming out, so an additional piece of plate was doubled up and trimmed to fit. |
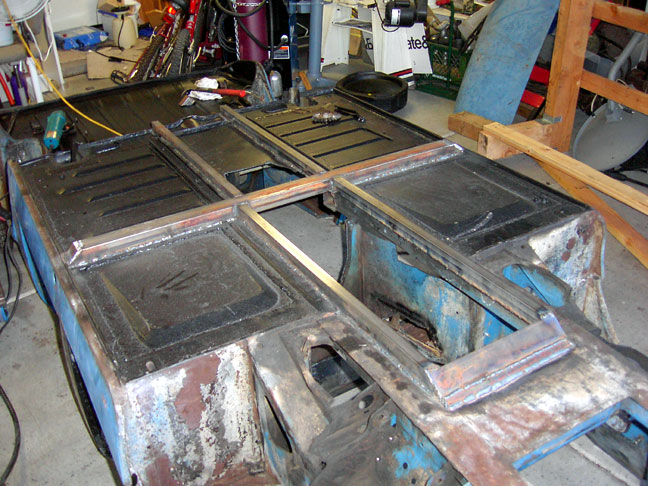 |
The mostly completed and welded frame supports. |
Next
Back to Main
Previous