
The Mite
Part :46
The Mite
Part :46
 |
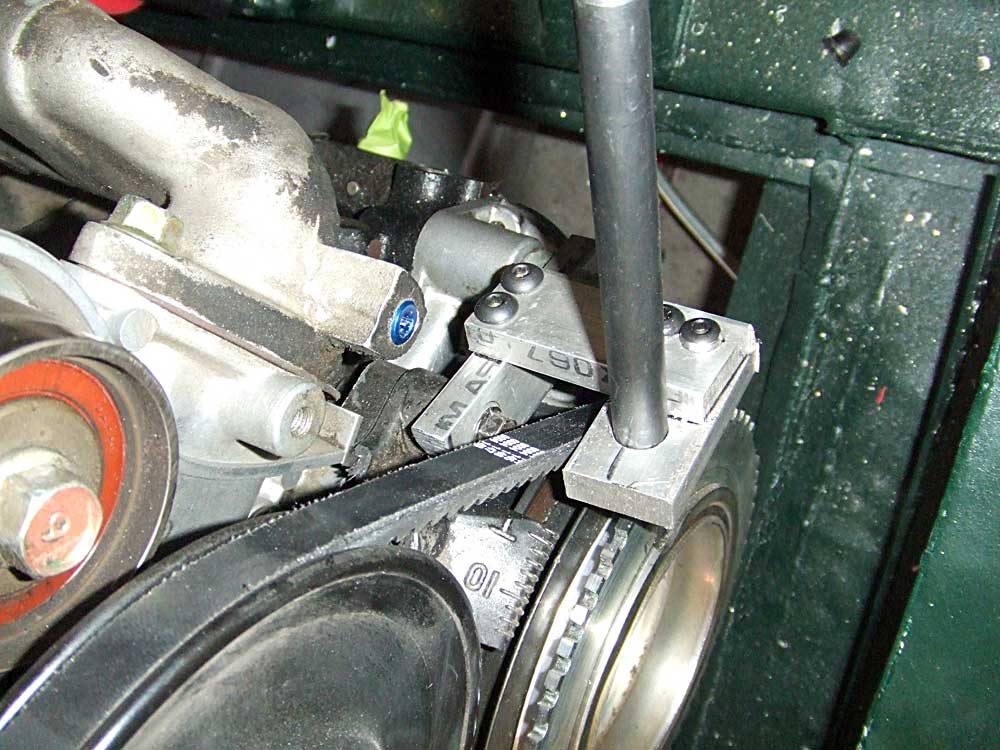
Here's the crank trigger wheel pickup for the Electromotive that I made a while ago, though not obvious to me at the time, when I put a belt on the pulleys, the belt hit the bracket. |
 |
Here's a belt in place. As a quick aside, it is really frustrating to go to the autoparts store with a belt measurement, in this case I needed a belt 35 inches long, and have the monkey that works behind the counter tell you that they can't give you a belt with only the measurement, they need to have the year and type of car! Nevermind that the part number, printed on the belt, contains the length in inches. |
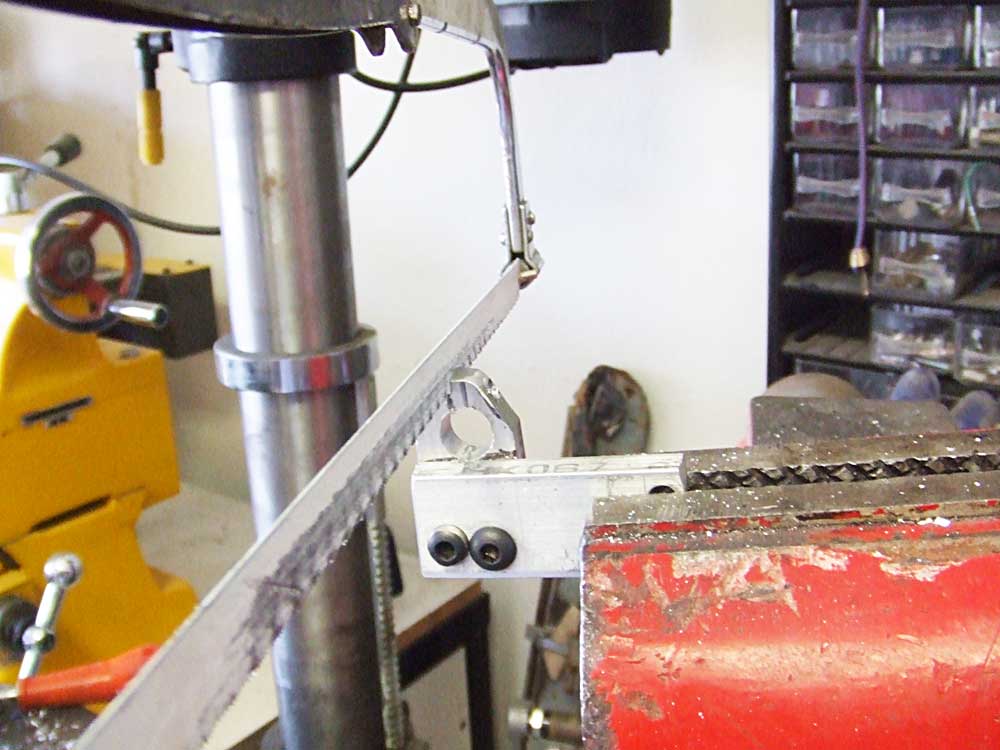 |
After a little time with some aluminum stock and some taps, I had a bracket mostly fabbed up. I elected to use the 1/2 inch Electromotive pickup instead of the other one, so I needed a pinch bracket to hold it. I drilled a 1/2" hole and then cut a slot through the mount.. |
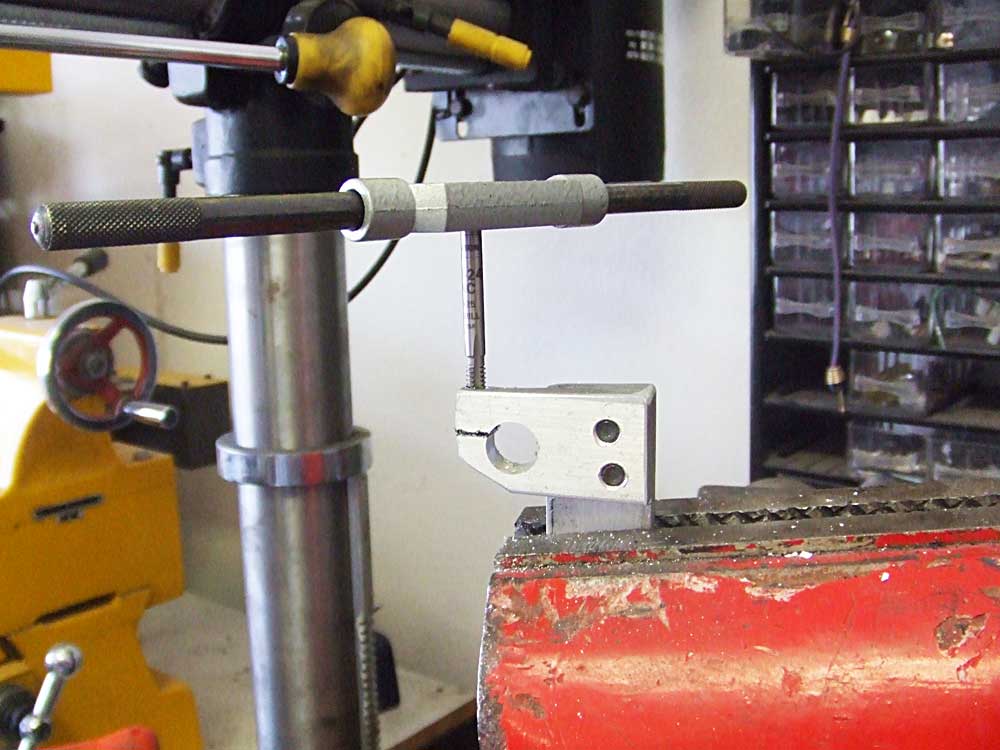 |
And drilled and tapped a hole perpendicular to the slot for the pinch bolt |
 |
Here's the mount on the engine with the belt in place |
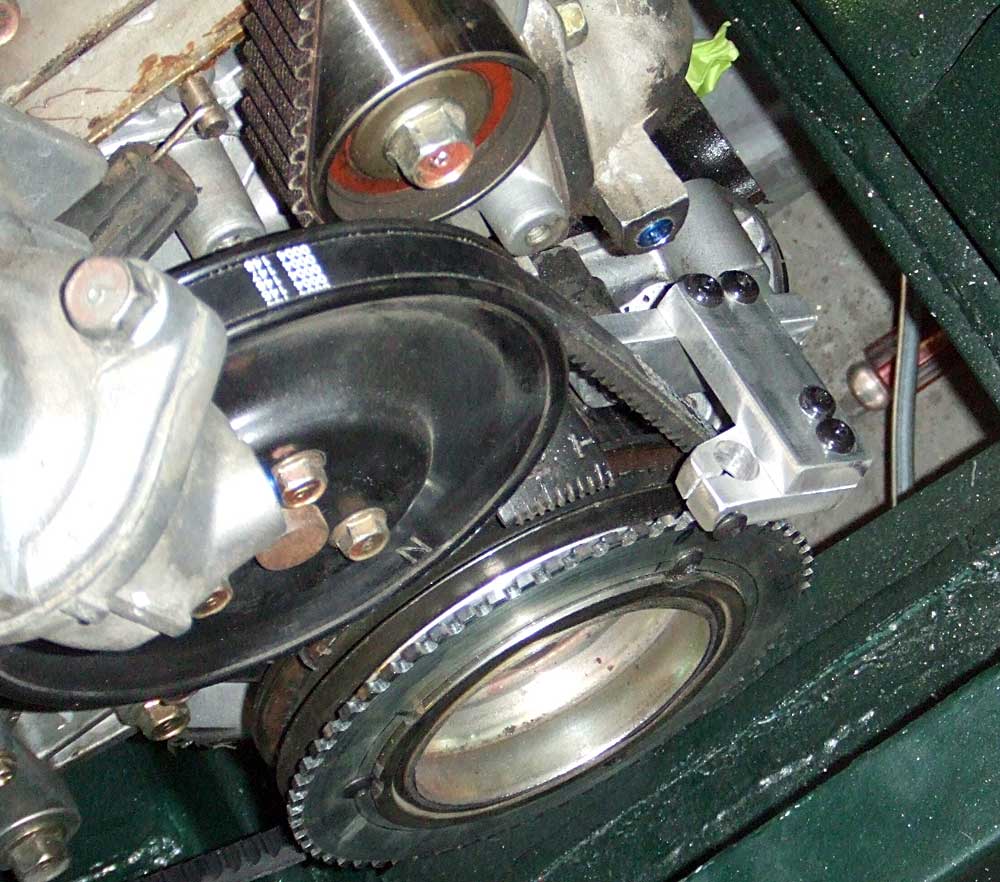 |
Another view of the mount |
 |
I used a 1/2" transfer punch to align the mounting bracket to the trigger wheel because it has a nice little point at the end |
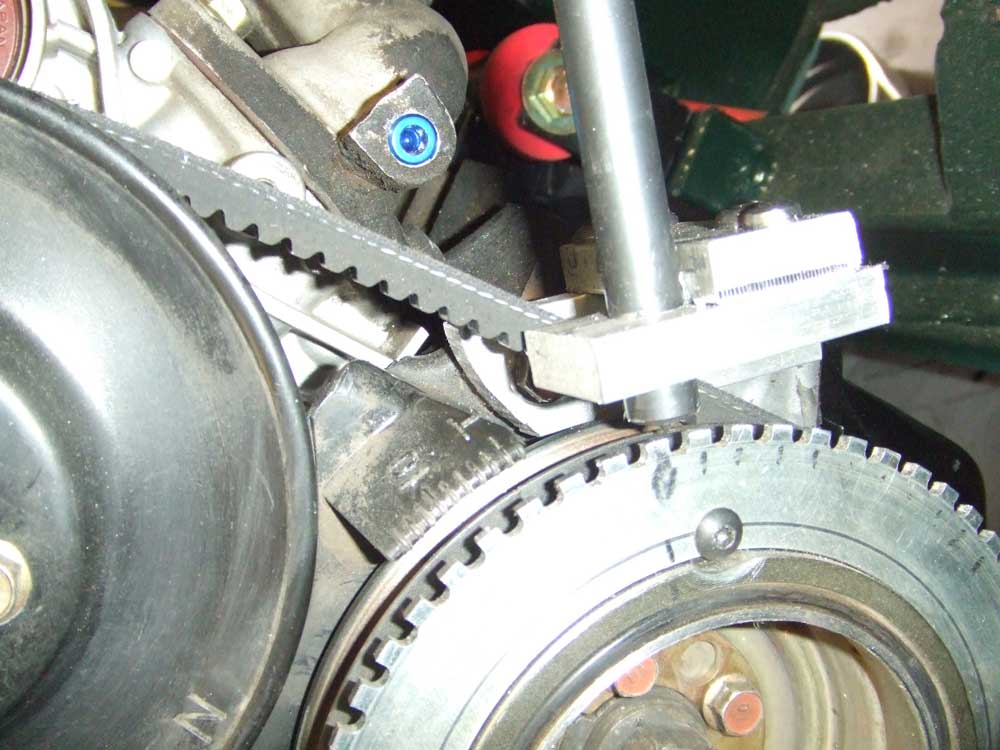 |
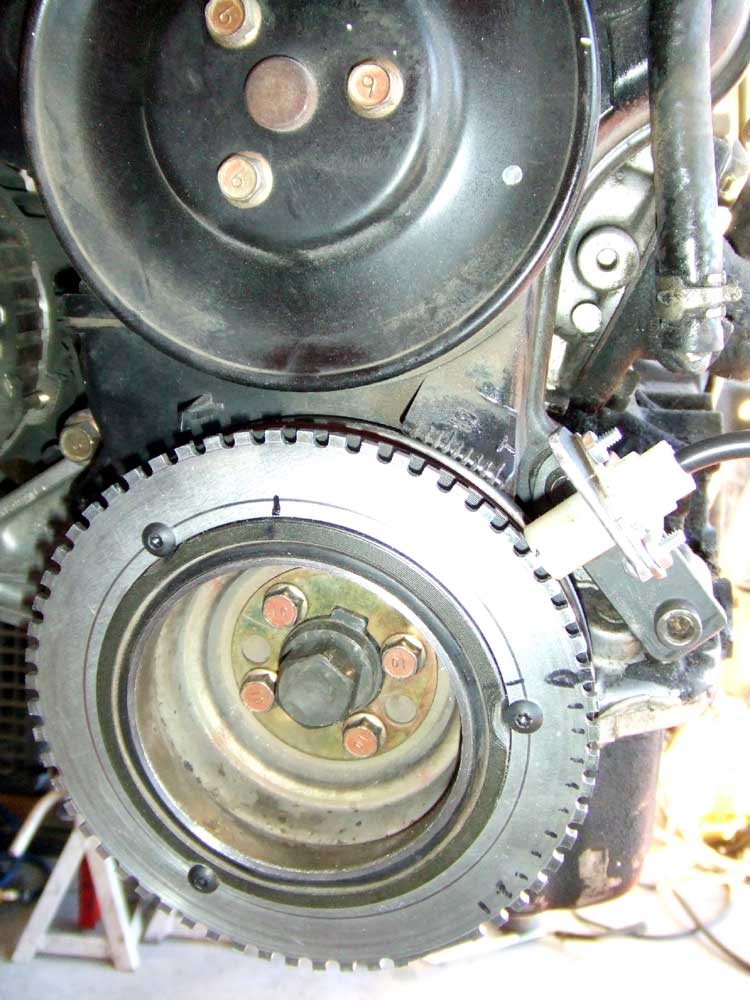
Here's the point of the transfer punch lining up with the correct tooth on the trigger wheel at top-dead-center |
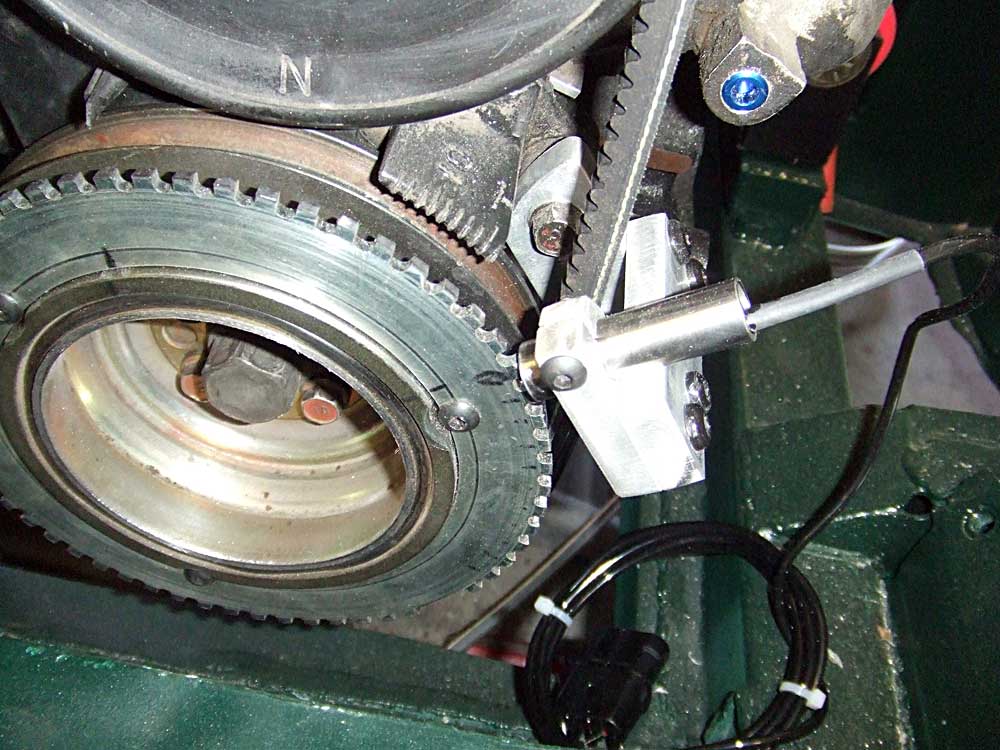 |
And here's the magnetic pickup installed and aligned properly |
 |
Now, on to the turbo exhaust manifold. I was going to purchase a pre-cut exhuast flange only, and then make the manifold, but there's a ton of these stainless turbo manifolds on Ebay and they can even be found used for cheaper than a flange. |
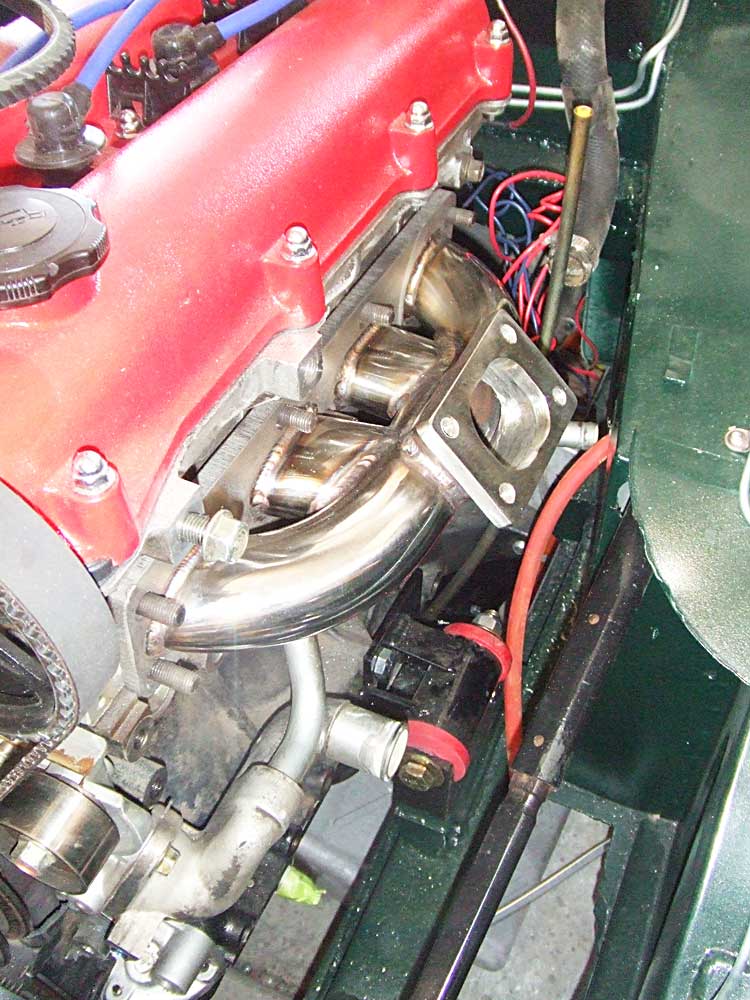 |
Here's the manifold on the engine. The flange for the turbo is made for a T3, not the little IHI RHB5 that I have, and the manifold positions the turbo in a place that would be too close to the fiberglass of my bonnet. |
 |
So off comes the flange using the plasma cutter |
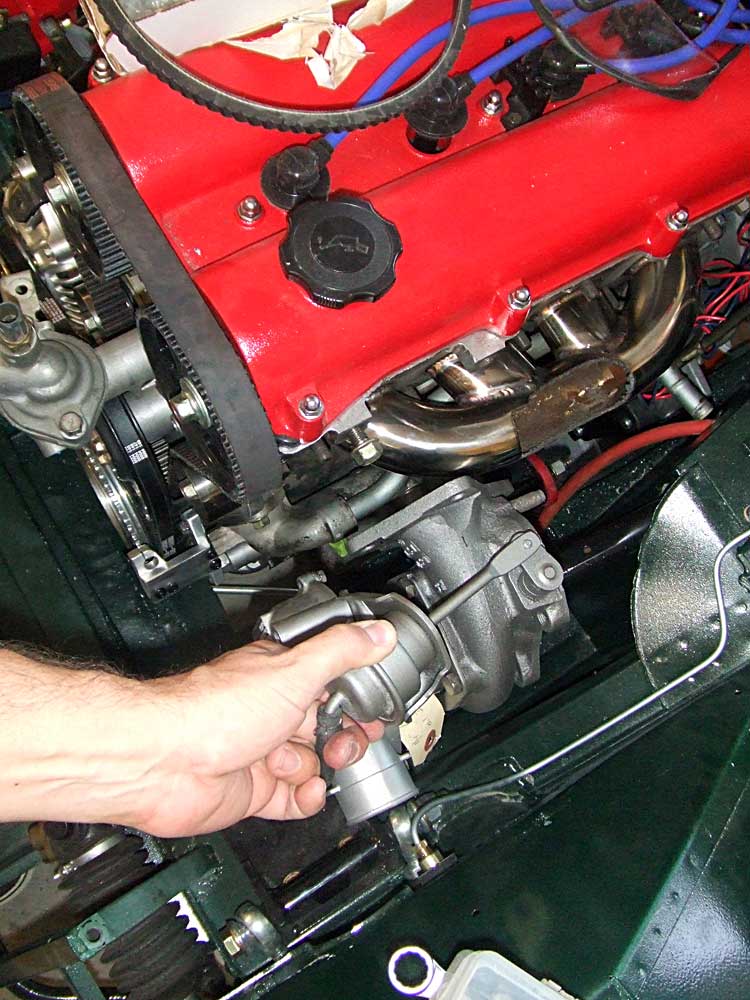 |
Here's where the turbo needs to be mounted to clear the bonnet and allow a path for the exhust to exit the engine compartment |
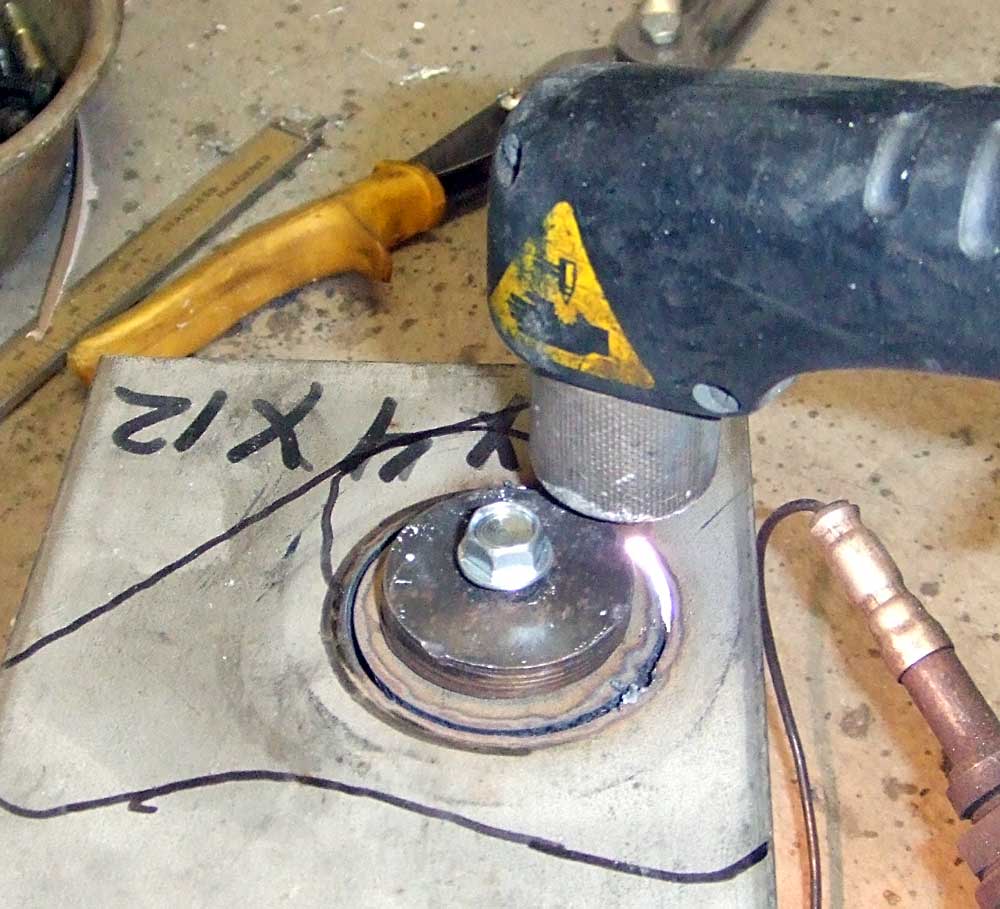 |
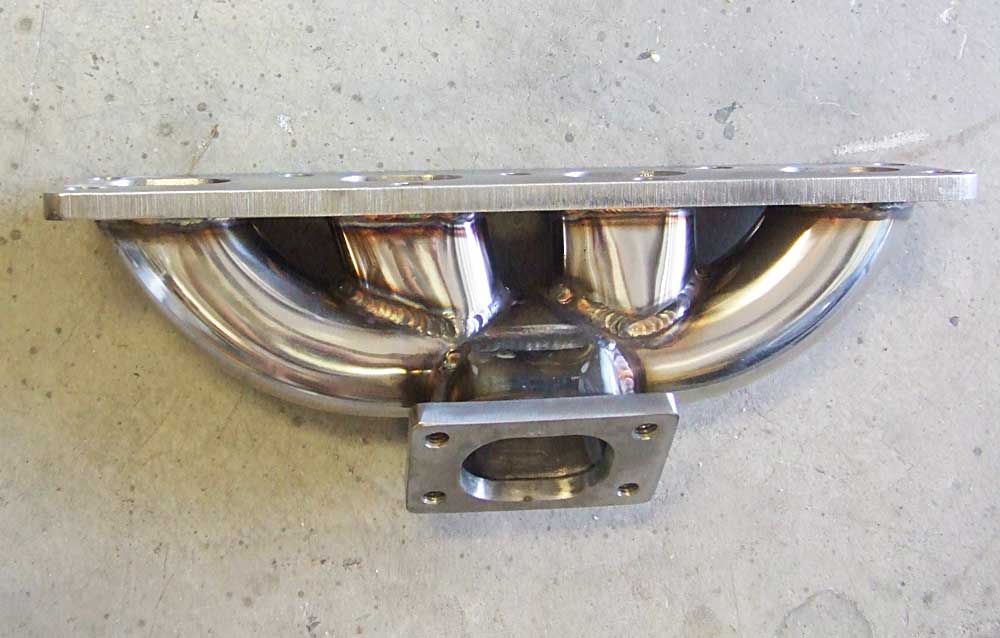
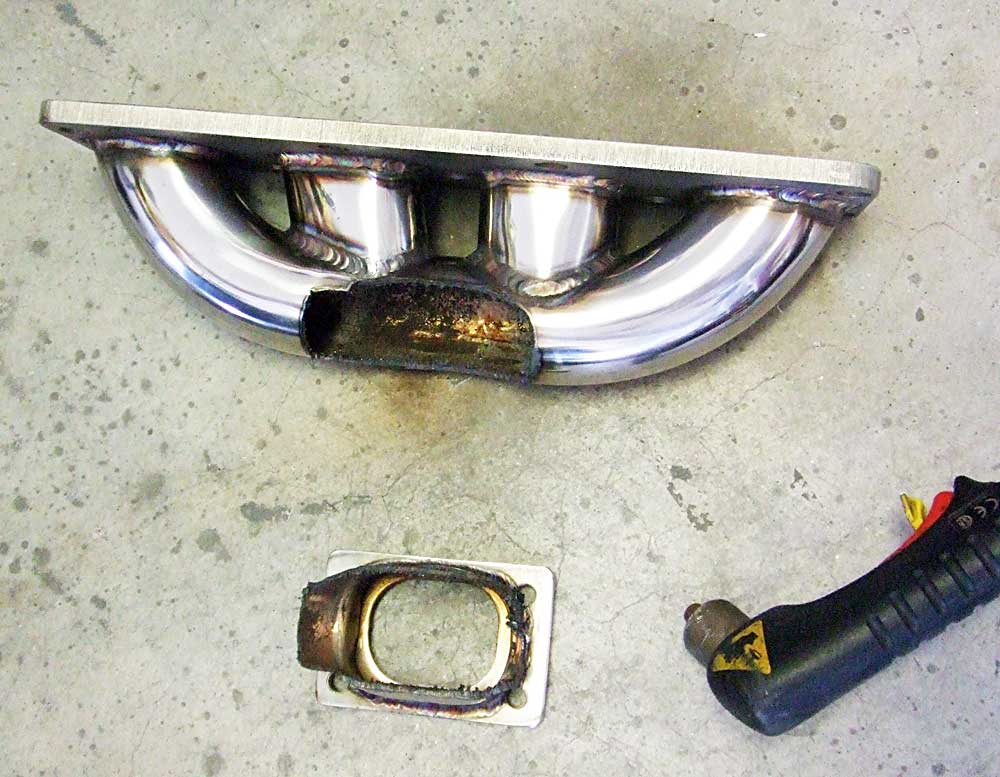
I got a piece of 3/8" stainless and plasma cut a flange for the turbo. I used a round washer screwed to the plate as a template to make a nice, round hole in the flange |
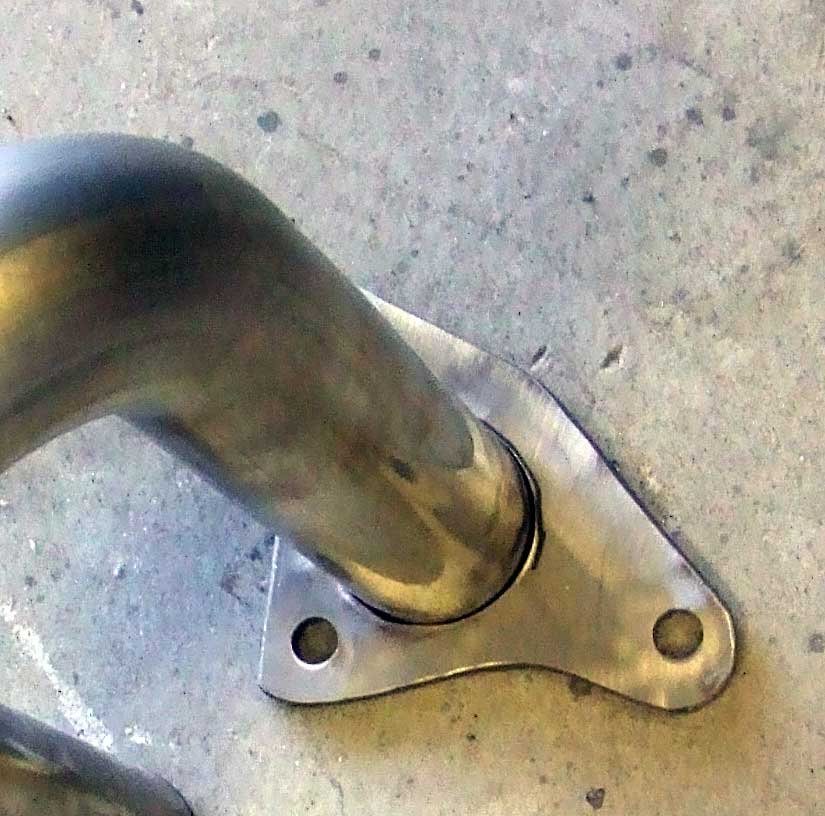 |
Here's the completed flange and a bit of the stainless tube I have for modifying the manifold |
 |
And here's the manifold welded up with the new flange and a patch covering the spot where the old flange was mounted |
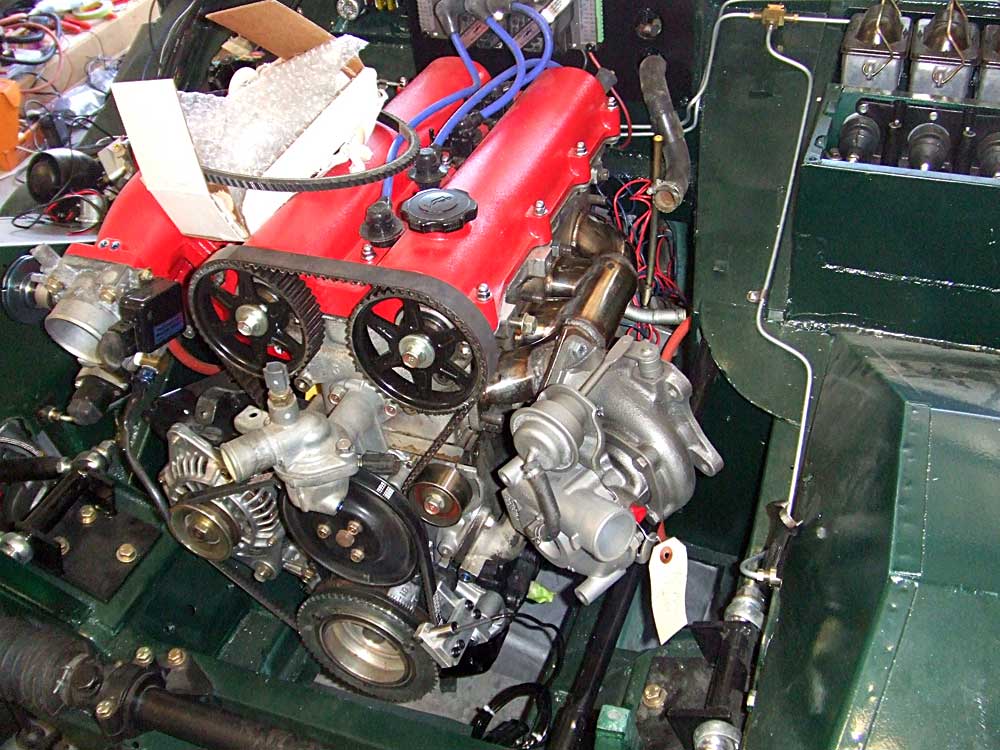 |
The turbo mounted. The slight angle is there to help the exhaust pipe exit the turbo and dive down under the car while clearing the steering rod |
 |
Another view of the turbo. The center section of the turbo has to be rotated down so that the oil inlet is on the top and the outlet is on the bottom. I probably could have made a more efficient manifold with the bends all directing the spent gasses into the turbo, but the car won't see the high side of 7 lbs boost and this manifold will work just fine for that low level |