
The Mite
Part :48
Rear shocks and exhaust
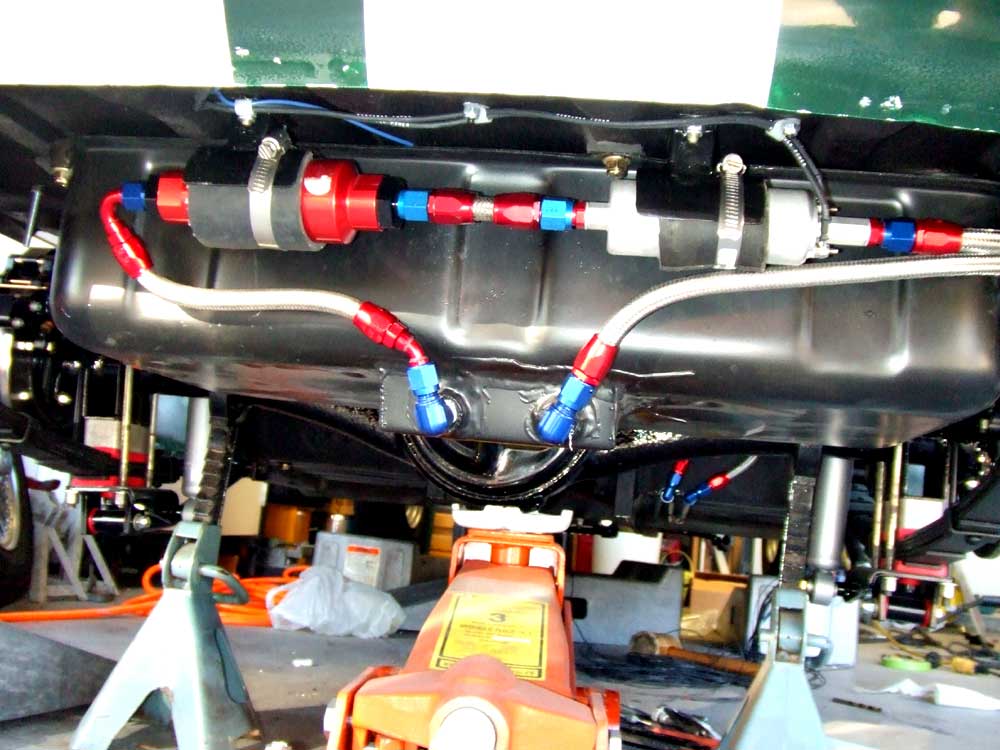 |
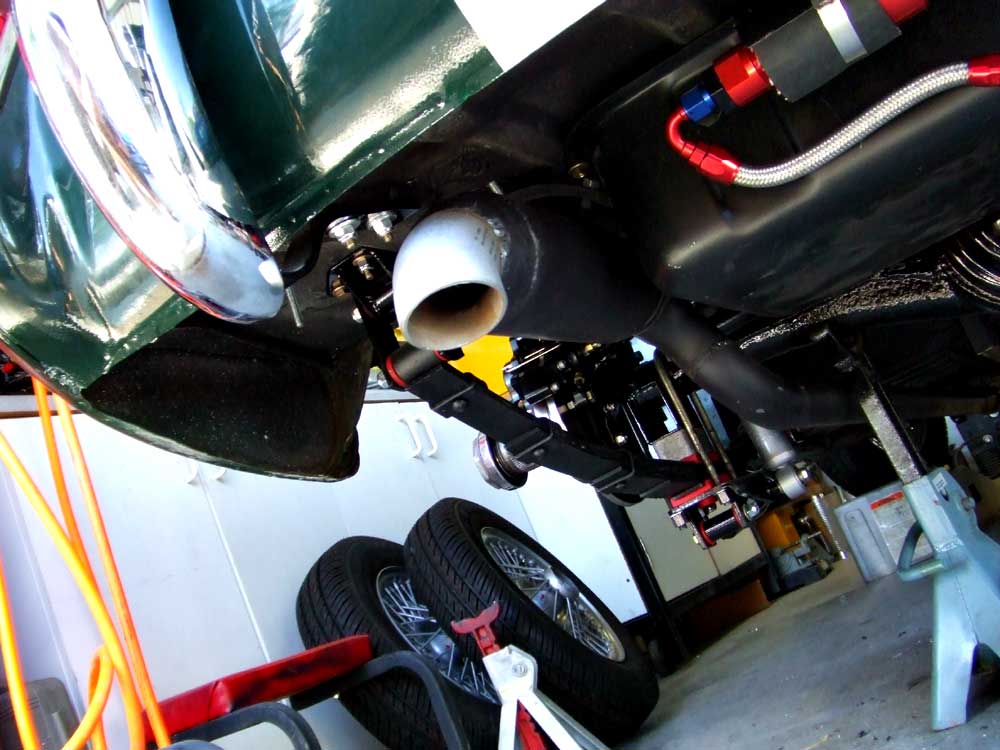
Here's the fuel pump and filter permanently mounted with all the plumbing |
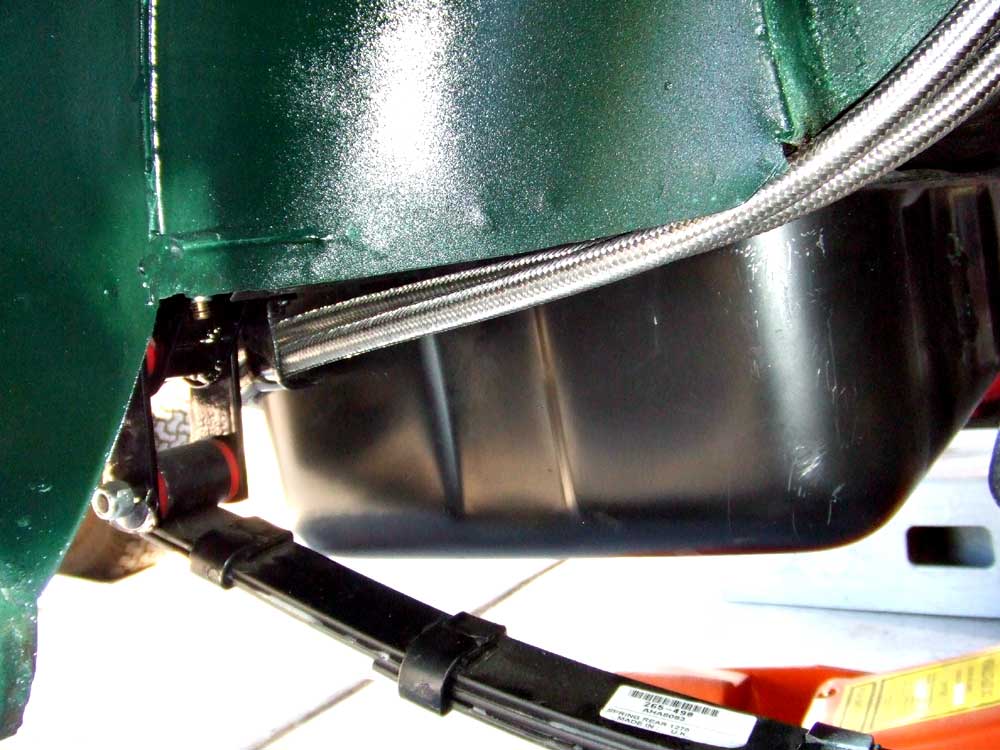 |
I should have run solid fuel lines around the gas tank and up above the rear axle when the car was upside down. I'll put that in the notes for the next vehicle I build. Since bending and running solid lines was near impossible over the axle, I used dash-6 braided stainless and routed it around the tank, and up and over the rear axle, secrued with rubber-lined clamps |
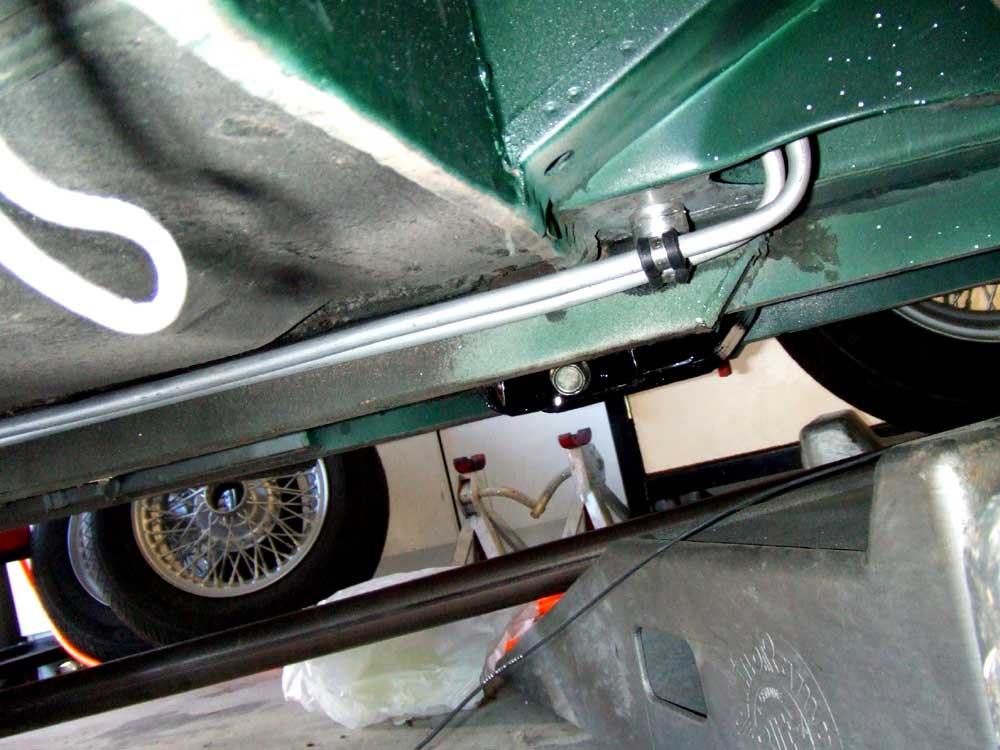 |
I was able to bend and use solid lines from the rear axle up to the front of the car, also secured with rubber lined clamps. This is an image of the feed and return lines tucking up into the engine compartment. |
 |
I went to put on the rear limiting straps and the rear shocks and noticed that I could mount the shocks vertically using the upper limiting strap mounting point as an upper shock mount. Even at full suspension droop with me standing on the splined hub, the shock did not reach full extension. |
 |
This means that the limiting strap is not needed and the shock will never limit the downward travel of the suspension. If the valving of the shock is too stiff for the back of the car, I still have the option of moving the top of the shock to the mount that I made, polacing the shock at an angle and reducing its damping |
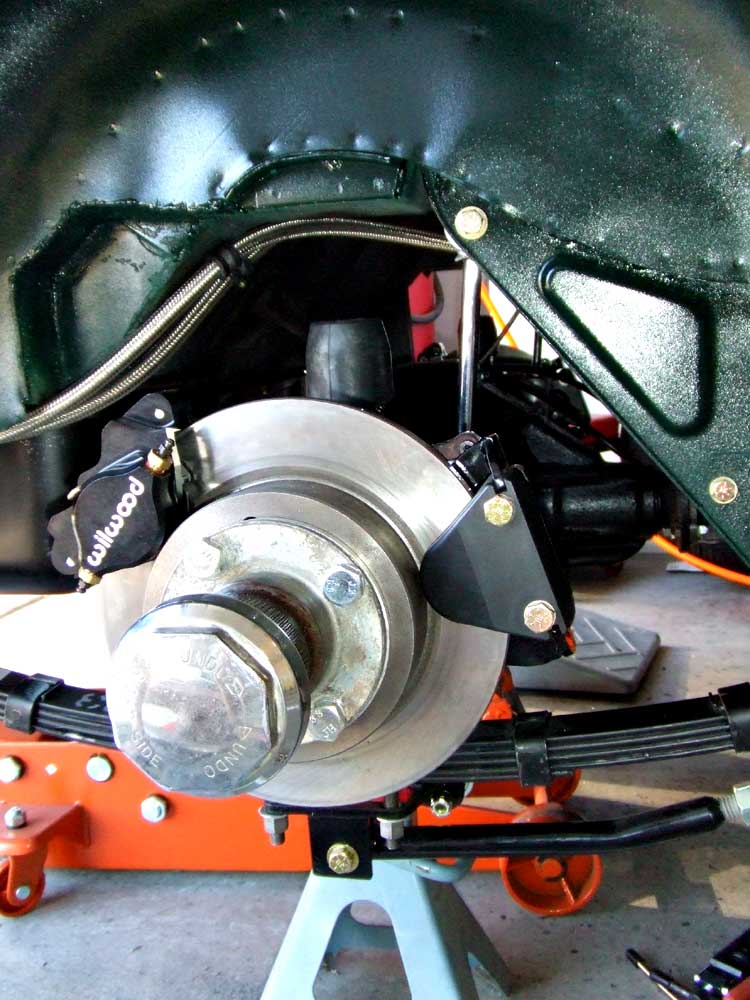 |
Here's a side view of the shock installed and you can see the fuel lines in this picture, too |
 |
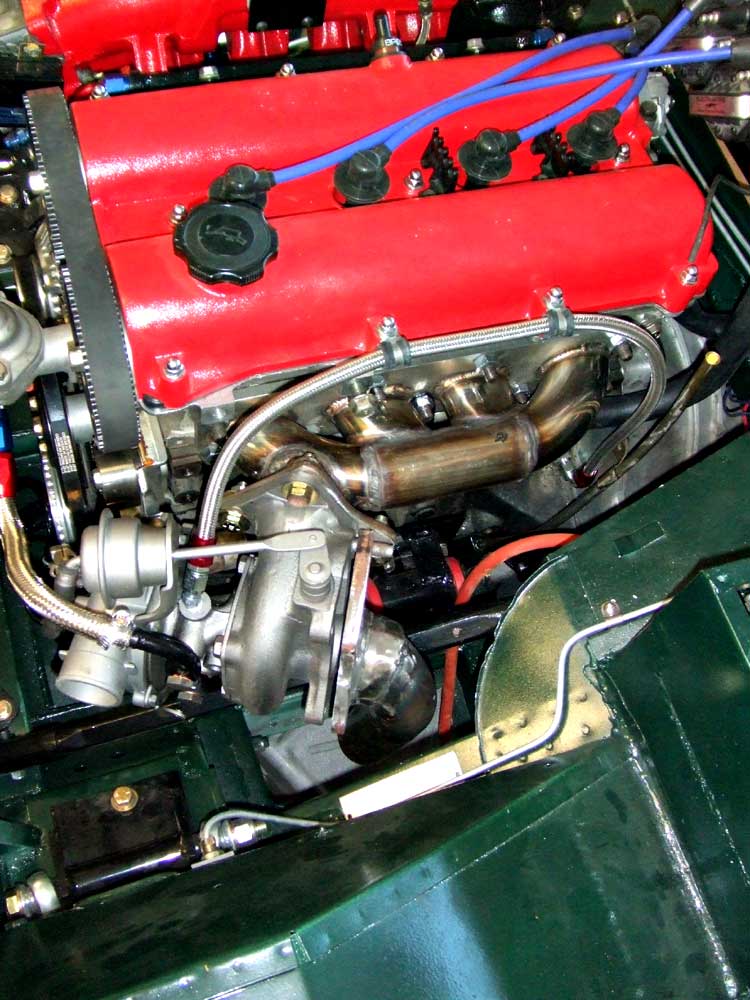
Next was to finish fabbing the down-tube from the outlet of the turbocharger to under the car. I had a flange that fit on the turbo, and cut some pieces of u-bend to fit betweend the steering shaft and the body of the car. Then I had to drill and weld bungs for the oxygen sensors |
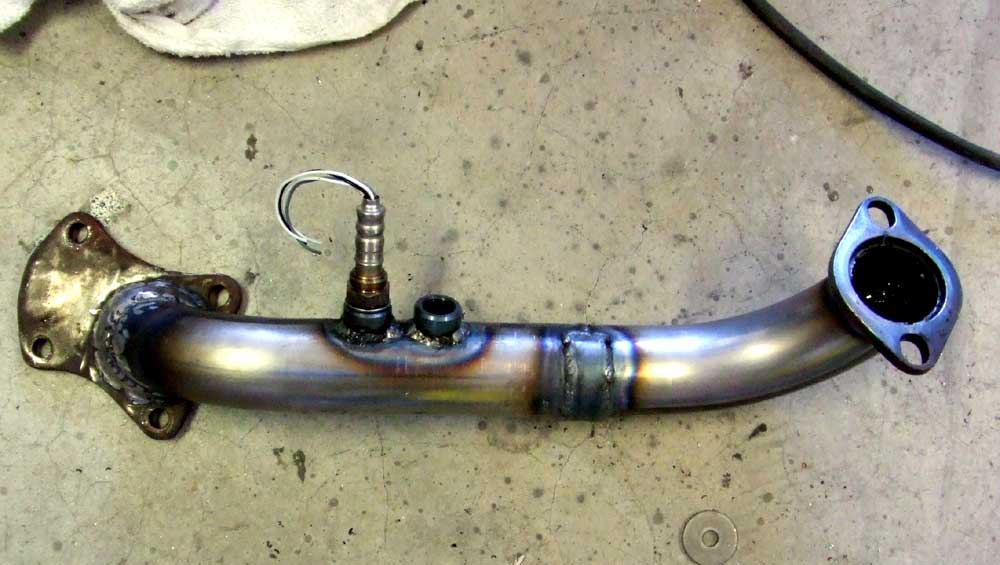 |
I drilled and welded two O2 sensor bungs onto the down-tube, one for the 4 wire sensor that the TEC-2 computer uses, and a spare bung for a wide-band sensor to be used during tuning |
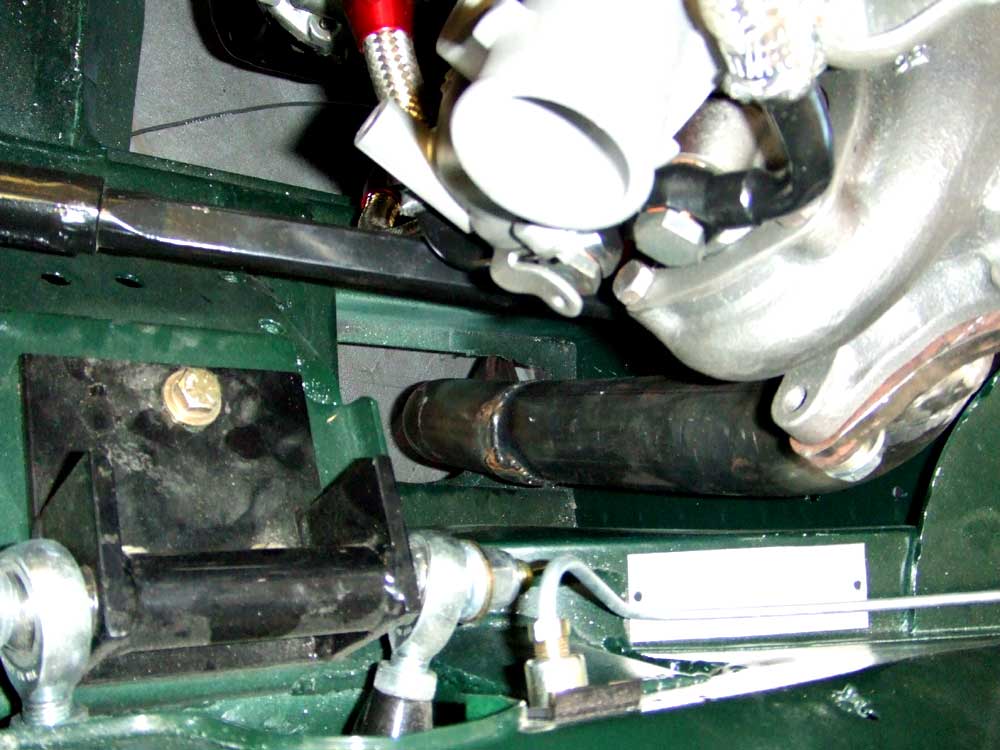 |
Here's the tube going down through the engine compartment and out the bottom |
 |
Another view of the tube |
 |
And yet another view. It was a pretty tight fit |
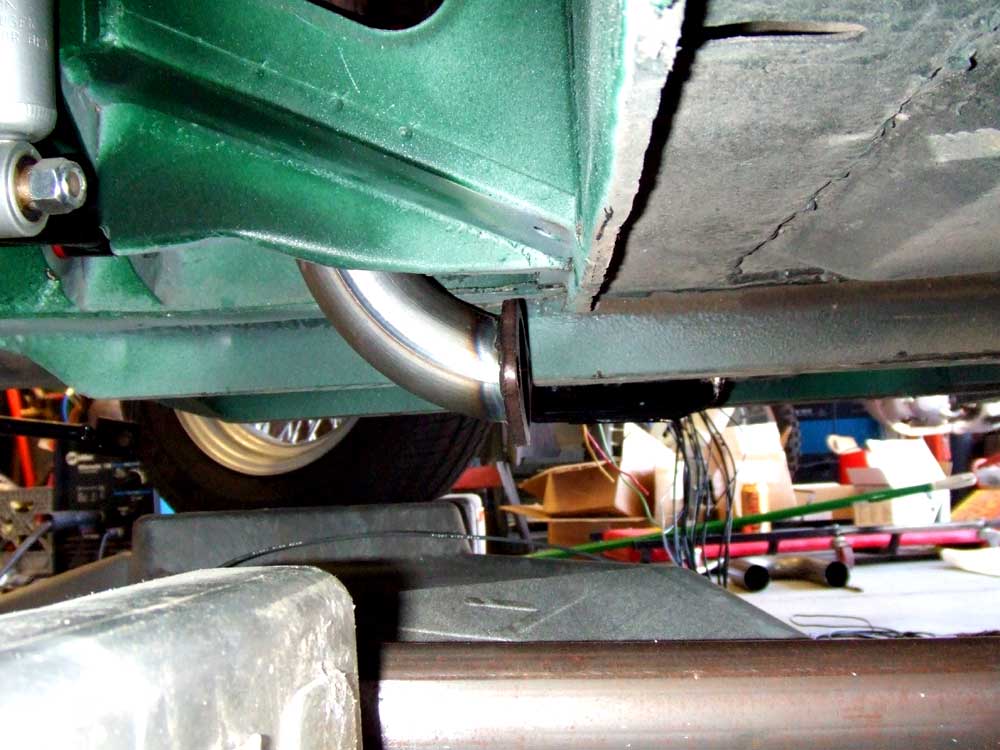 |
The down-tube flange under the car, ready for the exhaust pipe |
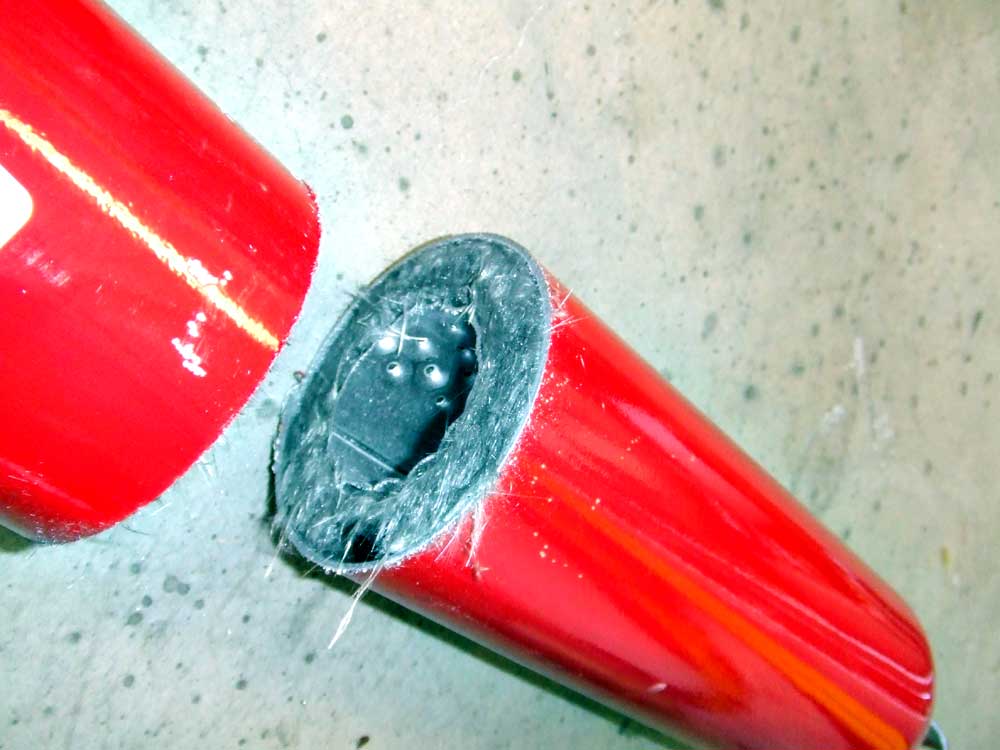 |
There's not much room for a muffler on this car, but a glasspack seemed like a good idea. I could not find one short enough to fit after the rear axle and beside the fuel tank, so I cut one down. You can see why it's called a glasspack. |
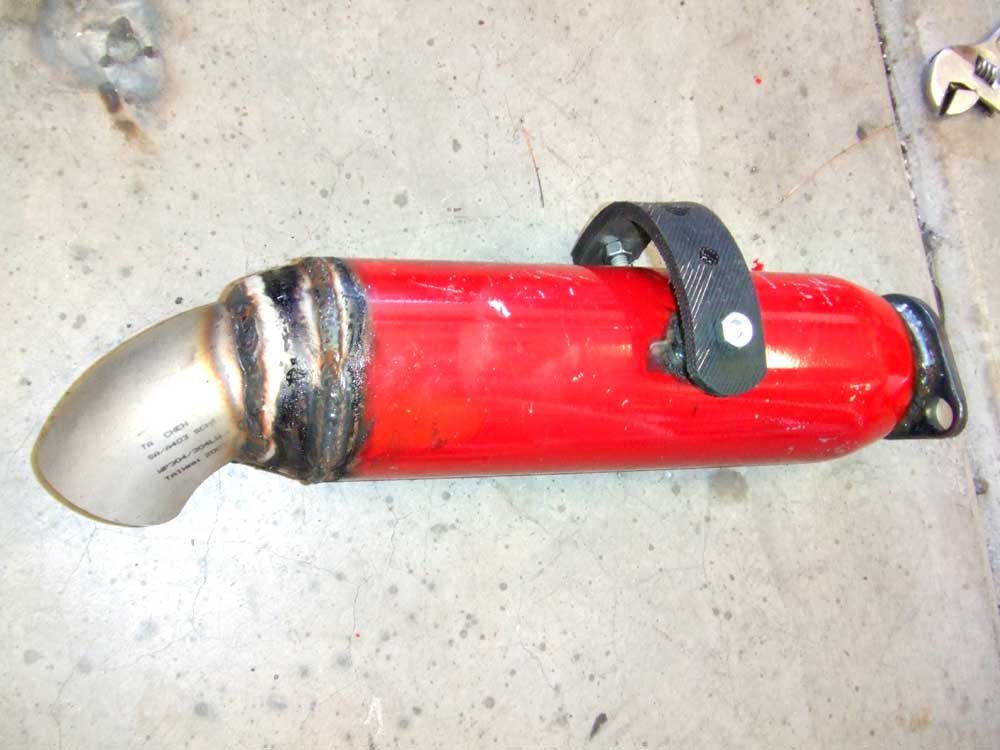 |
And added a turn-down on one end and a 2-bolt flange on the other end, and a rubber mount |
 |
The 2" pipe that goes from the down-tube in the front to the glasspack in the back. I used a couple of j-bends welded together to place the glasspack where I wanted it. |
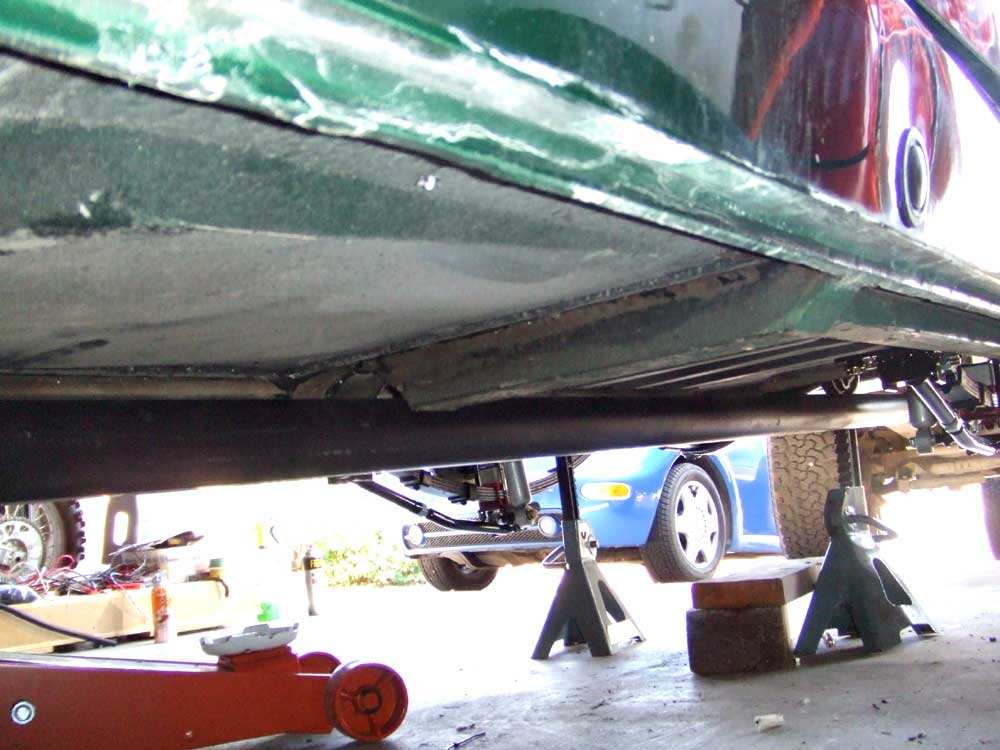 |
Here's the pipe in place, going under the rear-axle like the stock pipe does. I originally wanted to go over the rear axle, but with the panhard rod there's no room. |
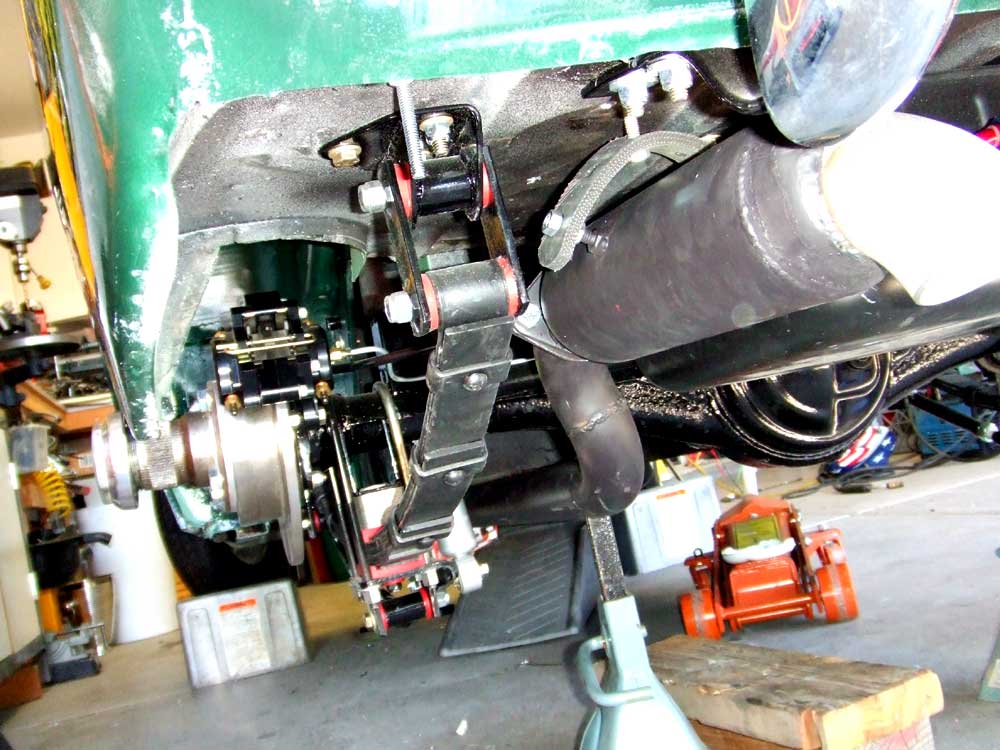 |
Here's the rear of the car showing the muffler in place and how the mount will work. |
 |
Another view of the muffler |
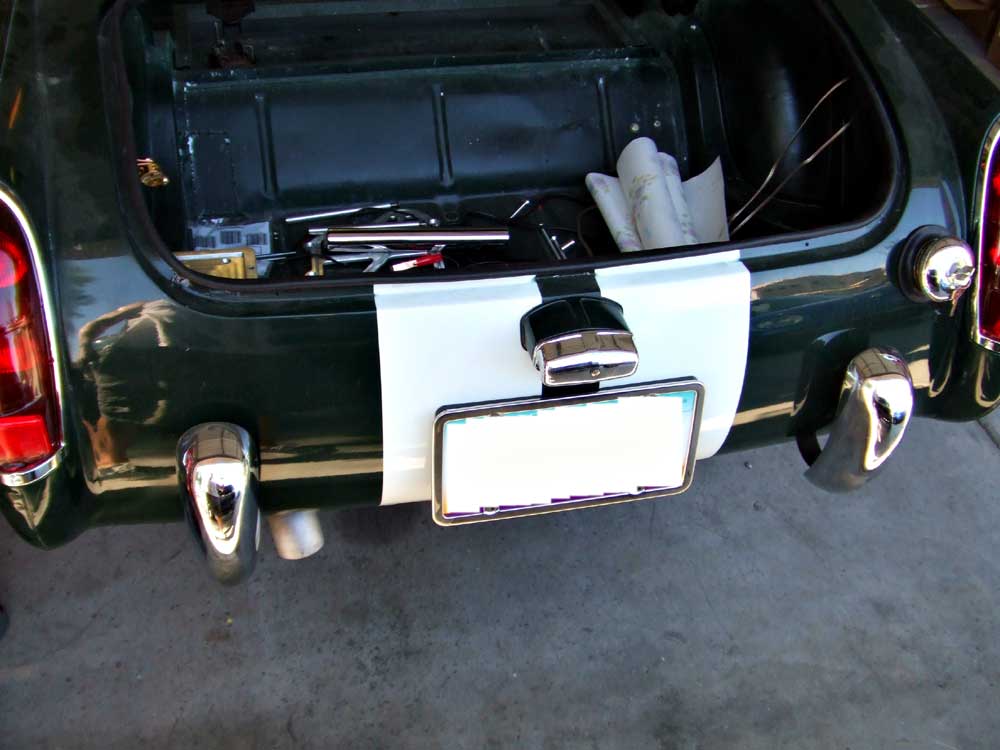 |
And a shot of what people in traffic will see |
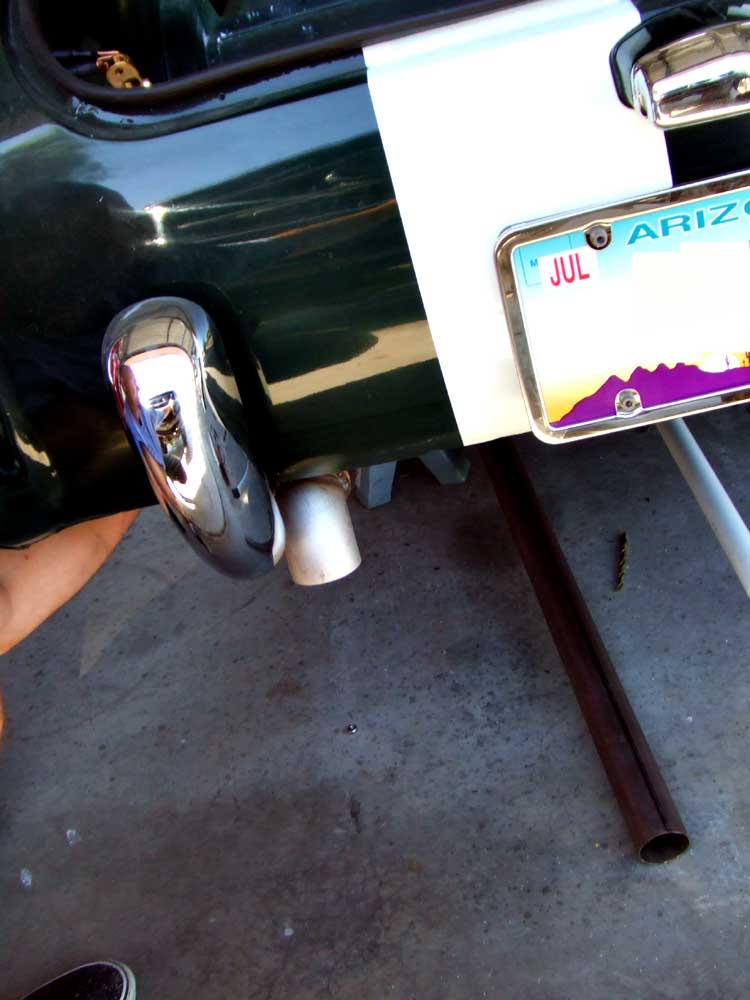 |
I hope that it's quiet enough. I figure with the turbocharger and the glasspack, the exhaust note should be reasonably quiet, but if not, I'll fix it in the future |