
The Mite
Part :49
Trunk (Boot) Carpet
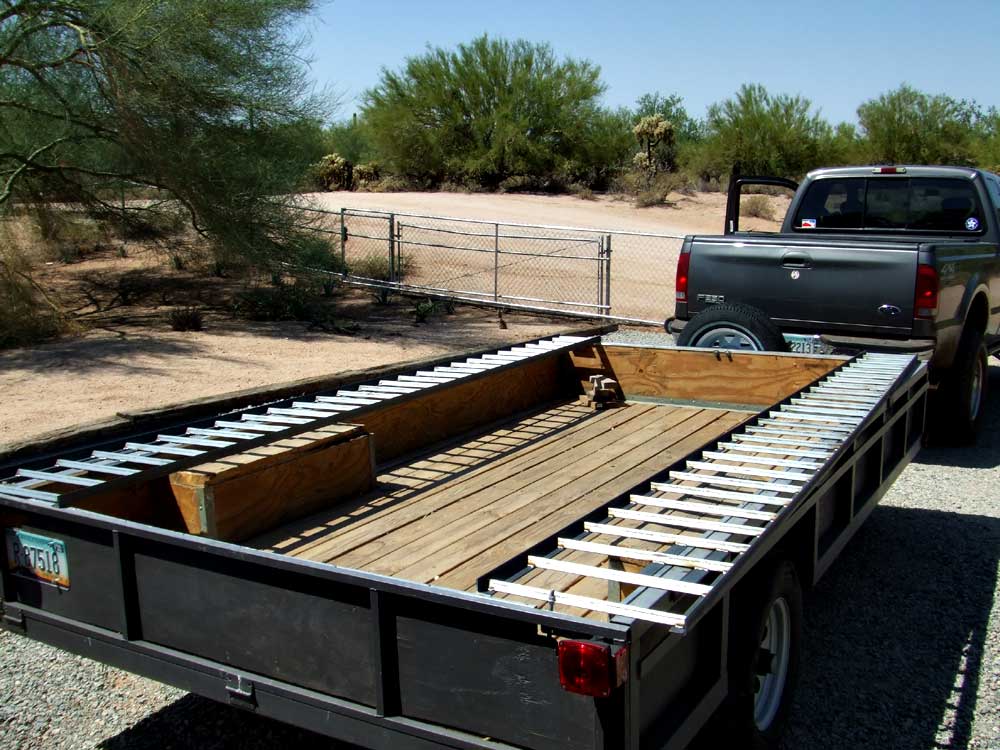 |
Just so you don't think I've been slacking for the last few months...I've built a dual-purpose trailer. it'll haul both the sandcar and anything else that will fit. I put the axle 3 feet from the back end of the trailer so I can pull the rear-engined sandcar on facing forward and still have proper tongue weight to keep the trailer from swaying. |
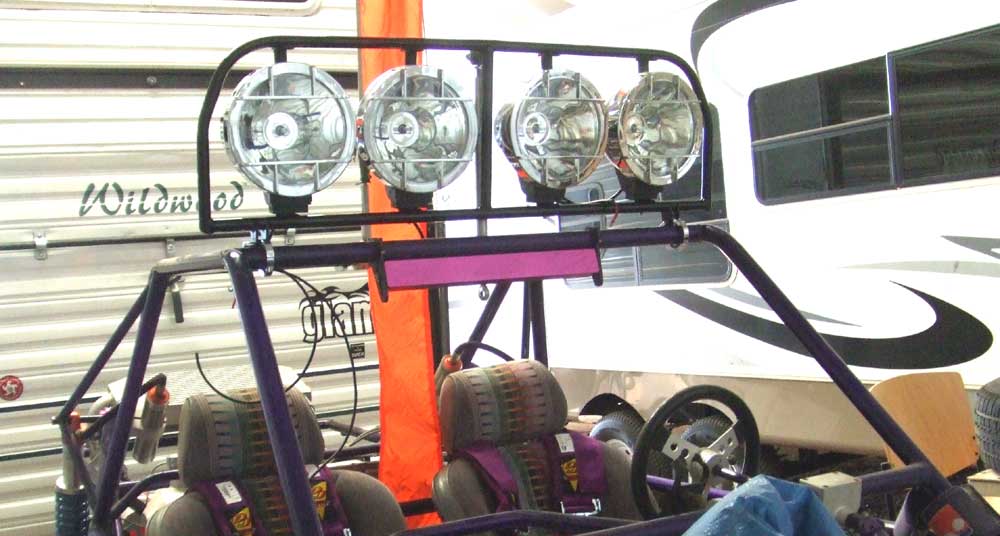 |
I also made a 4 HID removable lightbar for the sandcar, added a tilt-column, new shifter, supertrapp exhaust and installed a new tranny. |
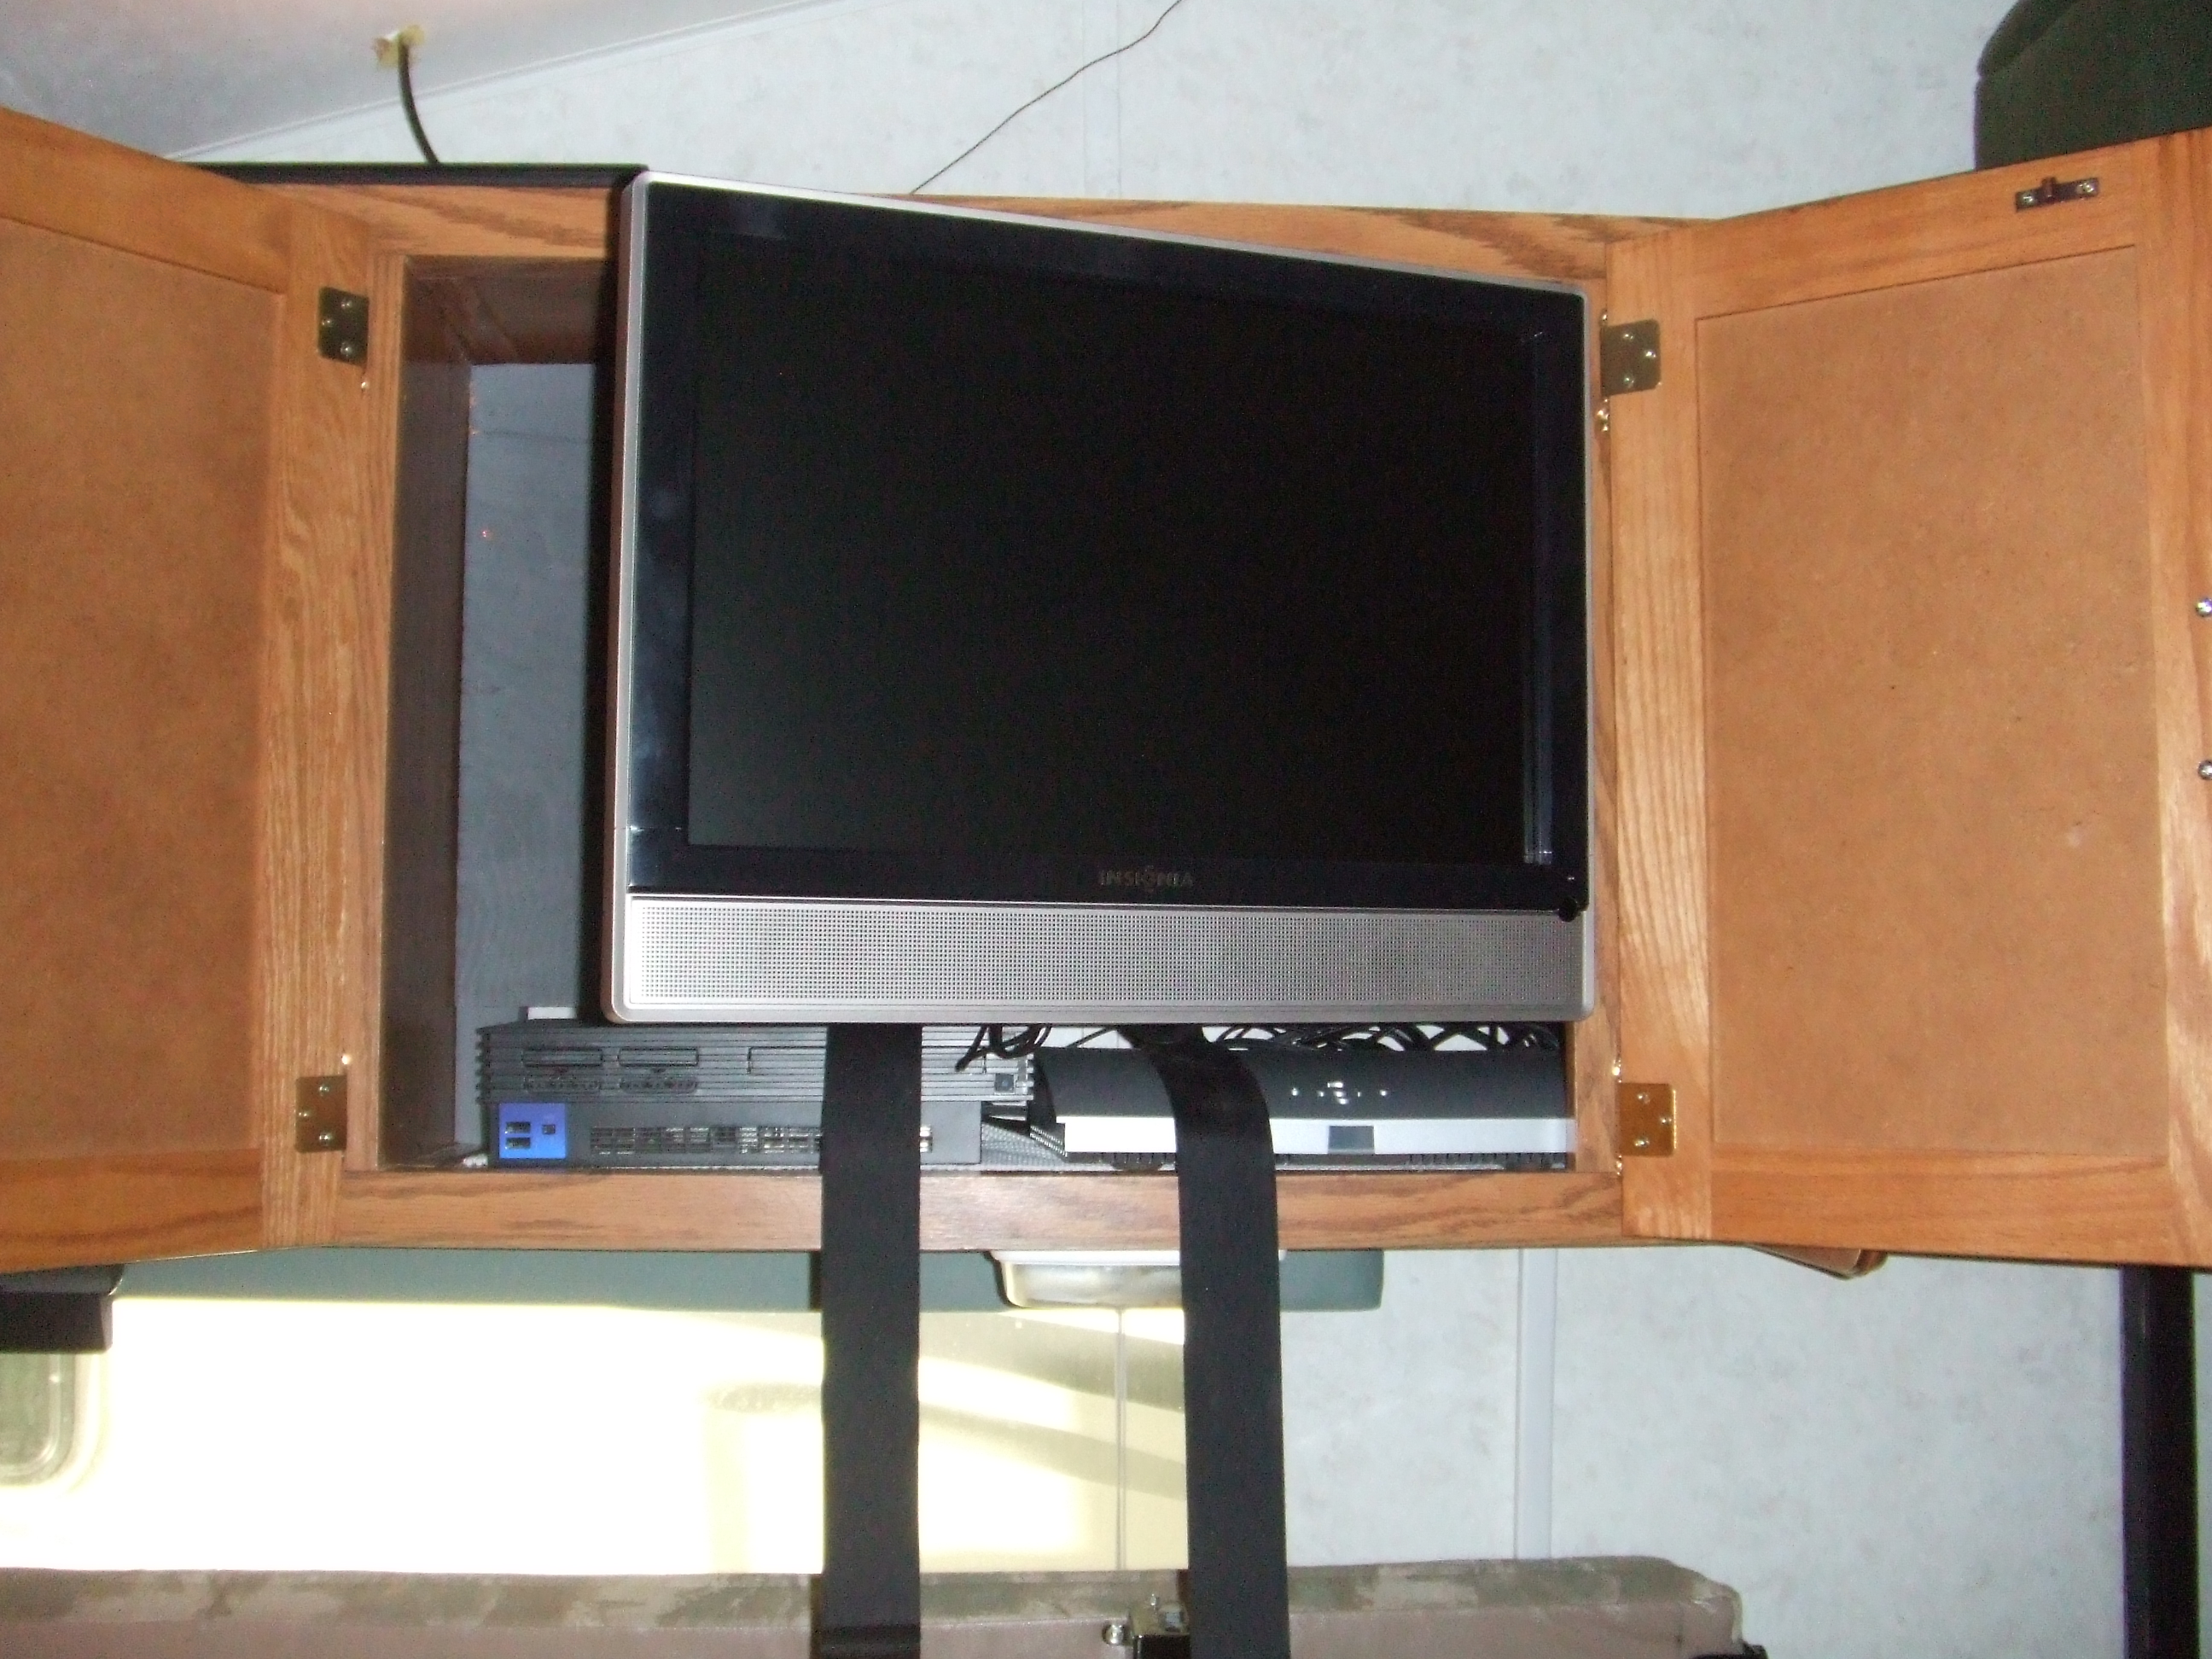 |
I put a TV in the toyhauler on a swivel mount, along with direct tv and a playstation/dvd player |
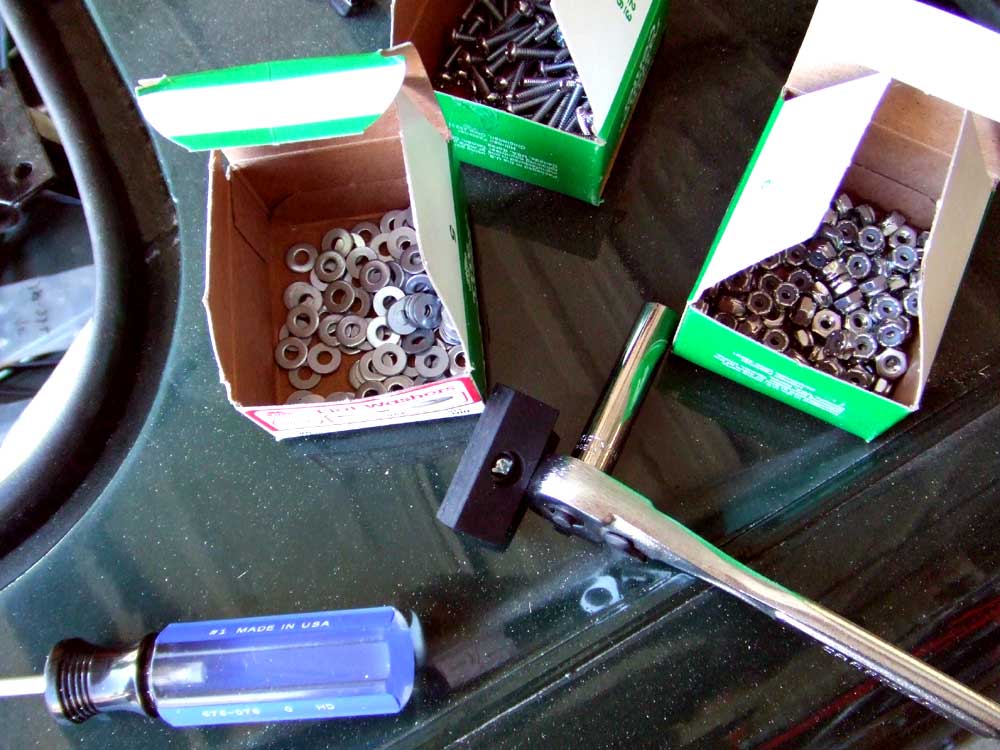 |
So, back to the Mite. I installed the trunk (boot) weatherstripping and got new rubber bumpers from Moss. I was cheap and went to Ace hardware and got a box of 100 each: Screws, washers and nylocks to hold the rubber bumpers on the car. The Three boxes of 100 were cheaper than 4 each from Moss. |
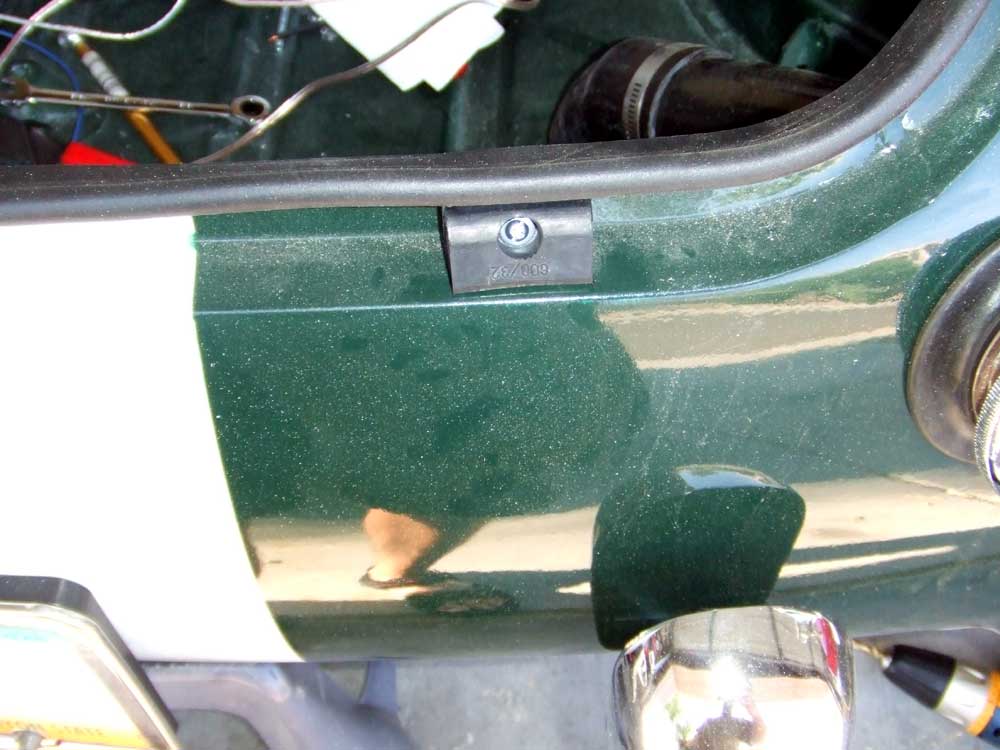 |
Here's the rubber boot bumper in place |
 |
Next was the speaker bulkhead between the trunk and the passenger compartment. i got some 1/4" plywood and cut it to fit. |
 |
Then, cut some speaker holes using the paper templates provided with the speakers. |
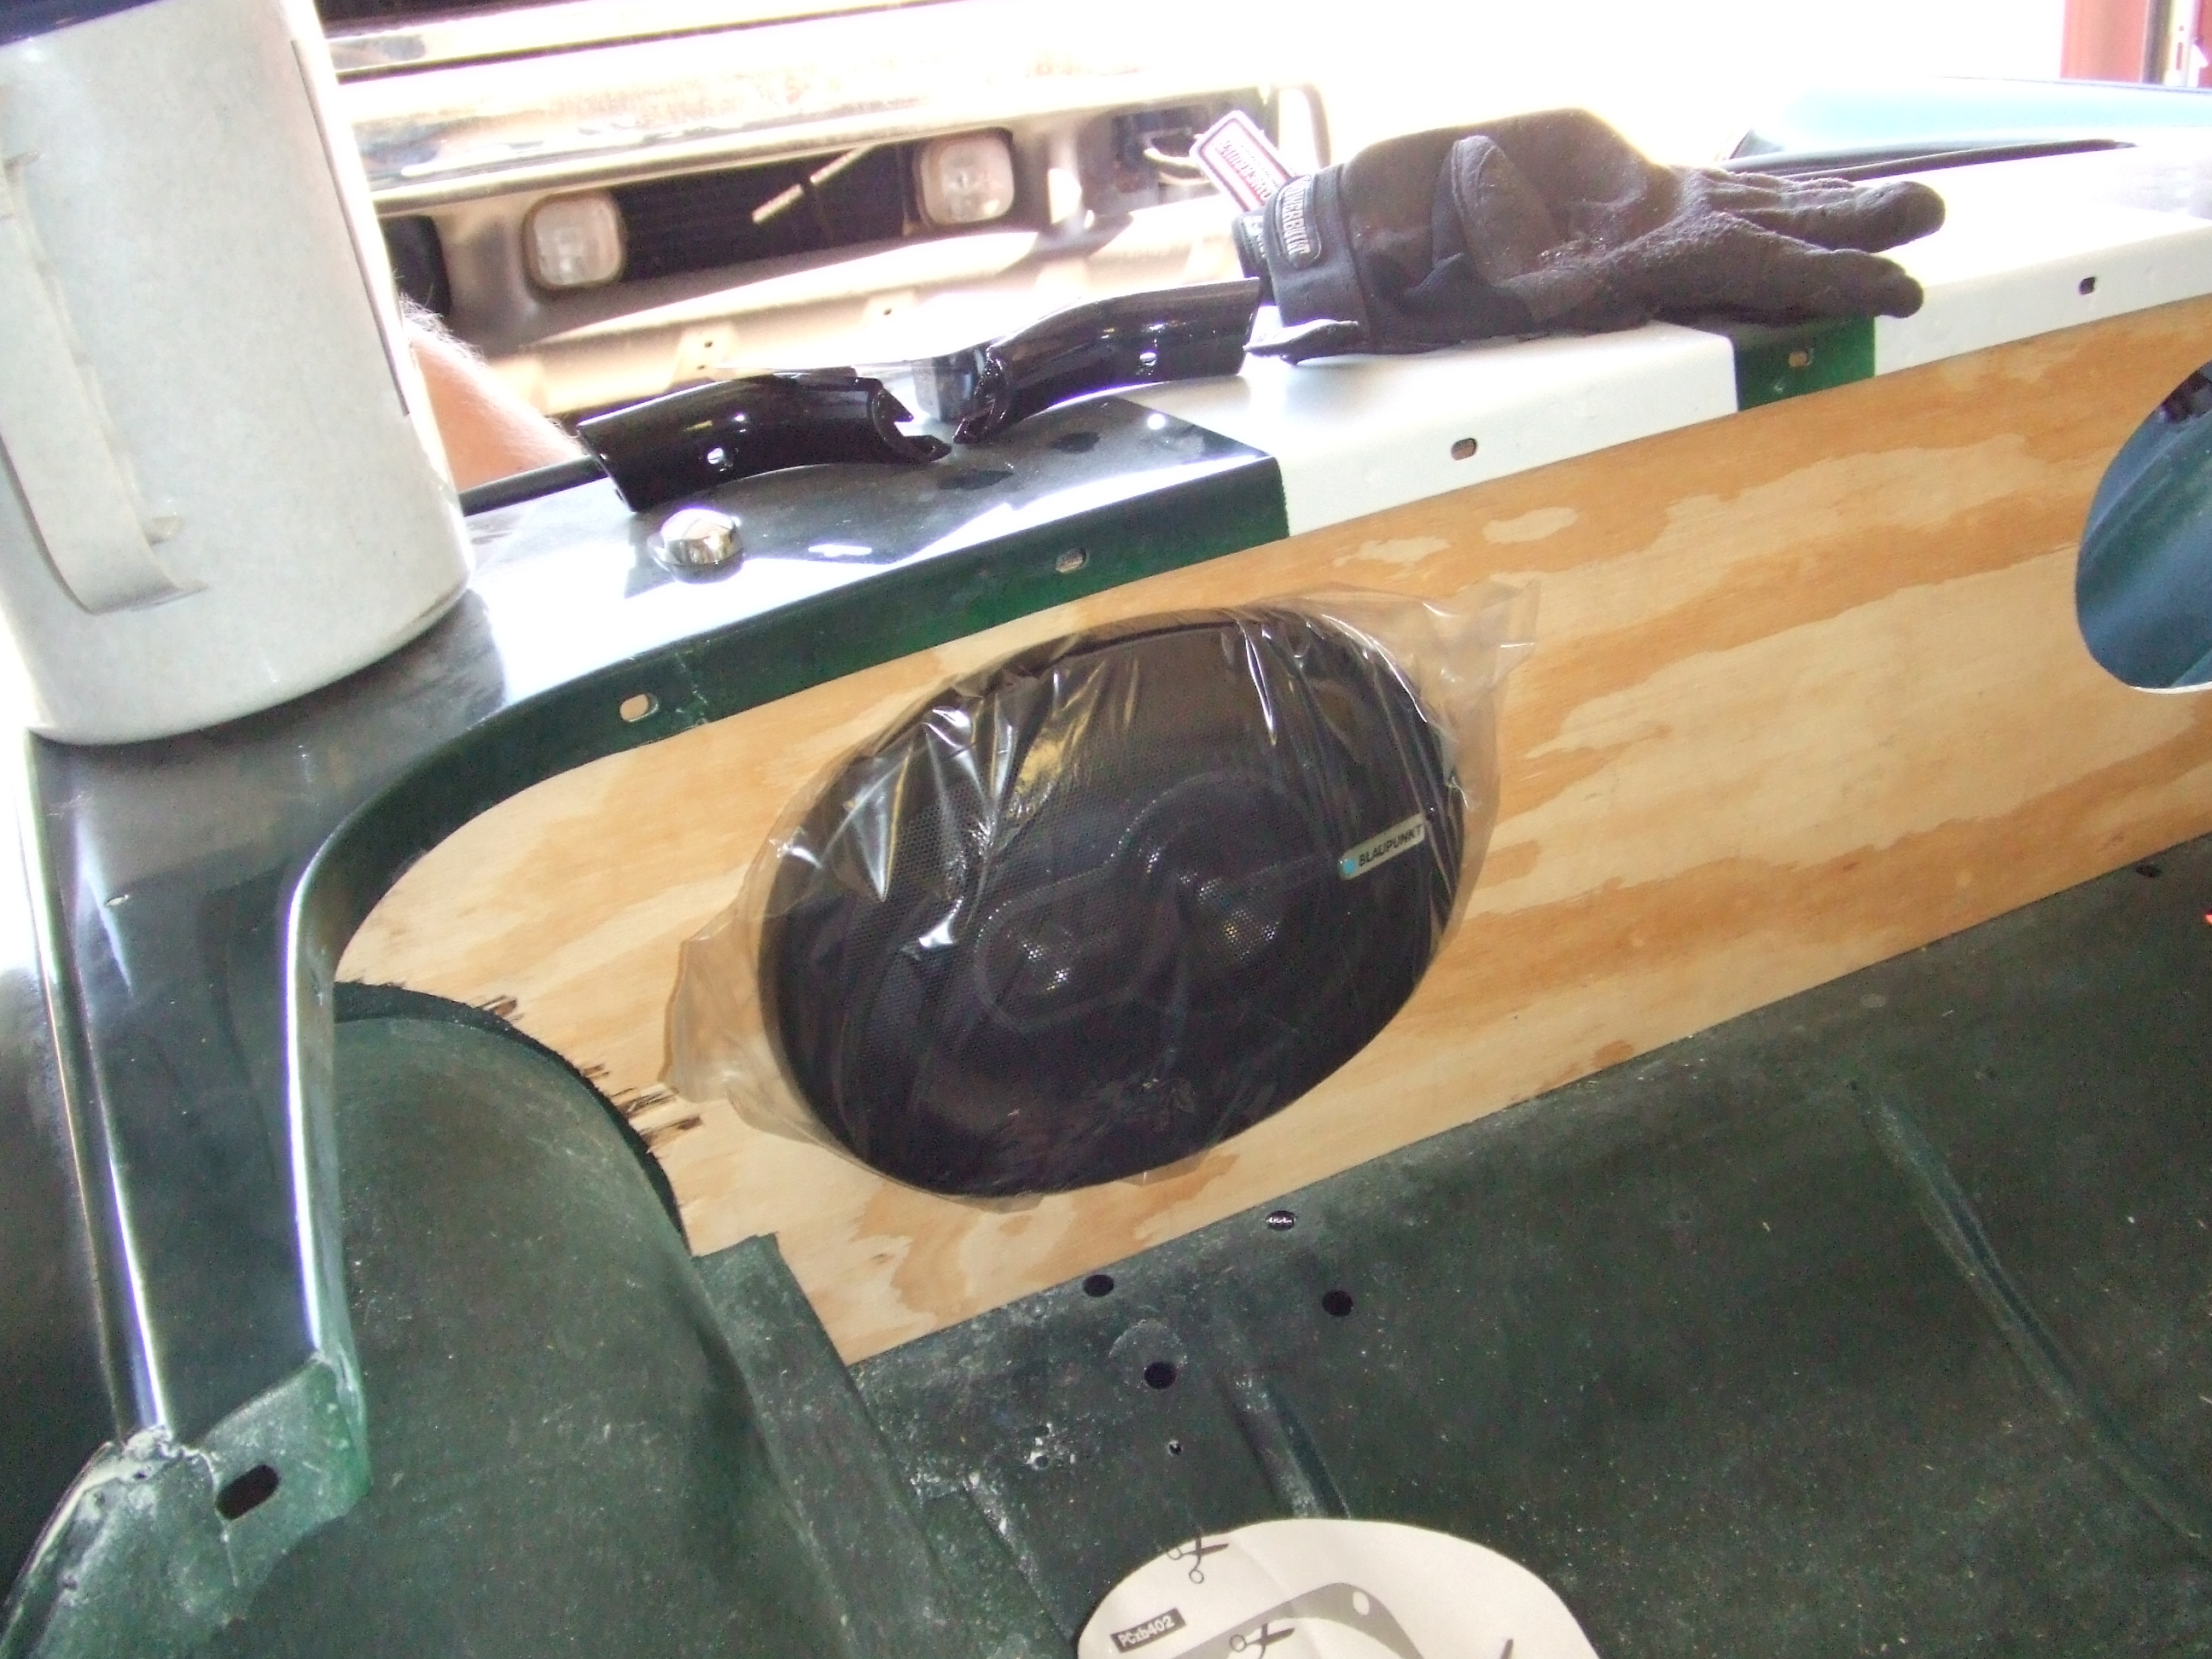 |
Here's the speakers fitted |
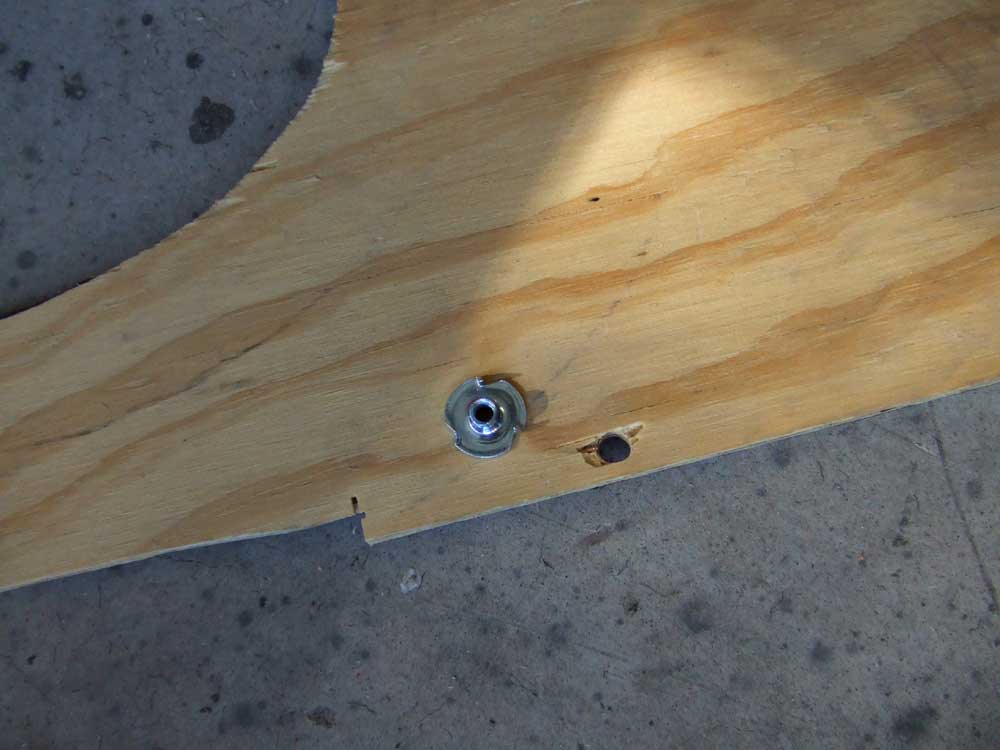 |
To hold the bulkhead in place, I got these nifty 'T' nuts. They hammer in from one side and provide a captive, flush fitting nut in the wood. I used black allen head screws from the trunk side to hold the panel in place once it was carpeted. |
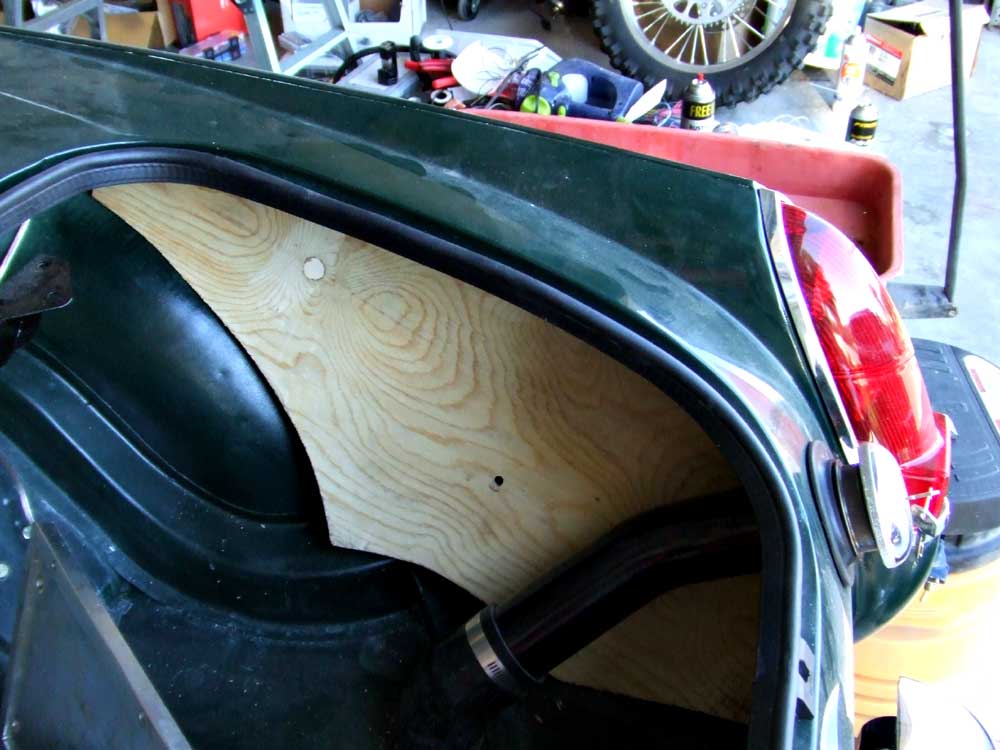 |
I also made some carpet-covered panels for the trunk sided. Here's one test fit in the trunk. I made cardboard patterns to help me with the plywood. |
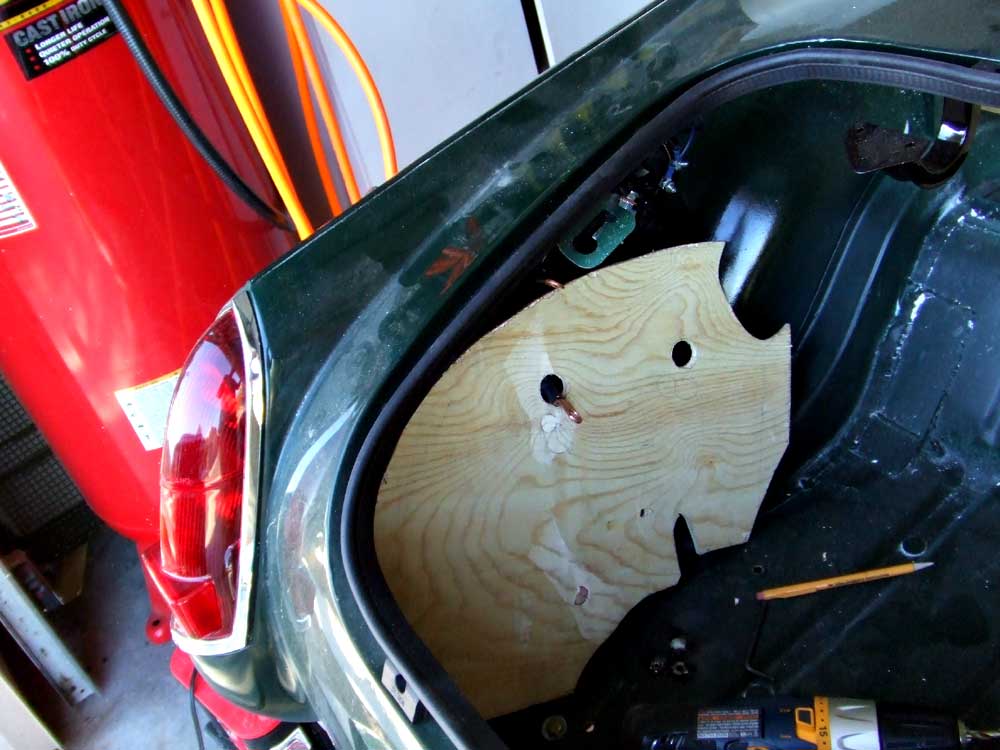 |
Here's the driver's side. Note the holes for the battery cables. |
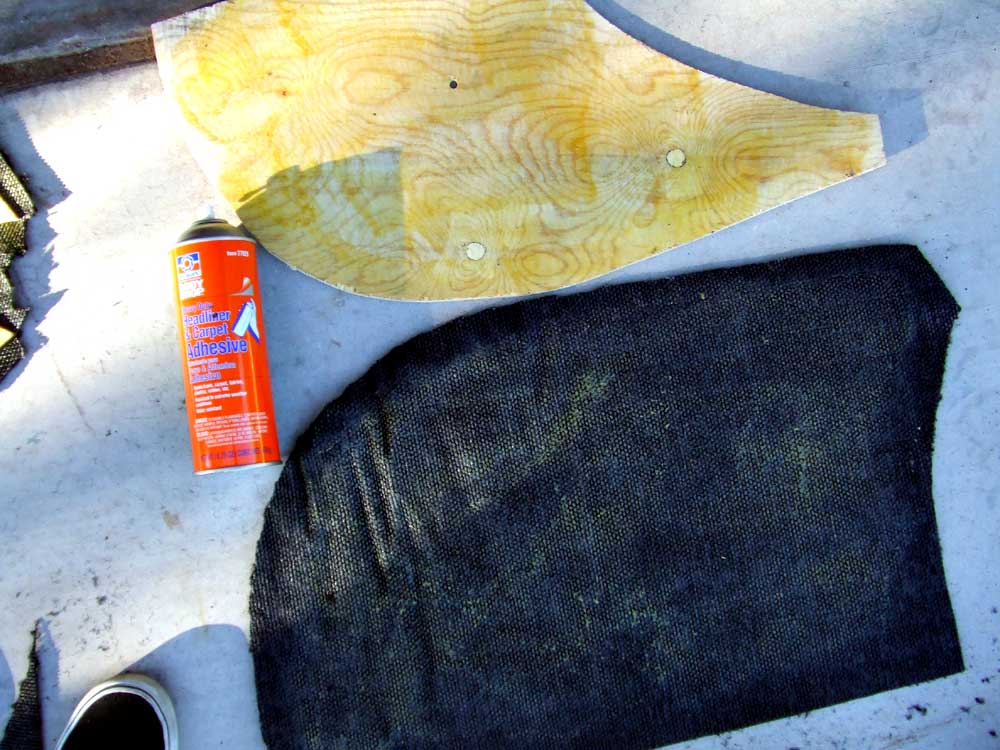 |
After the panels were cut and fitted, I cut carpet about 1" bigger on all sides and sprayed carpet adhesive on the carpet back and the plywood. |
 |
After a few minutes, press them together and clip/fold the edges under and you have carpeted panels. |
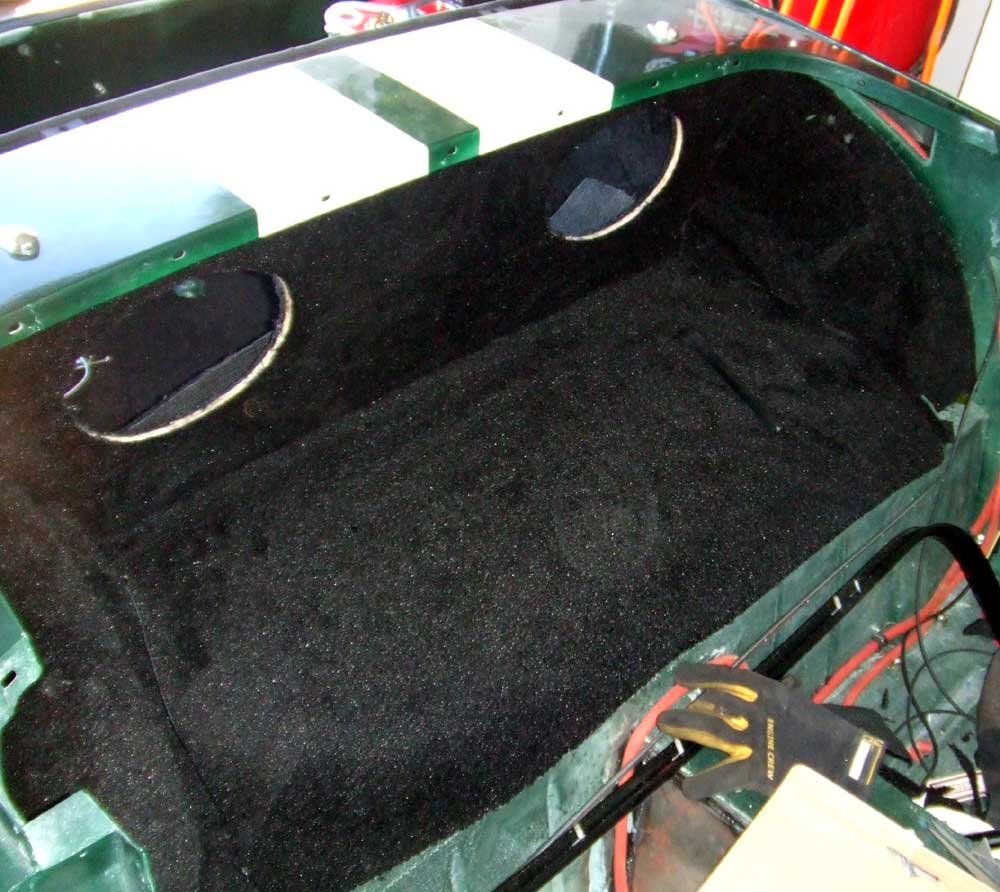 |
Here's the speaker panel carpeted, and the beginnings of the rest of the carpet. The wheel humps were a challenge, but carpet adhesive and patience and a few relief cuts yielded good results. Next come the speakers and the rear trim |
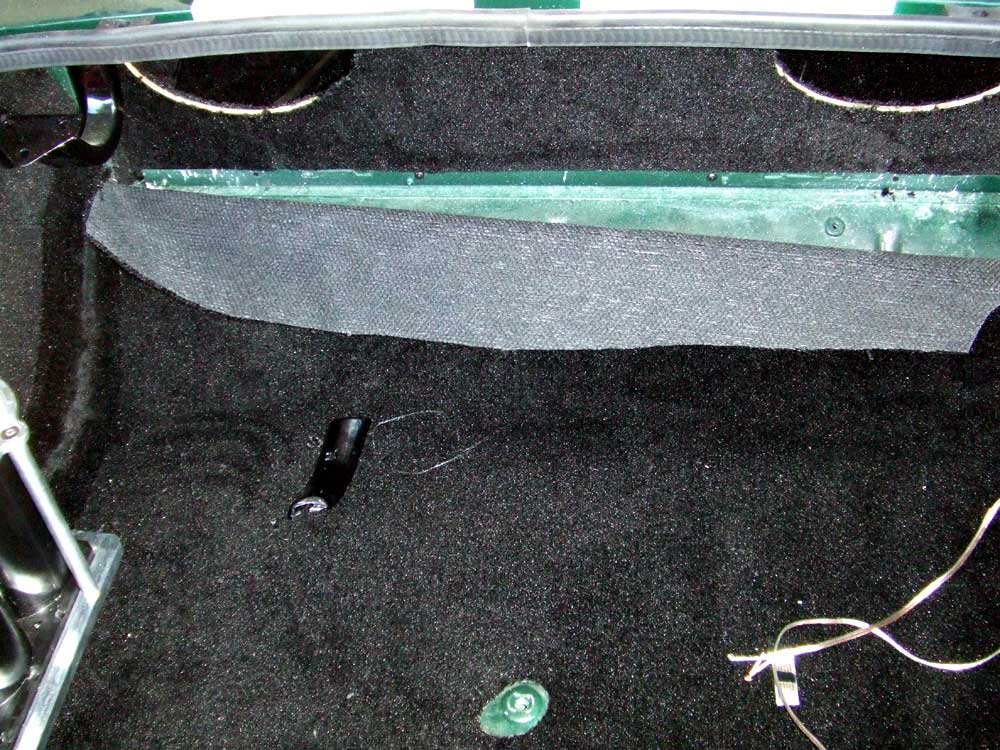 |
The trunk view. You can see one of the small black allen head screws that hold the speaker panel in place |
 |
And the speakers installed along with the rear cockpit trim. I got the trim powdercoated black instead of covering it with vinyl |
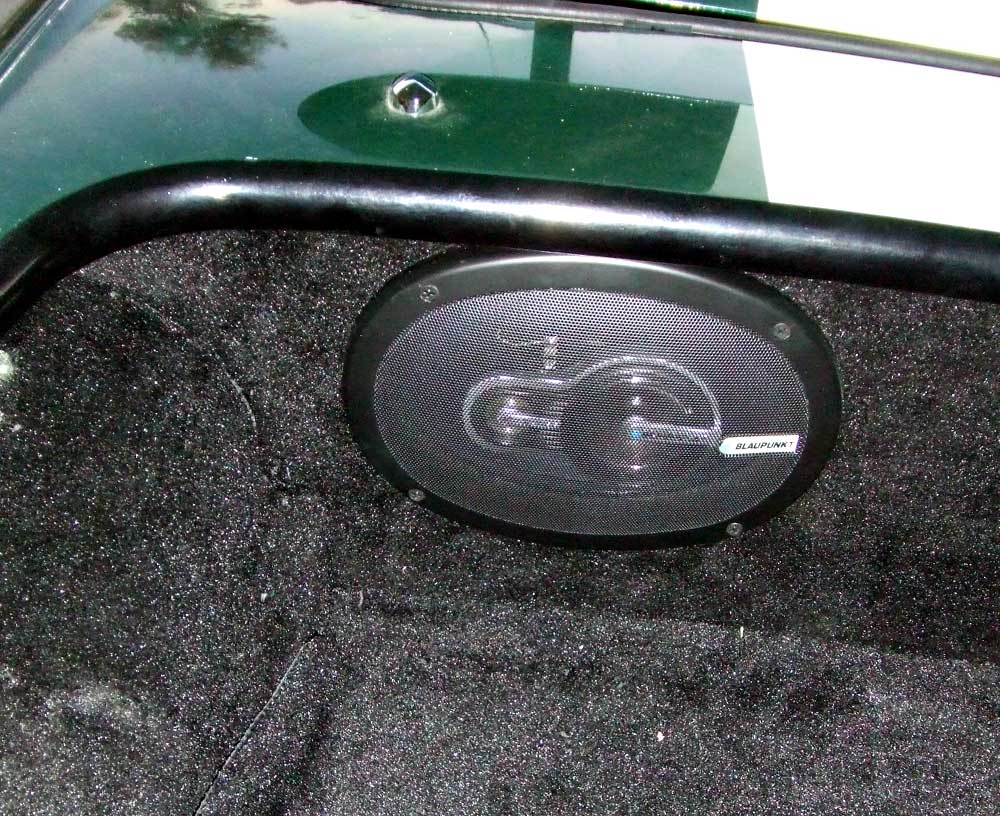 |
A closeup of the speaker and cockpit trim |
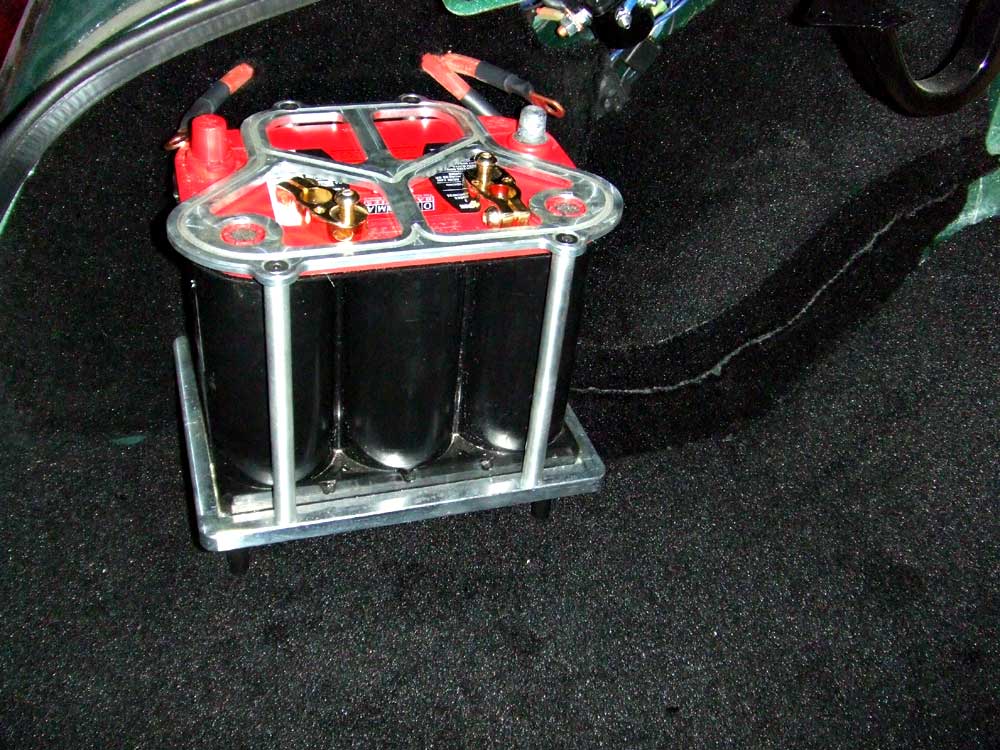 |
The battery installed in the nifty billet battery holder. |
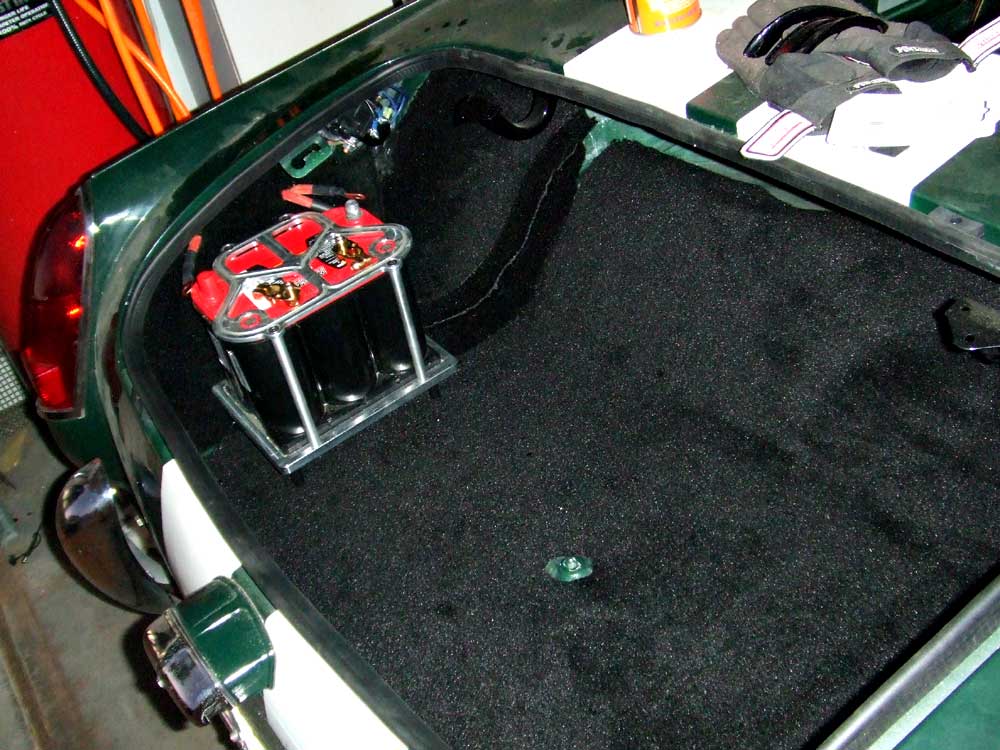 |
The battery and the nearly completed trunk |
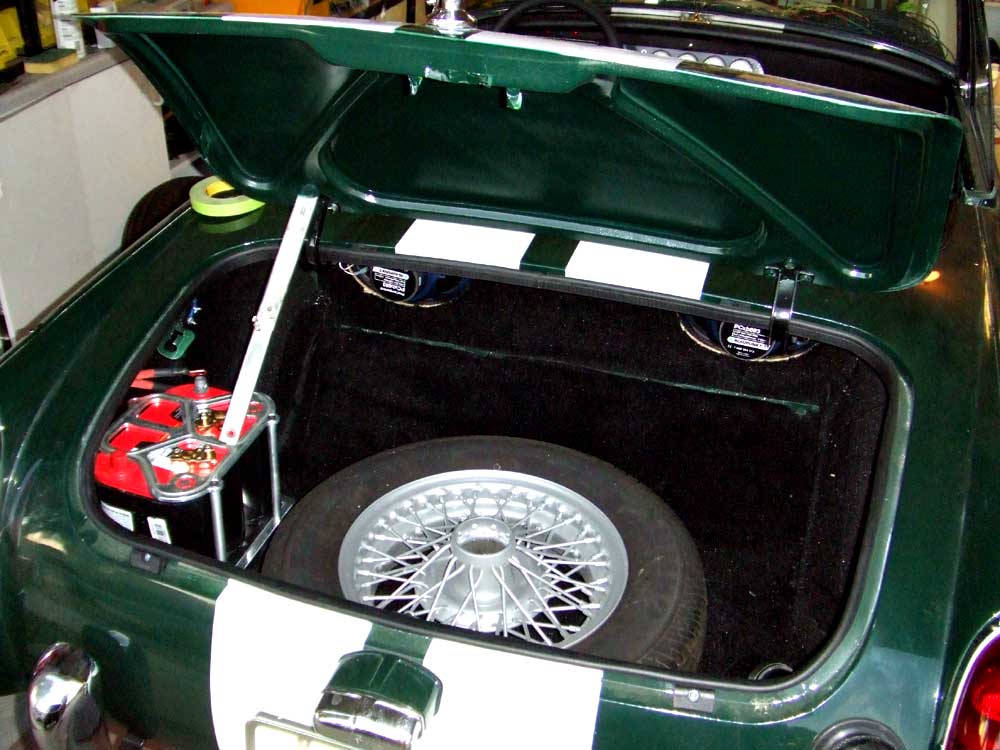 |
I've got to put the prop-rod on the right hand side of the trunk, as it hits the battery now |
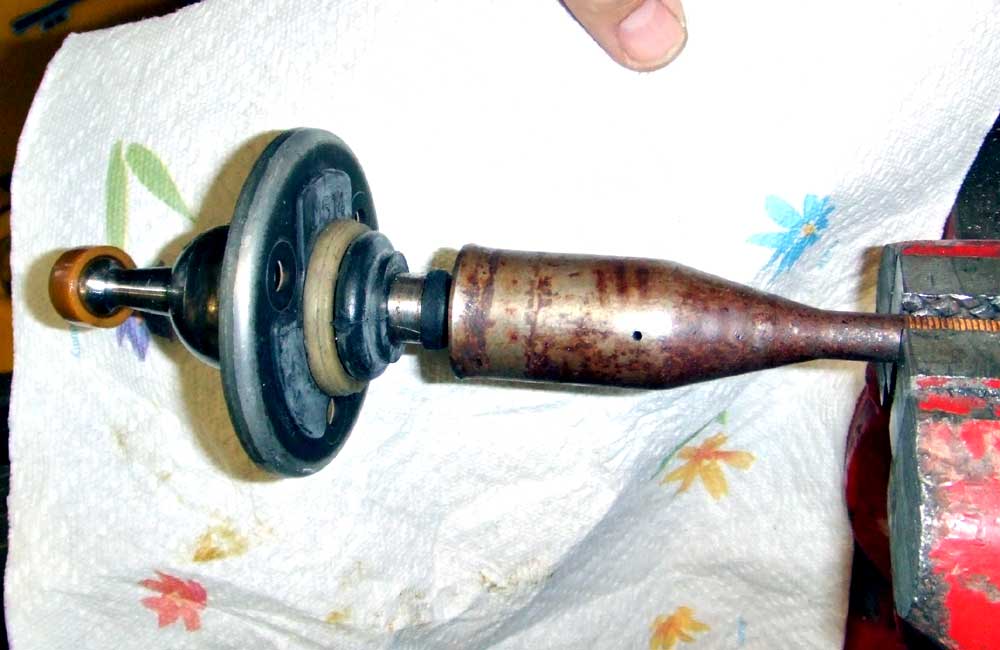 |
The stock Miata shifter with the large, rubber-filled anti-vibration shaft |
 |
A few minutes with a grinder and wire wheel and the large, rubber-filled shaft is gone. I'll weld an extension on the top of the shifter once I figure out how tall I want it to be |
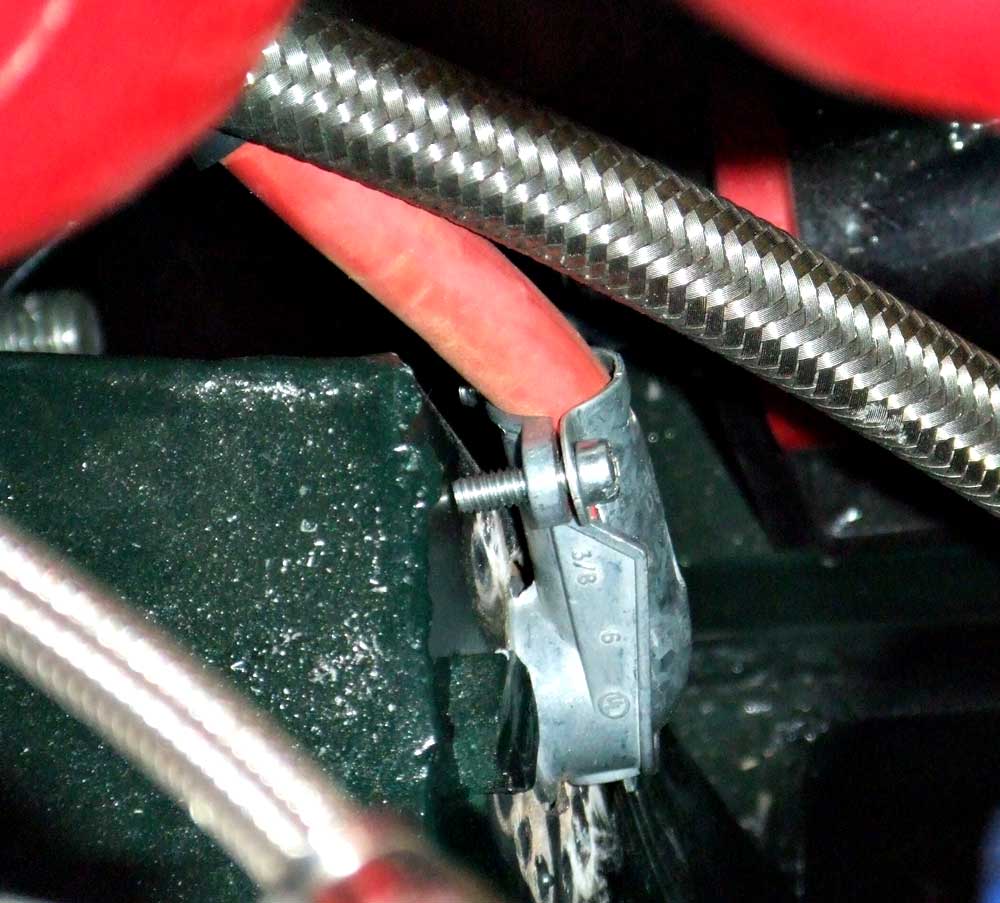 |
The Battery cable coming through the firewall..I used a right angle electrical strain-relief that provides a secure, non-chafing right-angle pass through to the engine compartment. |
 |
The trunk lid with shiney new t-handle |