
The Mite
Part :50
Beginning the upholstery in the cockpit
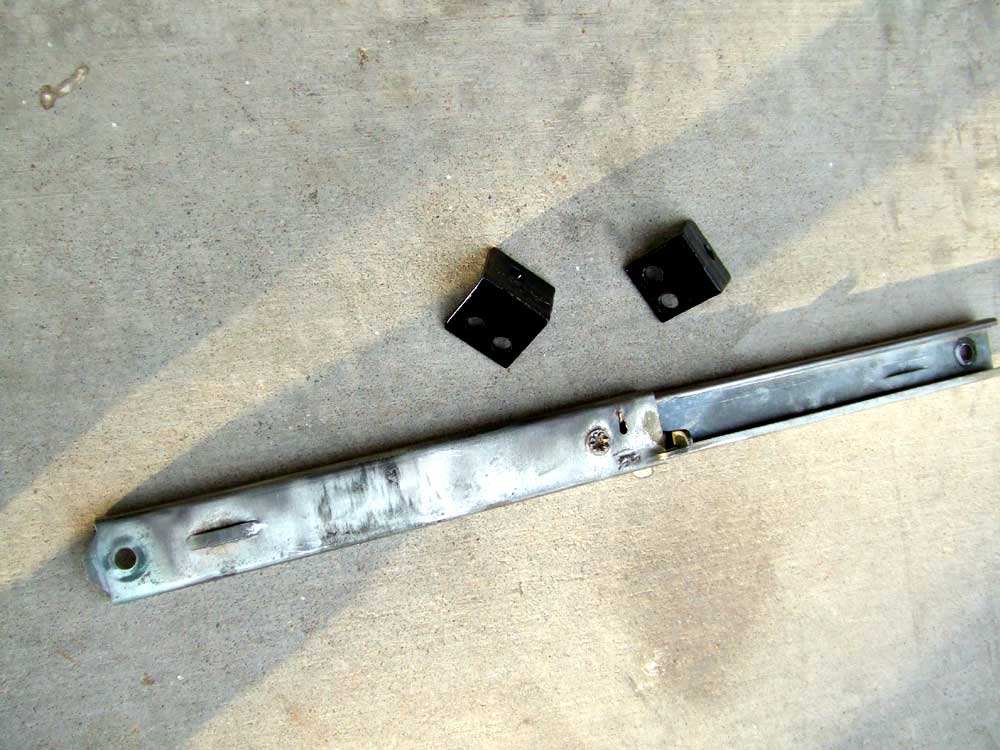 |
To finish the trunk I need a prop-rod for the trunk lid. I found a self-latching rod for a later year midget and decided to adapt it to fit the Mite. The two angle brackets that I cut out are painted and ready to bolt in. |
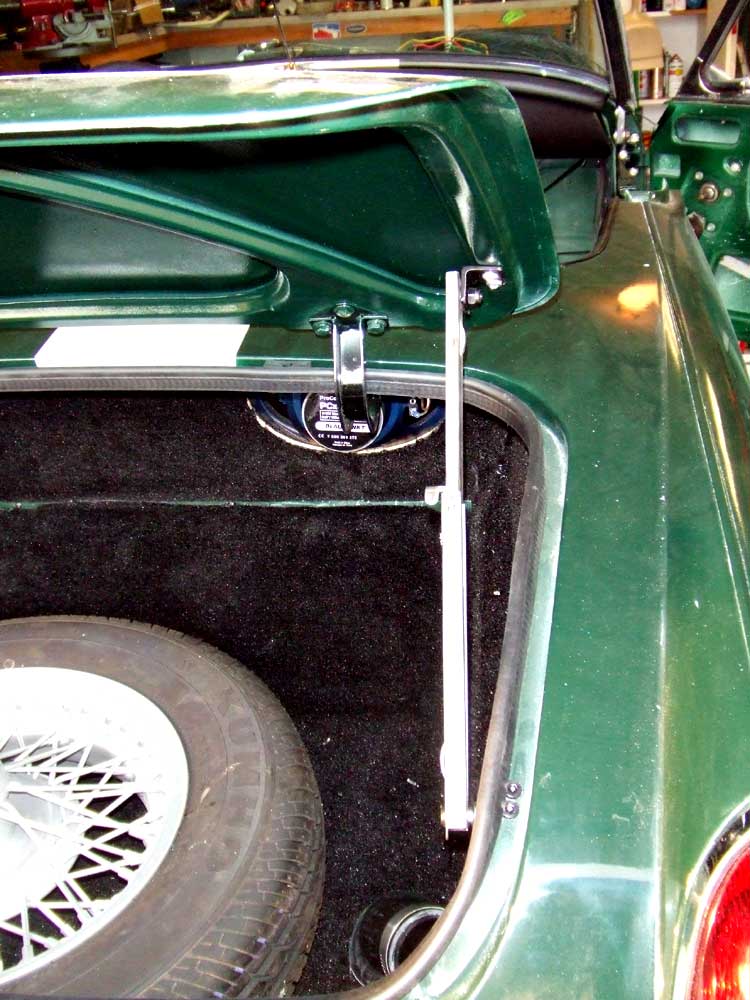 |
Here's the rod in the car. I've still got to fab a spare tire hold-down, a trim piece for the gap in the carpet under the speakers, and get a jack. |
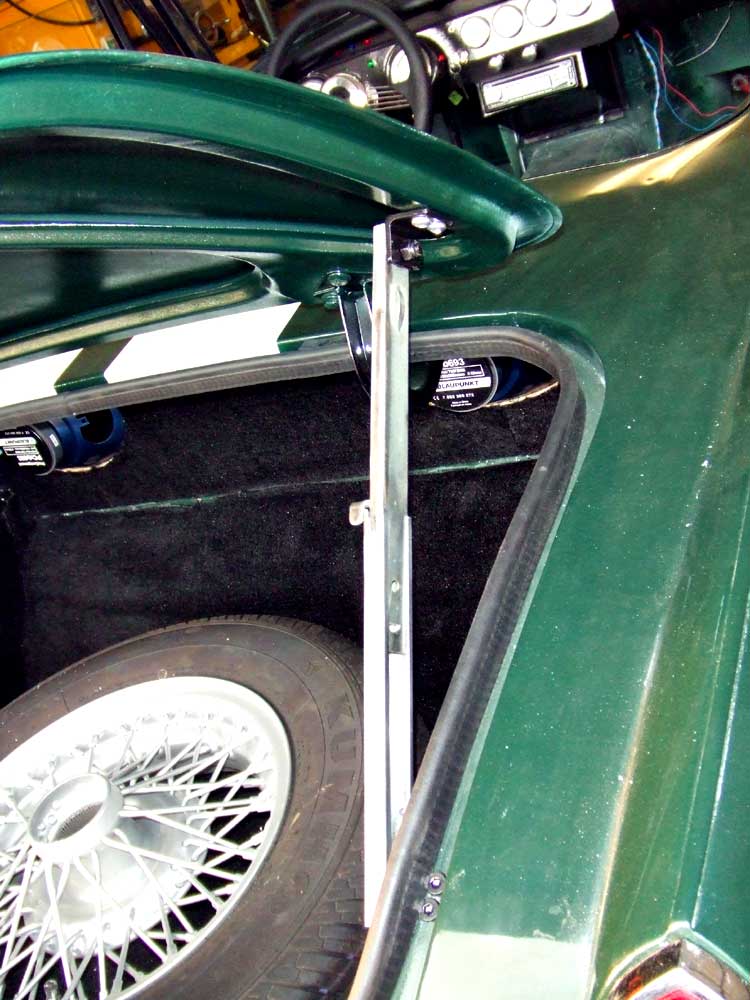 |
I used two allen-head screws on the bottom bracket, with rubber washers underneath to prevent water from entering the trunk. The top bracket is sheet-metal-screwed in place. It works well and does not interfere with the gas fill tube |
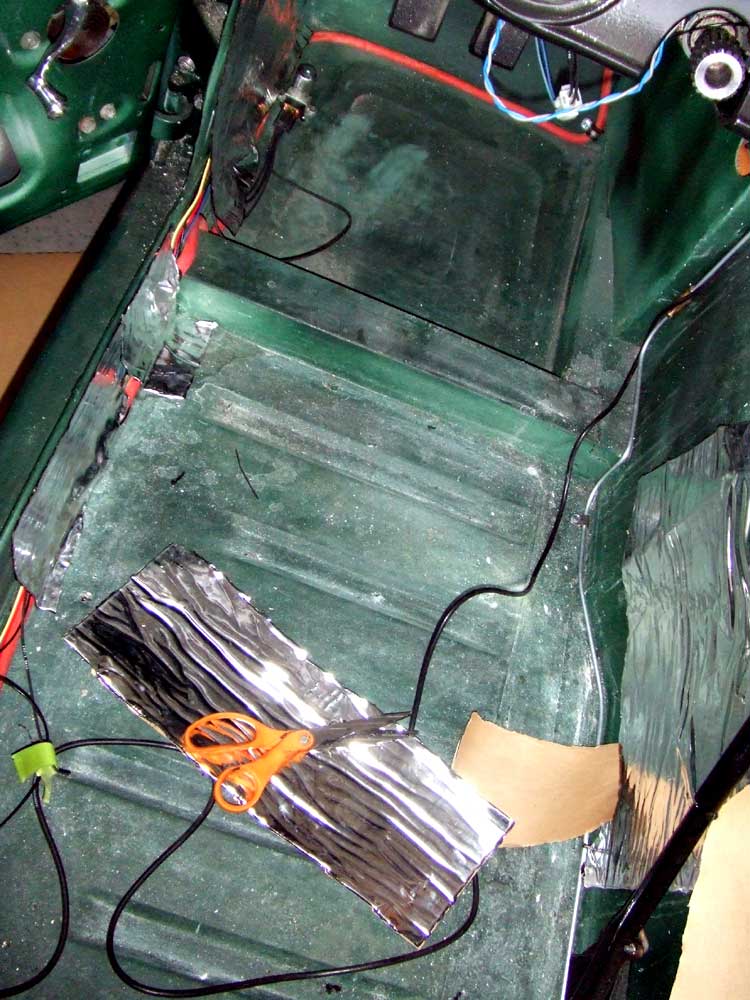 |
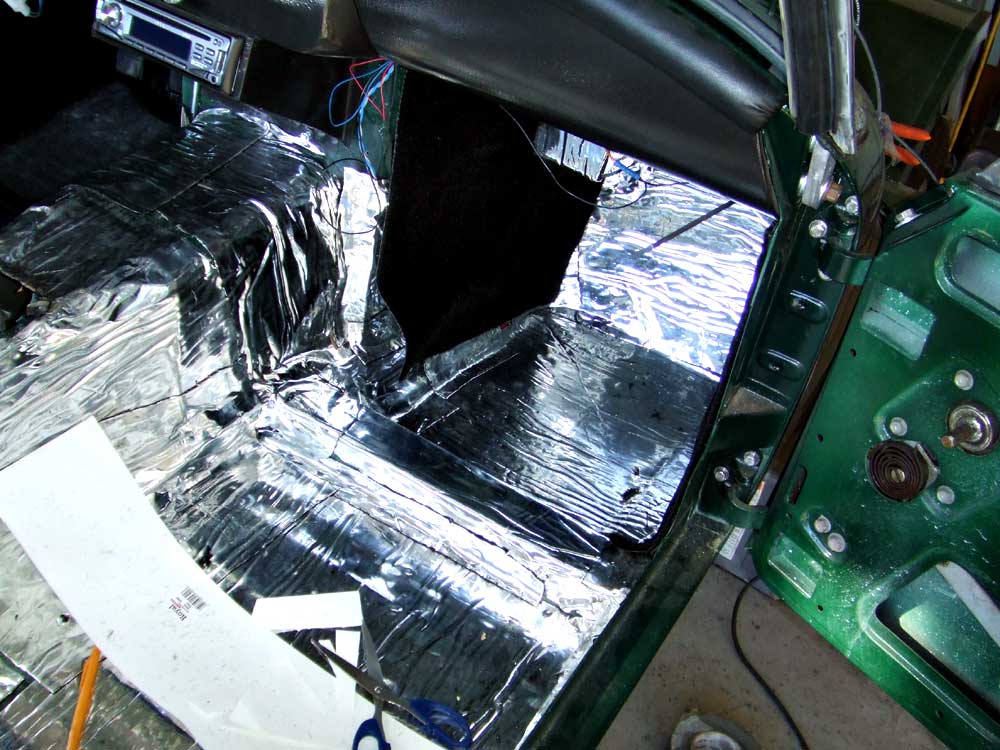
Next, on to the interior of the cockpit. I decided to line the whole passenger compartment with sound-deadening material. I chose RAAM mat. It's a butyl rubber mat with reflective metal on one side and self-adhesive sticky on the other. |
 |
You cut it to size, then peel off the paper lining exposing the self-adhesive stickiness. I like the butyl for Arizona because it won't melt and stink like tar-based products |
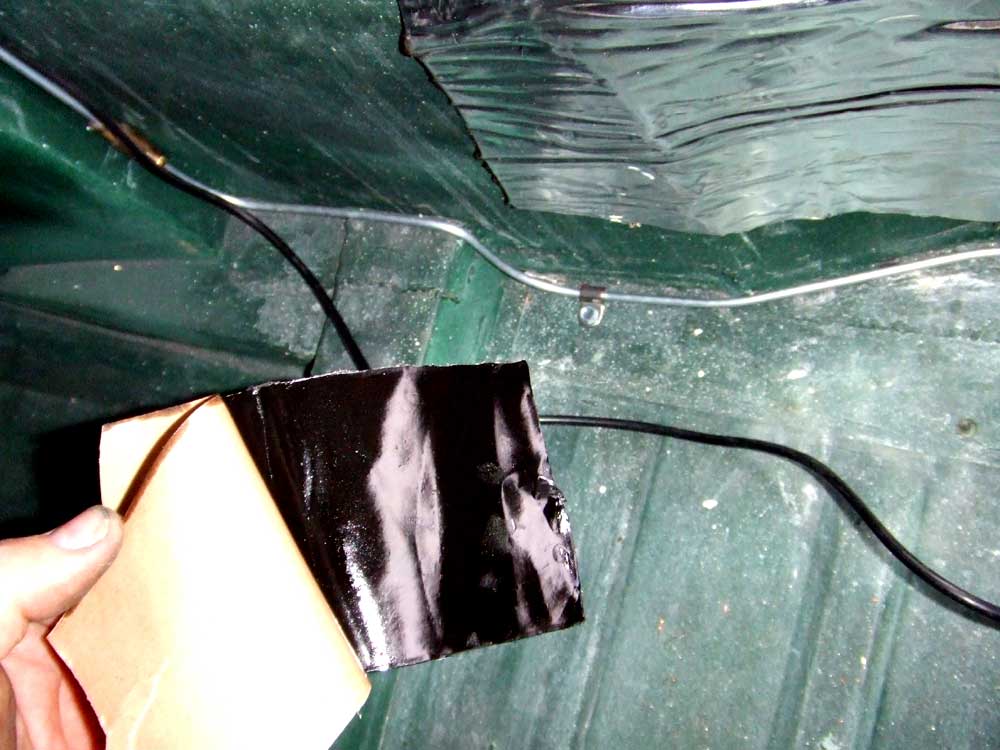
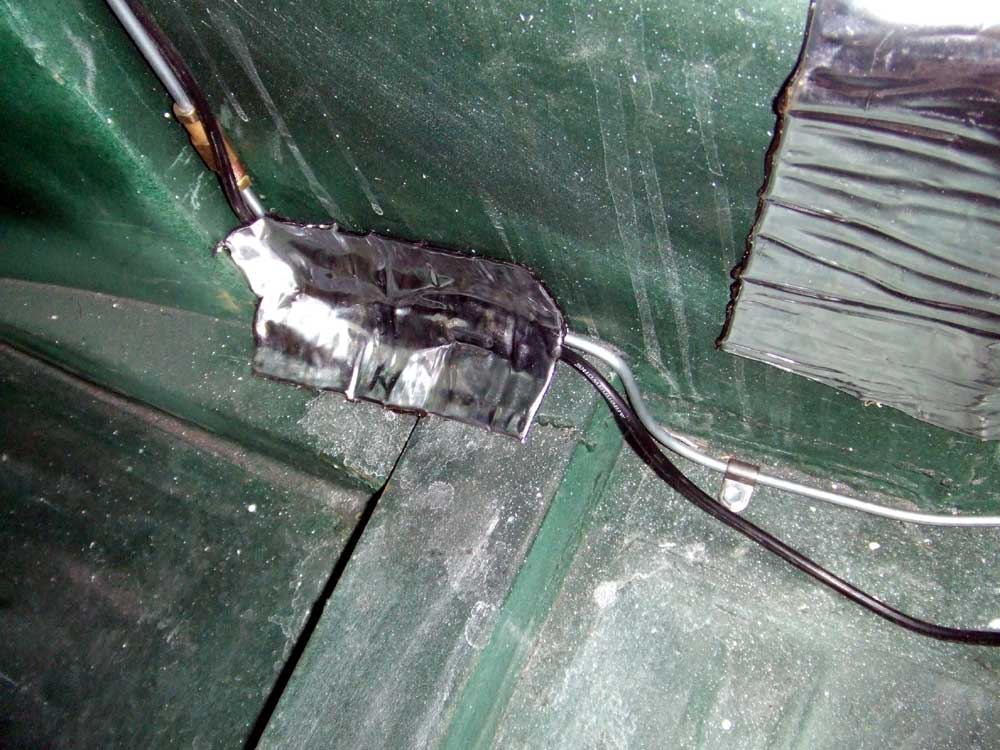 |
It also holds down the wires, acting like a large piece of tape |
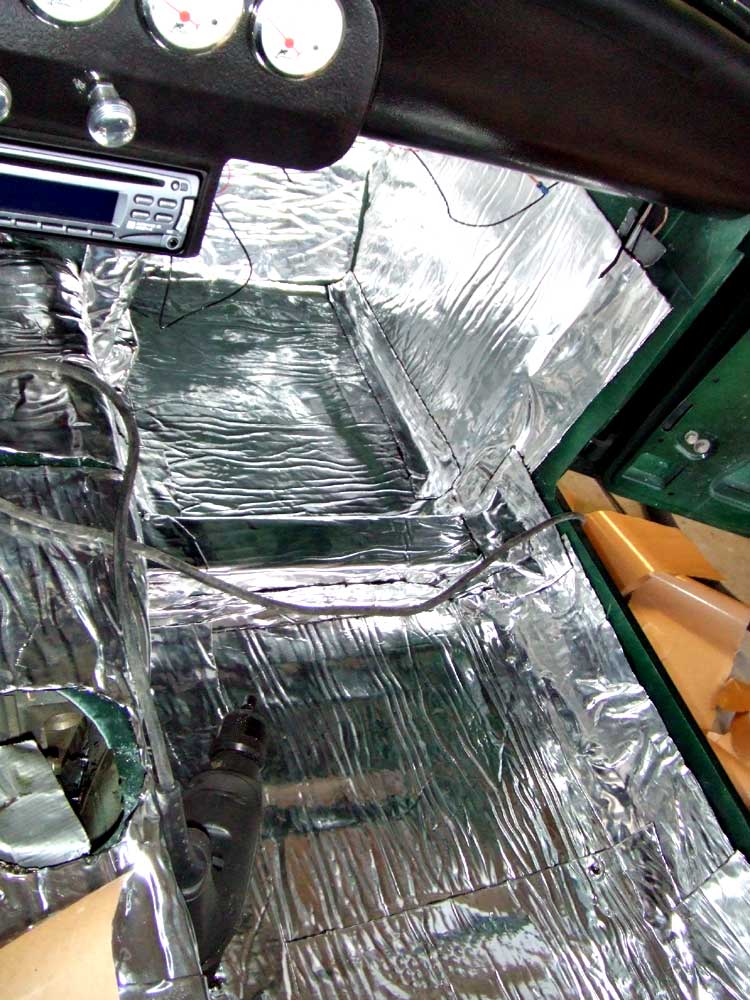 |
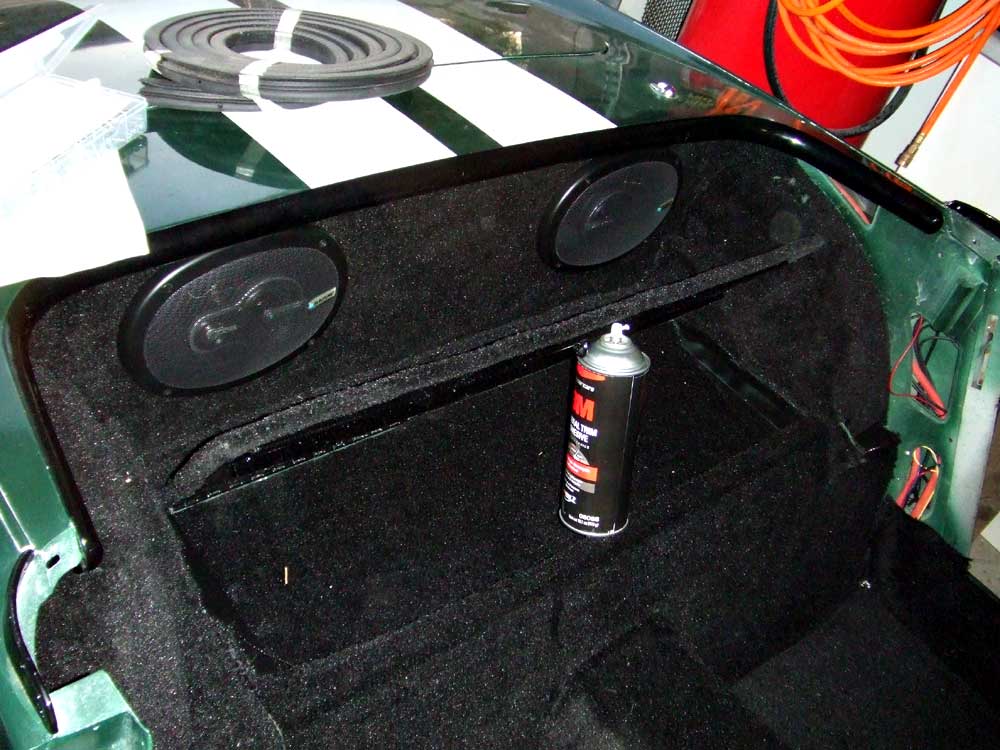
Here's the passenger compartment finished. I should have lined the inside of the doors with the mat, but it's too late now |
 |
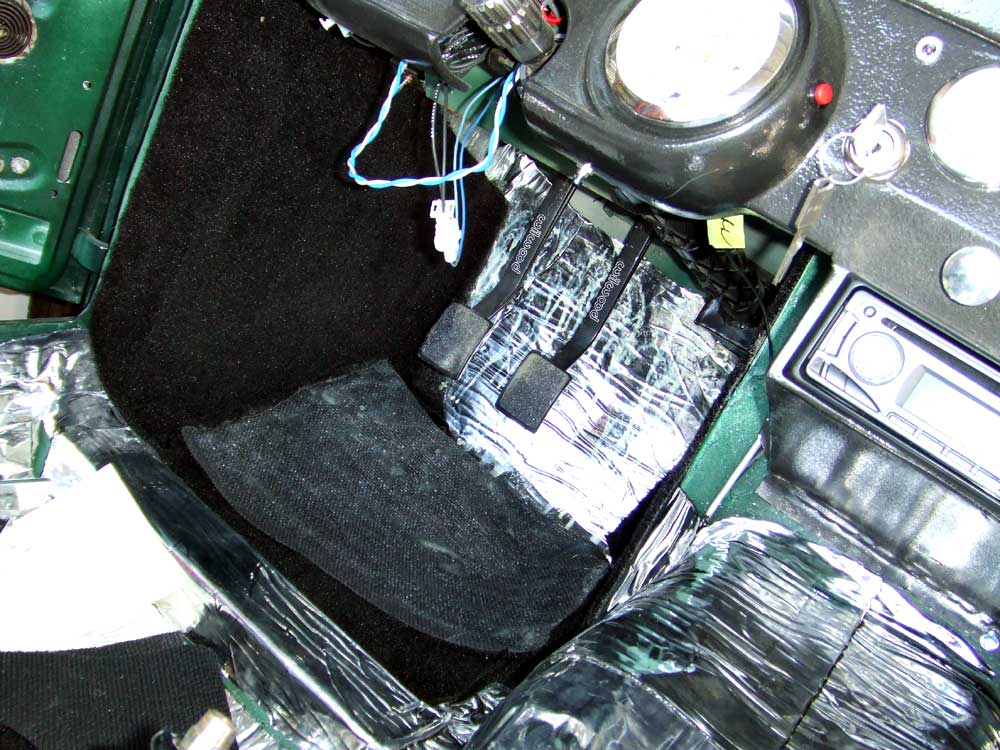
And the whole cockpit covered with RAAM mat. You can hear the difference when you tap on the floorboards with your hand or a mallet, the sound is 'dead', it does not ring or vibrate or buzz. It should help keep some of the noise and heat out of the passenger compartment |
 |
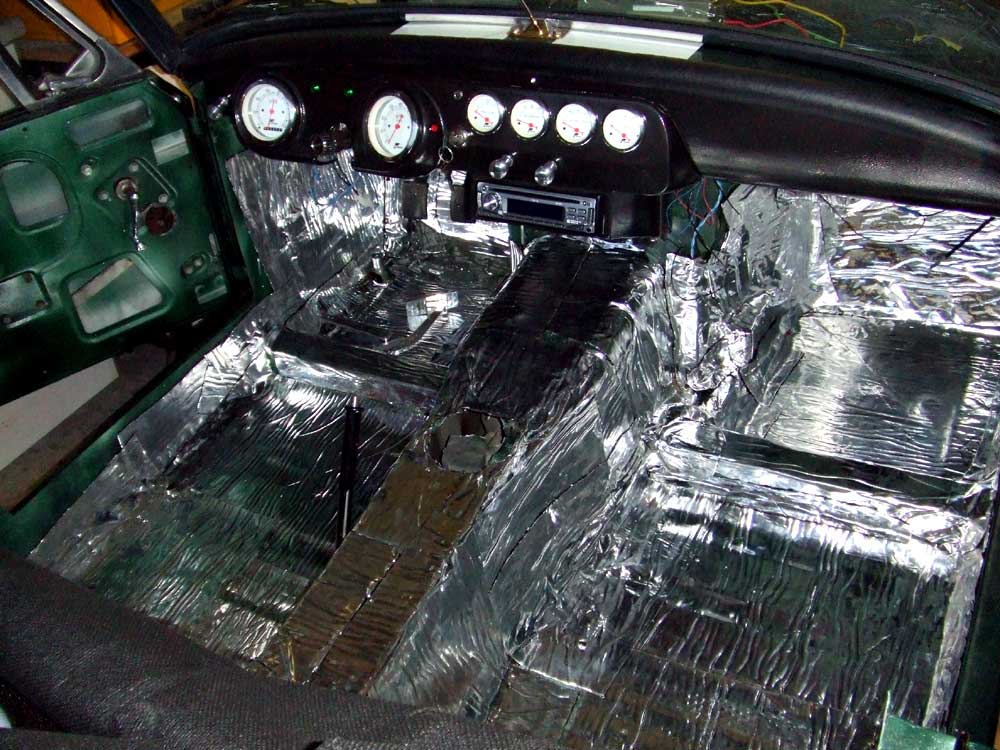
Then, it was time for carpet. I coulda purchased a ready-made Sprite carpet kit, but those kits don't cover the sides of the footwells and the sides of the door sills. I did not want to make panels for those areas like stock, I wanted to cover them in carpet. |
 |
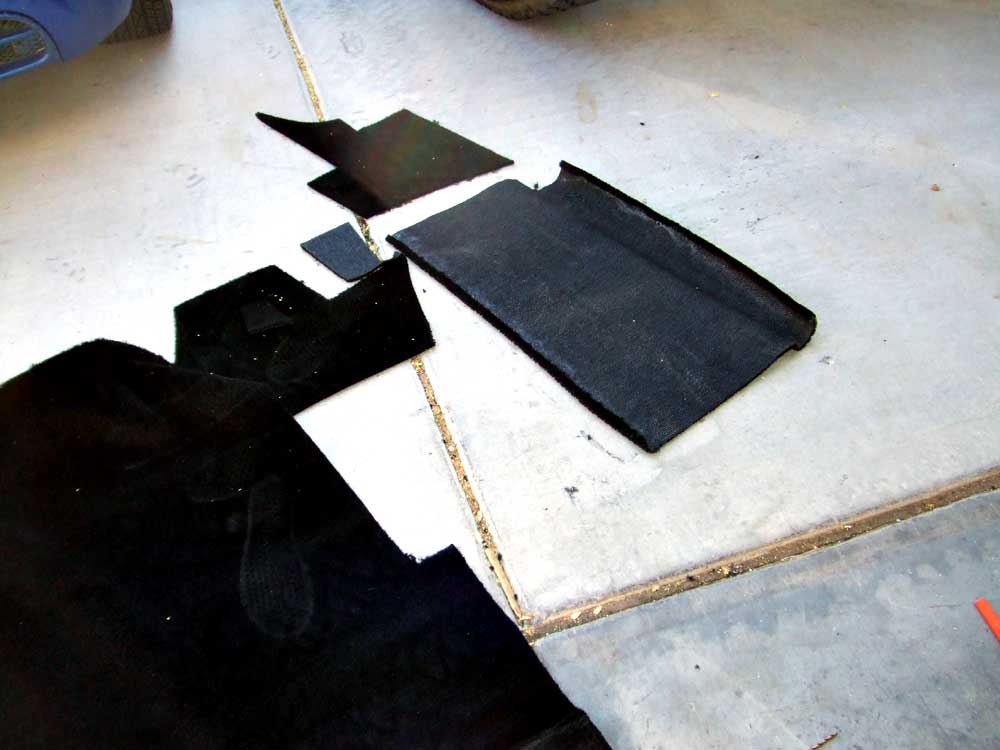
The carpet was purchased at a local commercial fabric and carpet store. I bought 6 yards long by 2 yards wide so I'd have plenty for screw-ups. I made posterboard patterns and cut the carpet to fit.
|
 |
I had to cut carefully where two pieces come together, like here in the footwell, so the seam is not noticeable. |
 |
Both the carpet and the car were sprayed with overlapping coats of trim and carpet adhesive. Spray it on, let it dry for 5 minutes then press the carpet to the car. You get one try, so make sure that you have a plan for laying the carpet in the car without folding it glue-to-glue. |
 |
Here's the finished tranny tunnel and inside the storage compartment behind the seats |
 |
And the finished storage compartment |
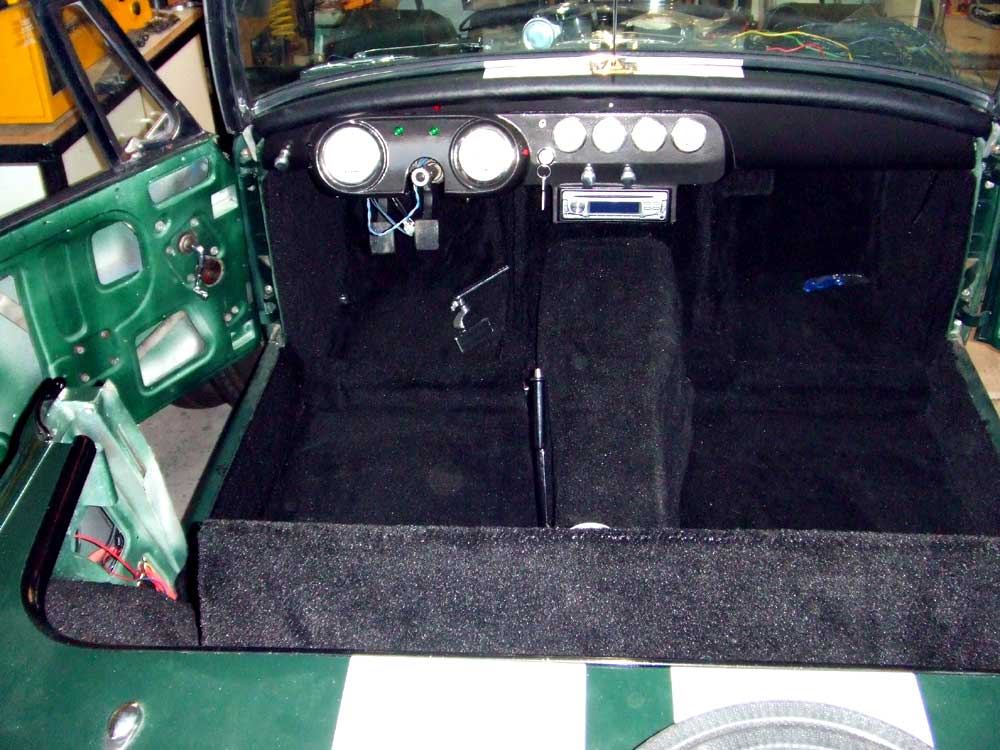 |
And the finished car! Now..door panels, panels for behind doors, reinstall roll bar and seats and the interior is finished! Then comes the wiring under the hood, radiator and intercooler plumbing and programming the computer... |
 |
I grilled the turkey this year. It was delicious! |