
The Mite
Part :51
Carpet and Door Panels
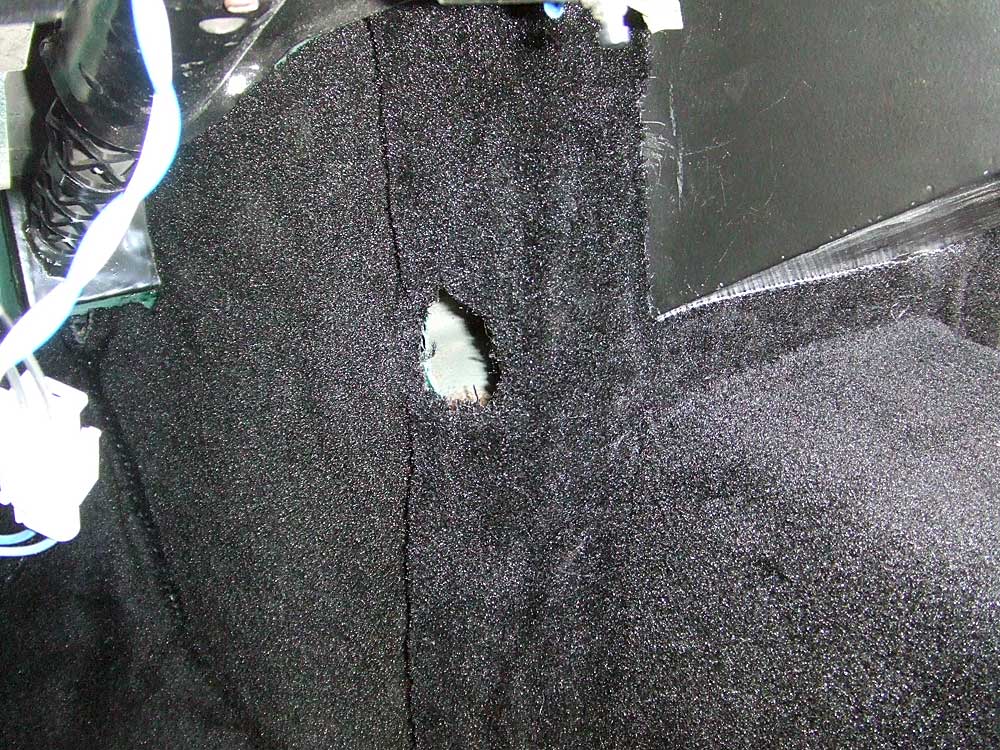 |
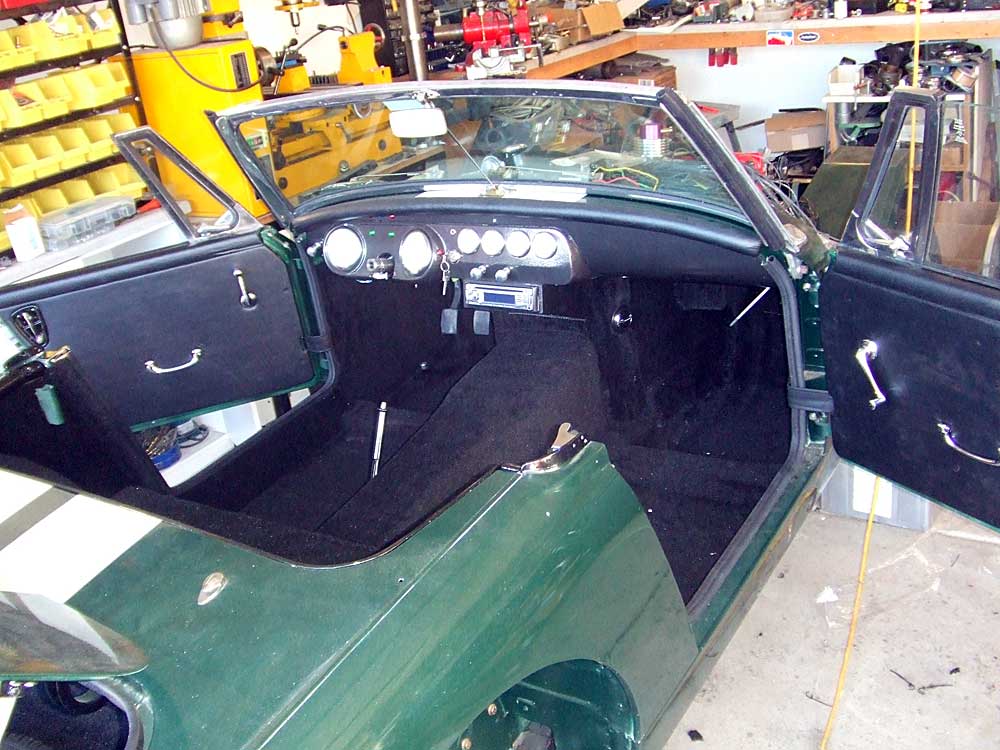
It's been a very busy holiday season at work. I put in 5 weeks, 80+ hours each, in a row and did not have a chance to work on the Mite until this weekend. Most of the carpet has been glued in place over the sound deadening material. There's a hole for the heater that needs to have a vent placed in it |
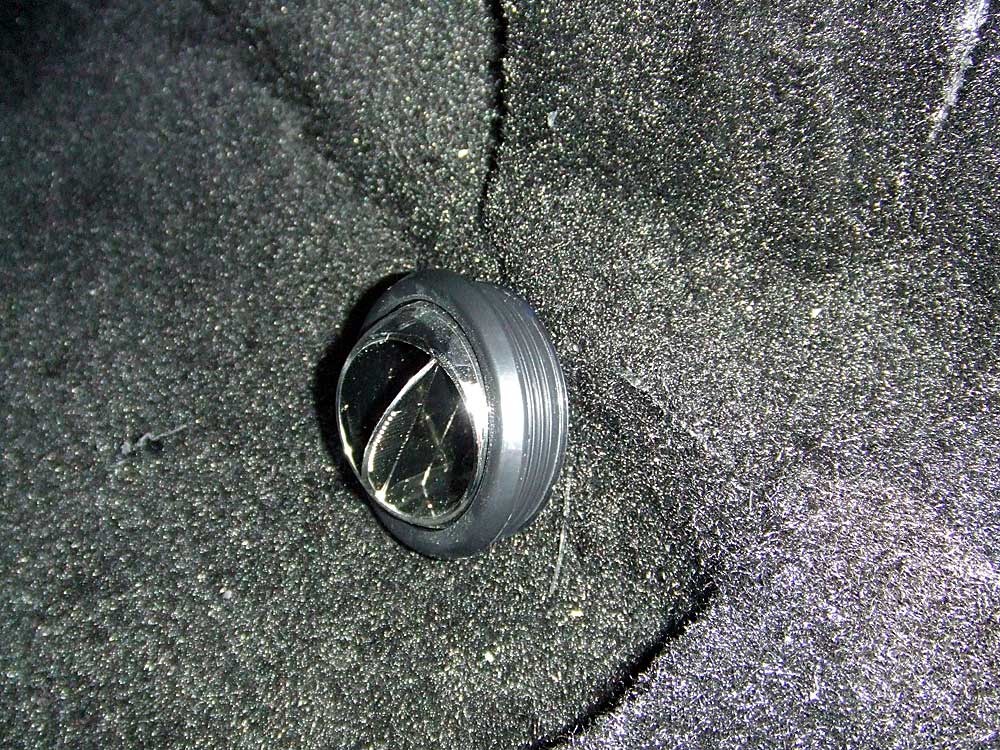 |
This is the universal hot-rod vent, it will pop right into the hole that I cut for the heater |
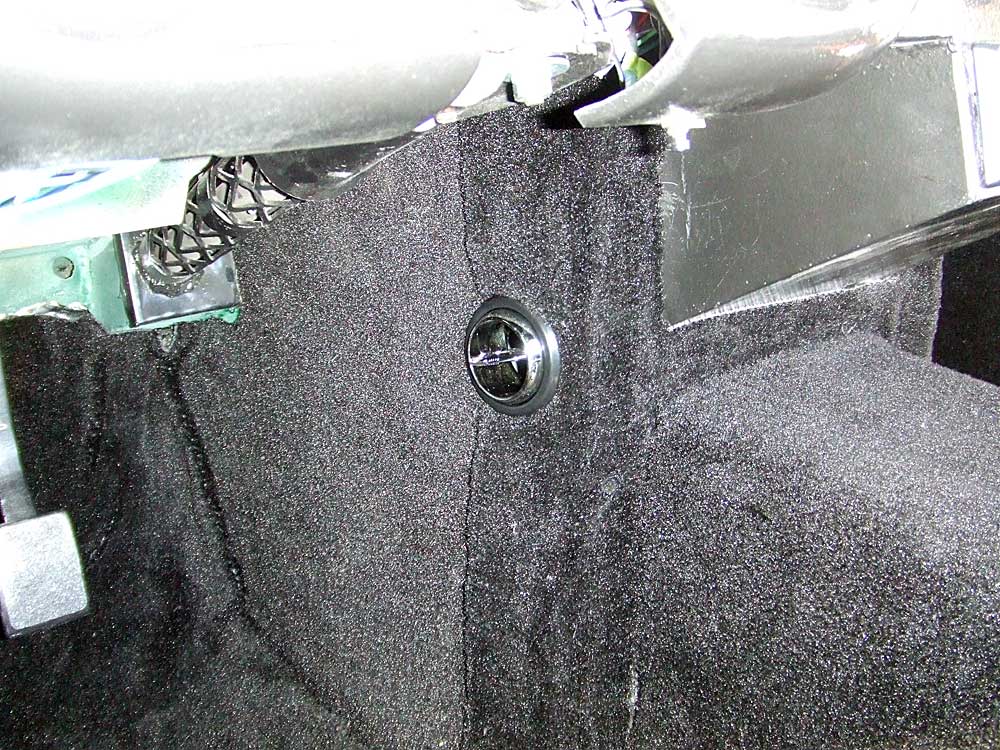 |
Here it is, in place. It was a nice, snug fit, so I don't think it will fall out. Ever. |
 |
A shot down the driver's side footwell showing the new throttle pedal in place. I have to run a cable from the throttle cable to the throttle body on the engine. The high-beam switch is on the floor, to the left of the clutch pedal. They were originally on the firewall, but the new pedals are larger than stock and a bit more to the left, so there's no room for a foot to reach behind the clutch pedal. |
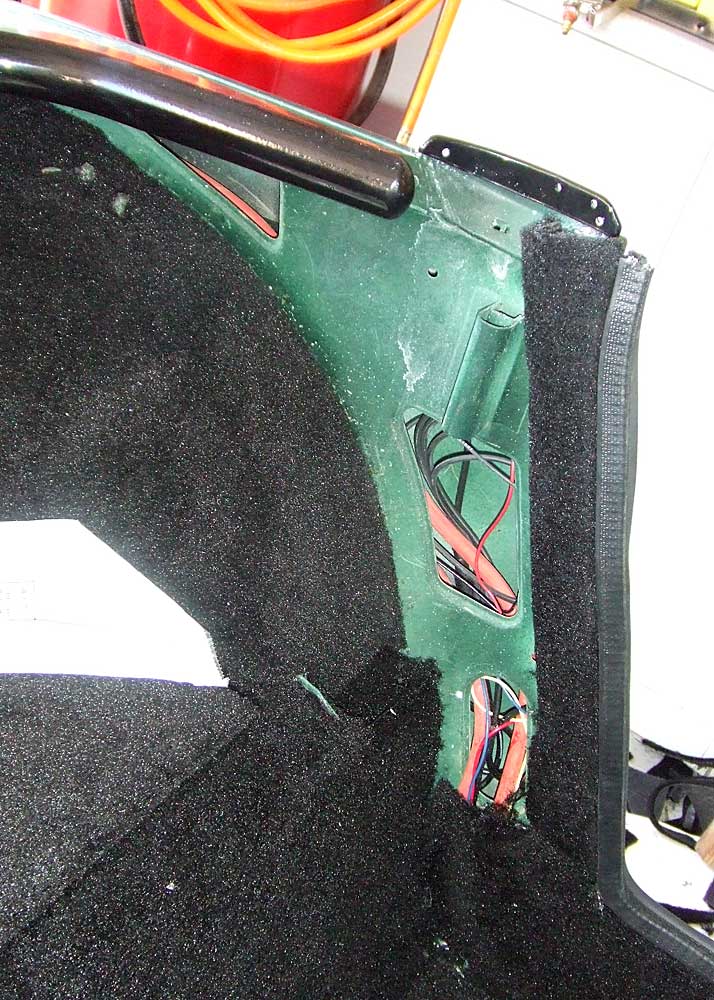 |
Now, to the panel behind the driver and passenger. I did not want to use the black vinyl that came on the car, and I don't have the original panels to recover, so I've got to make some panels of my own |
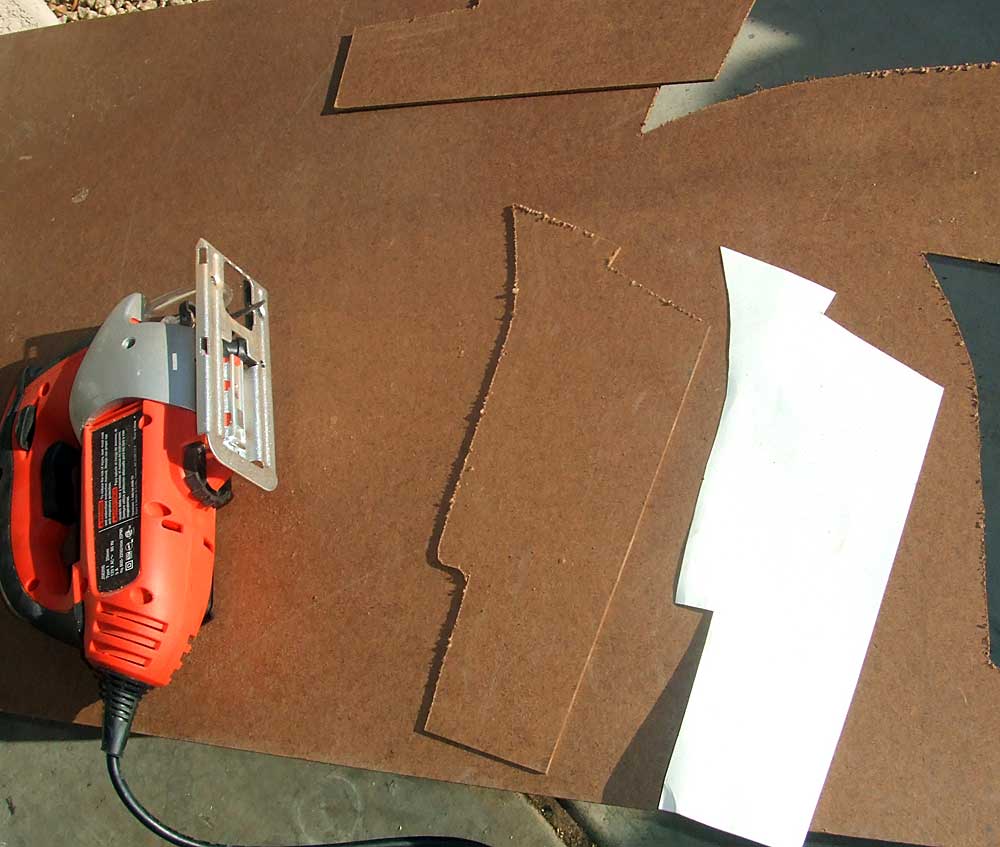 |
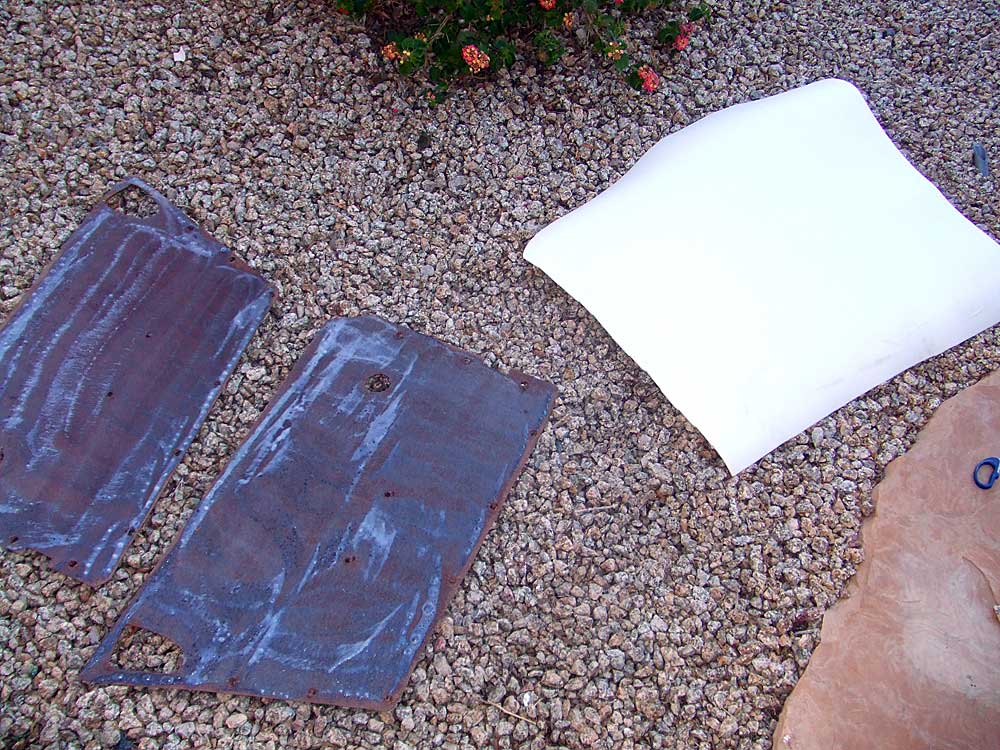
As usual, I started with a cardboard pattern that will fit in the area, and transferred the pattern to hardboard and cut it out with a saw. here's the cardboard pattern and the hardboard panel |
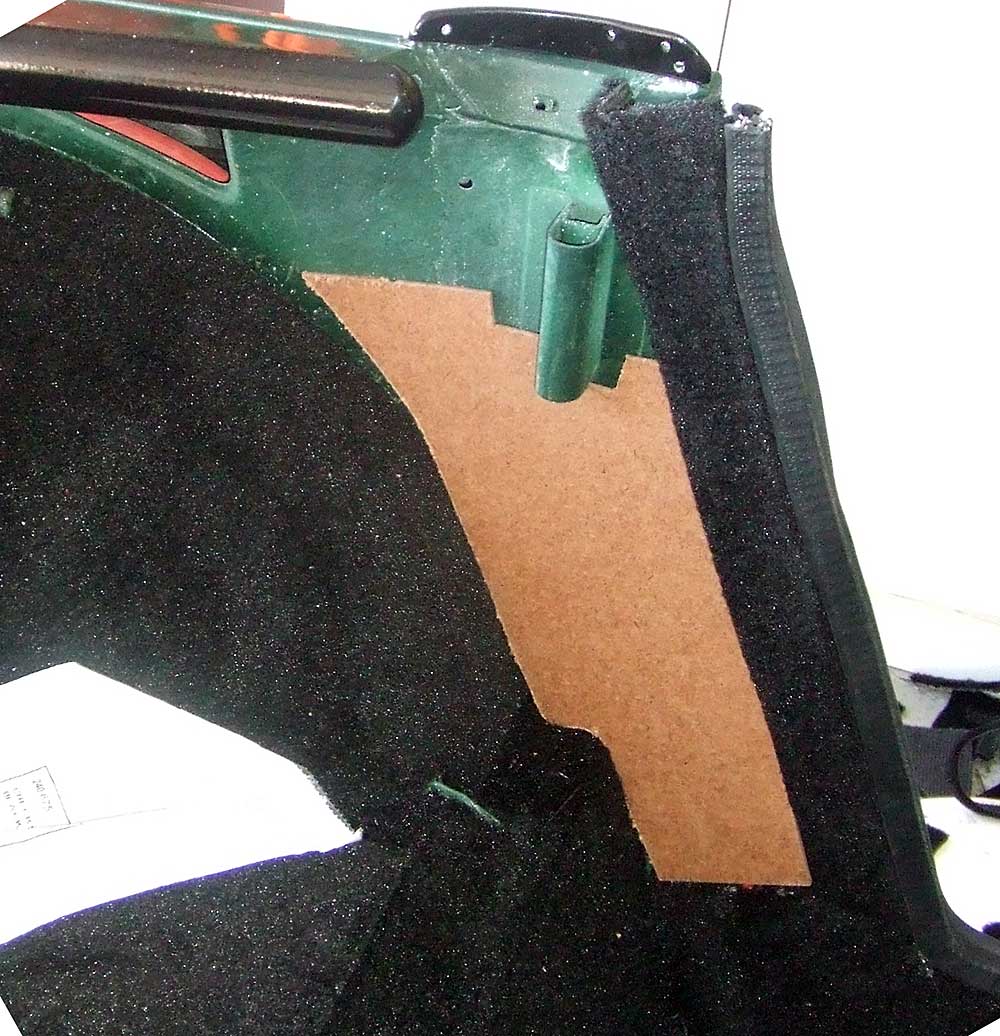 |
And the panel in place on the car. I zipped a sheet metal screw in each wooden panel to hold it to the car, then... |
 |
Covered both sides with sound deadening and carpet, just like on the floors. It turned out nice! |
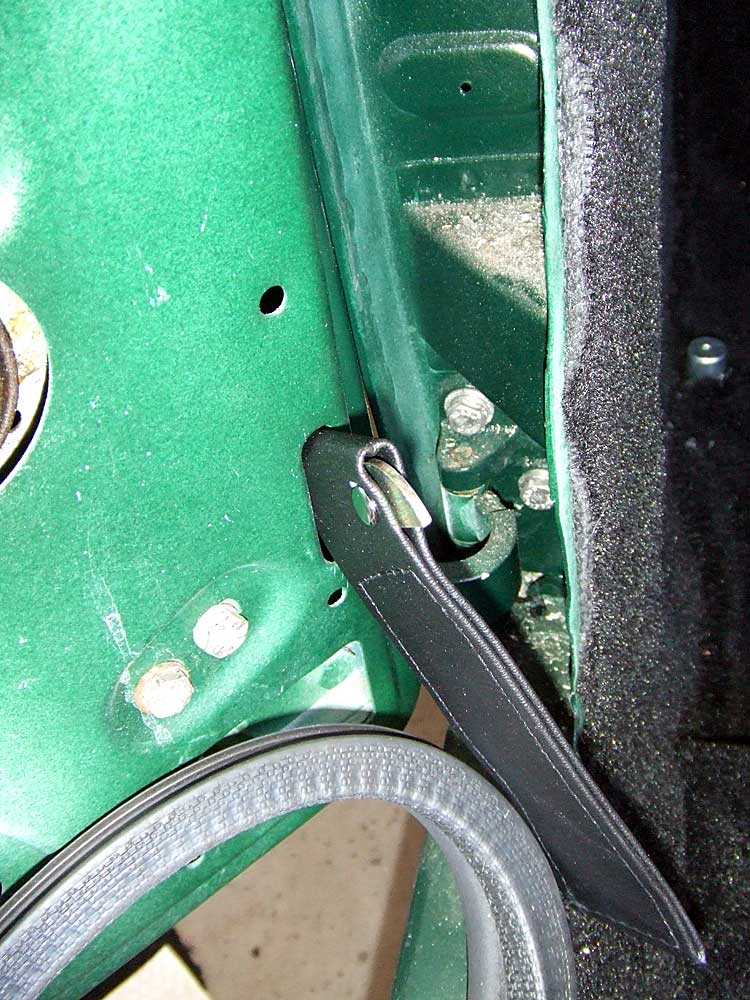 |
Now, the door check straps. They come like this from Moss: a vinyl strap with a metal bracket in one end. The bracket slips through the slot in the door, and the other end is placed against the side of the footwell, over the holes that will hold it in place |
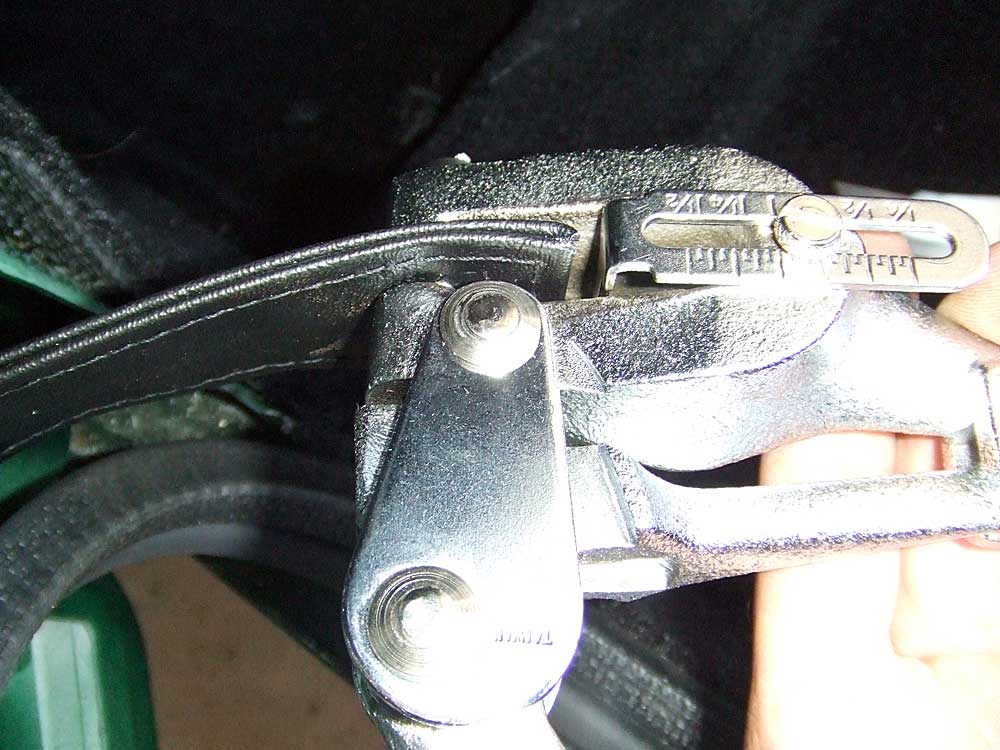 |
Once you determine where the mounting holes go, punch them out with a nifty hole-punch |
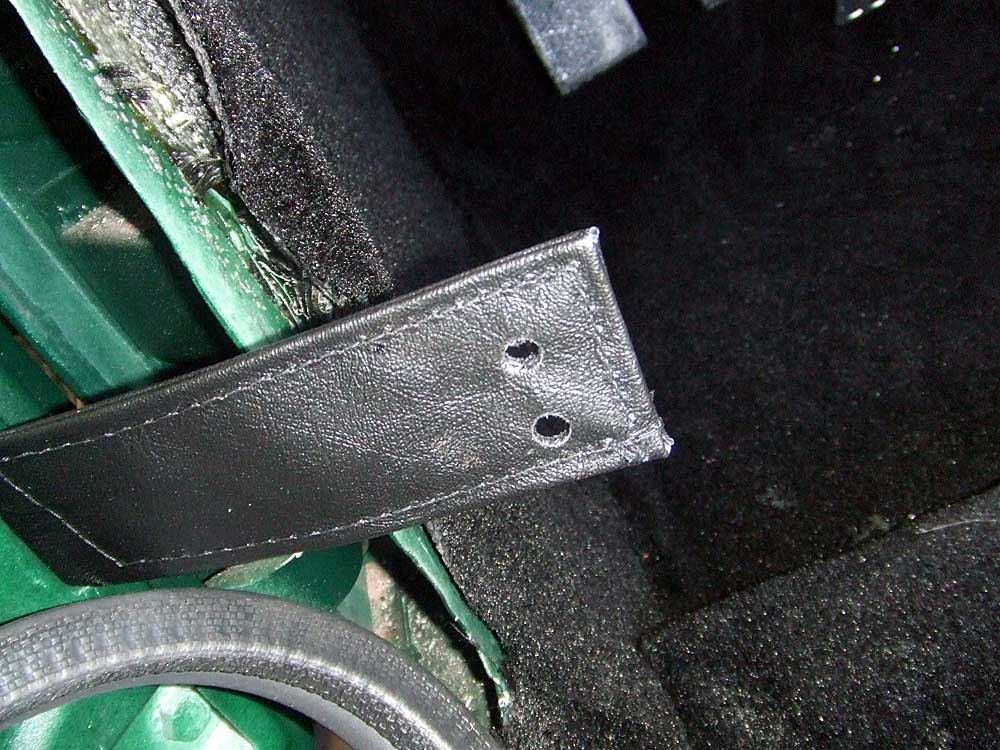 |
The holes look like this. That hole punch was a cheap-o harbor freight deal, and it has come in very handy for uphulstery and gaskets. |
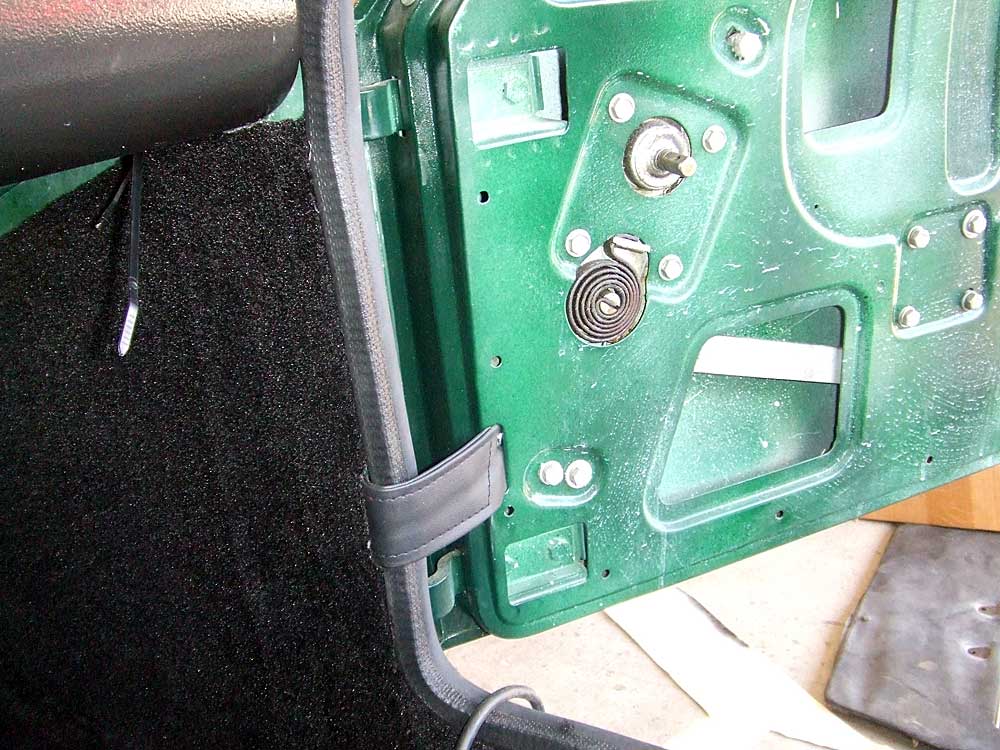 |
Place the mounting plates above and below the strap, run the screws through the holes and tighten to the footwell wall. Then replace the carpet and the strap is finished. |
 |
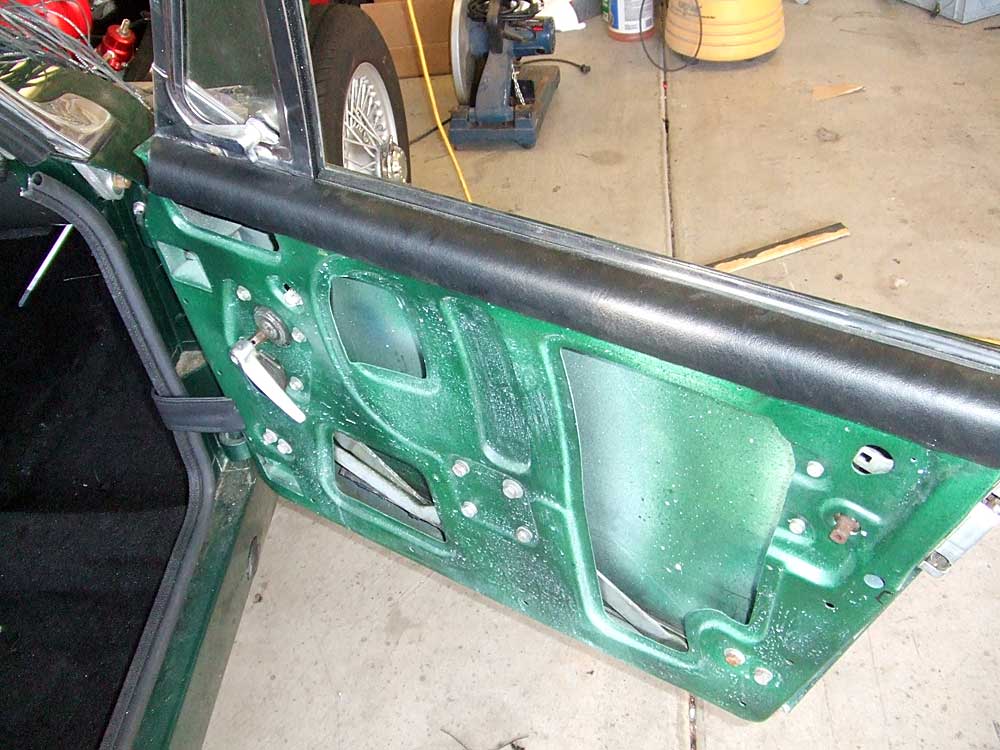
Next is the aluminum door top trim. Remove the cracked and faded factory vinyl |
 |
Spray the new piece of vinyl and the door trim with spray adhesive and attach, carefully smoothing the vinyl as you go. Trim and spray the ends and fold them over for a finished look. |
 |
Then I installed them on the car using the t-nuts and nylocks. IF I do this again, I will certainly install the trim BEFORE I put the windows and window seals on the door. It was a total pain in the butt to get the nuts onto the studs and to tighten them with the window seals and the windows in place |
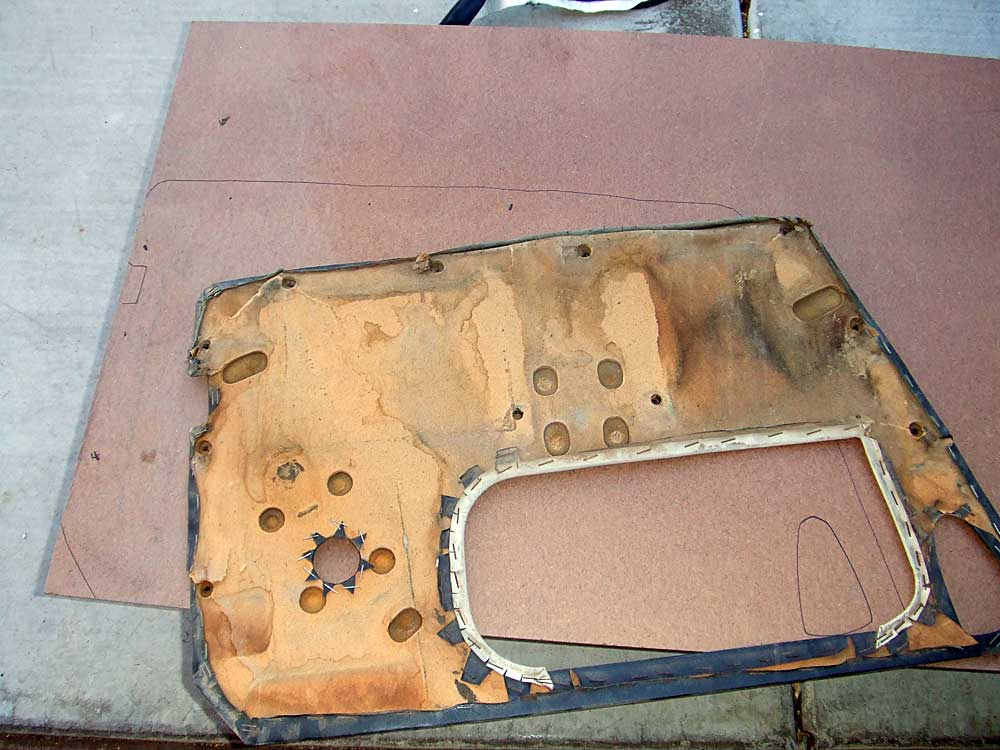 |
Door panels. Here's the old ones with the cut-out for the metal insert. I don't want to use these, nor do I want to pay the big money for an interior panel kit. I used the originals to trace out replacements on hard-board, carefully marking the clip holes, the window crank hole and the door handle hole |
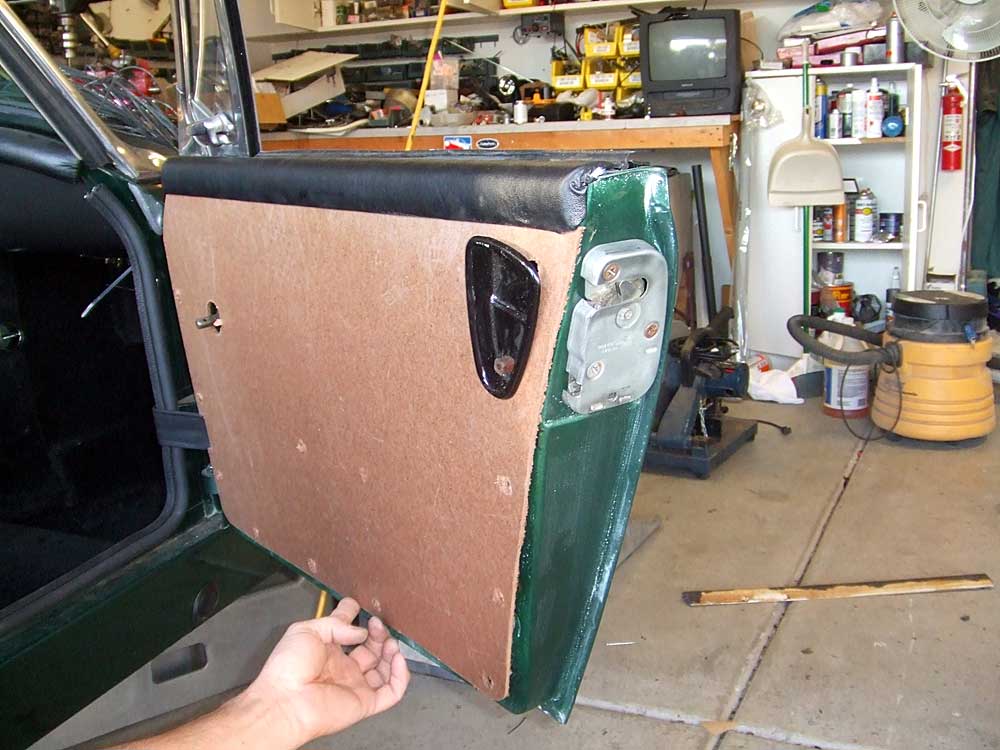 |
Here's a test fit of the new panel. |
 |
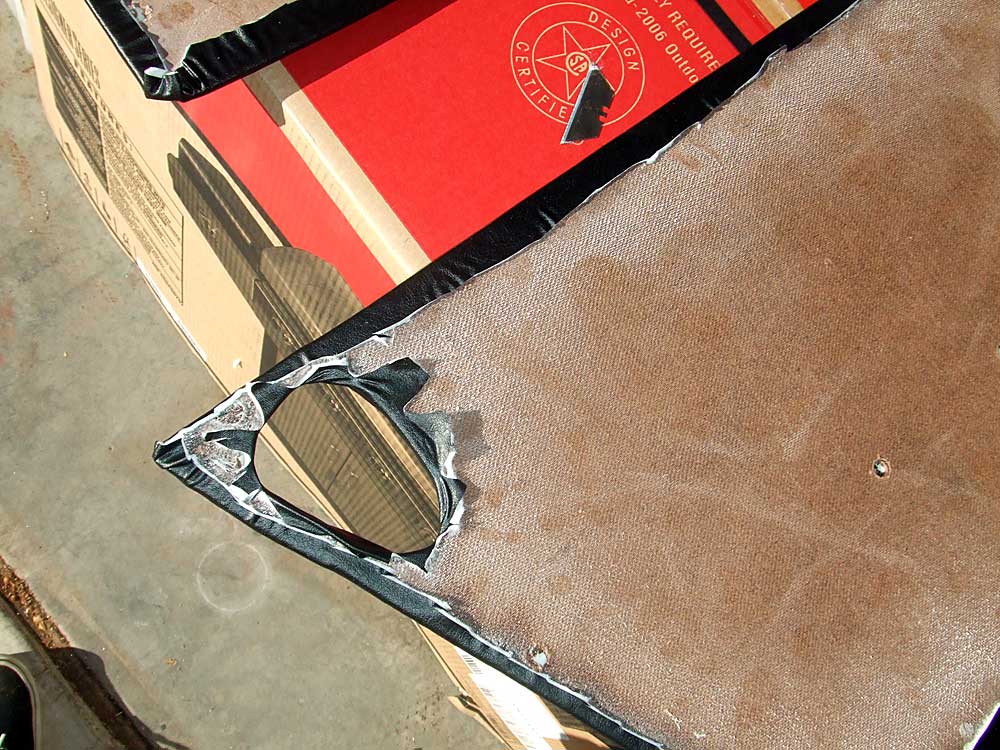
I used the spray adhesive to attach 1/8" foam to the panels, and then sprayed adhesive on the foam and on the replacement vinyl that I purchased from a fabric store |
 |
The vinyl is carefully adhered to the foam-covered panels, then the ends and holes are trimmed and sprayed with adhesive |
 |
Then, the trimmed ends are folded over and adhered to the inside of the panel, yielding a nice, finished look to the outside |
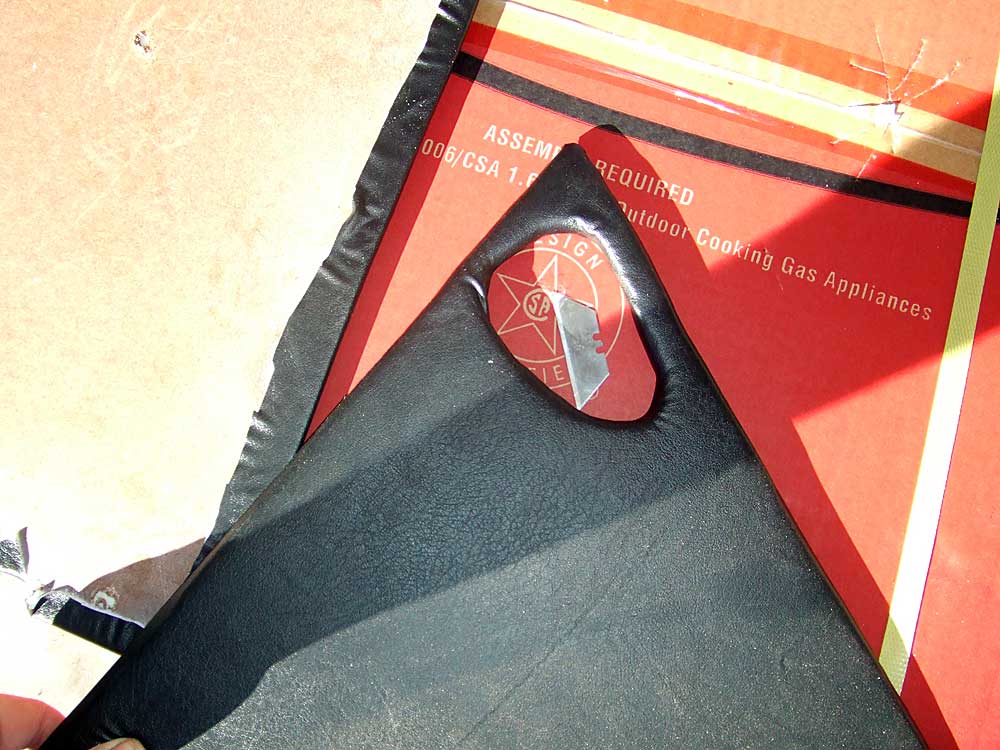 |
Here's the outside of the panel |
 |
Insert the door panel clips and |
 |
put the panels in place in the car. Then attach the door-pull, the window crank and the door handle.They turned out pretty nice, and I can re-do them at any time in the future for cheap |
 |
Next was the roll-bar. It went in very easy, using the holes that were drilled before paint. Metal plates are used under the mounting points and grade 8 hardware was used because it's cool. |
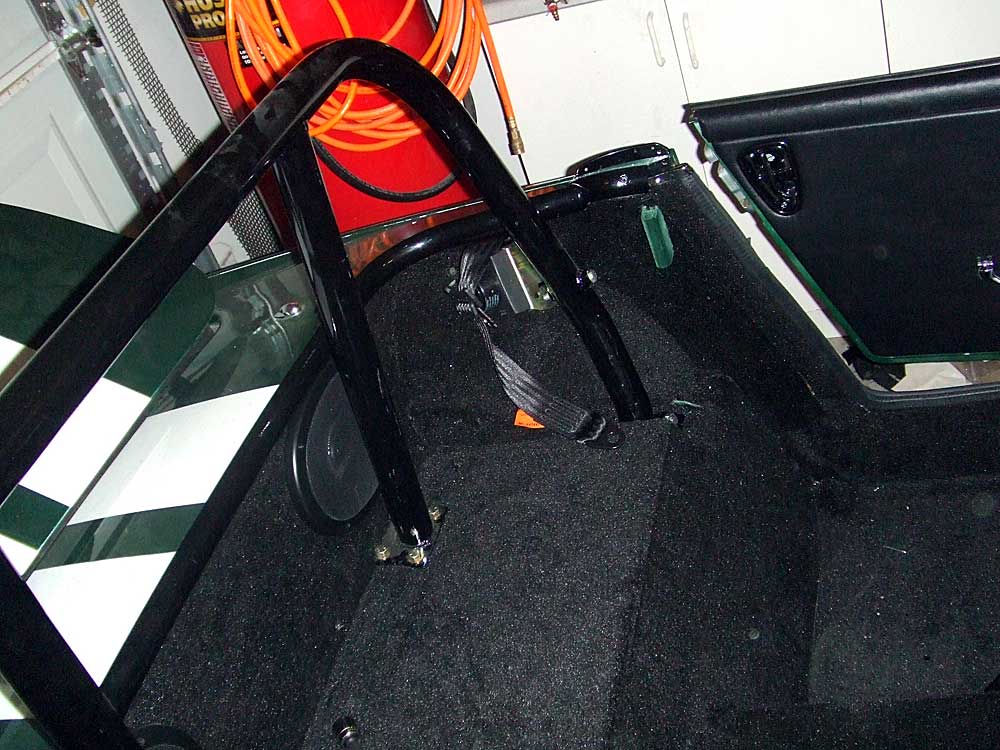 |
Another view of the rear panel and roll bar |
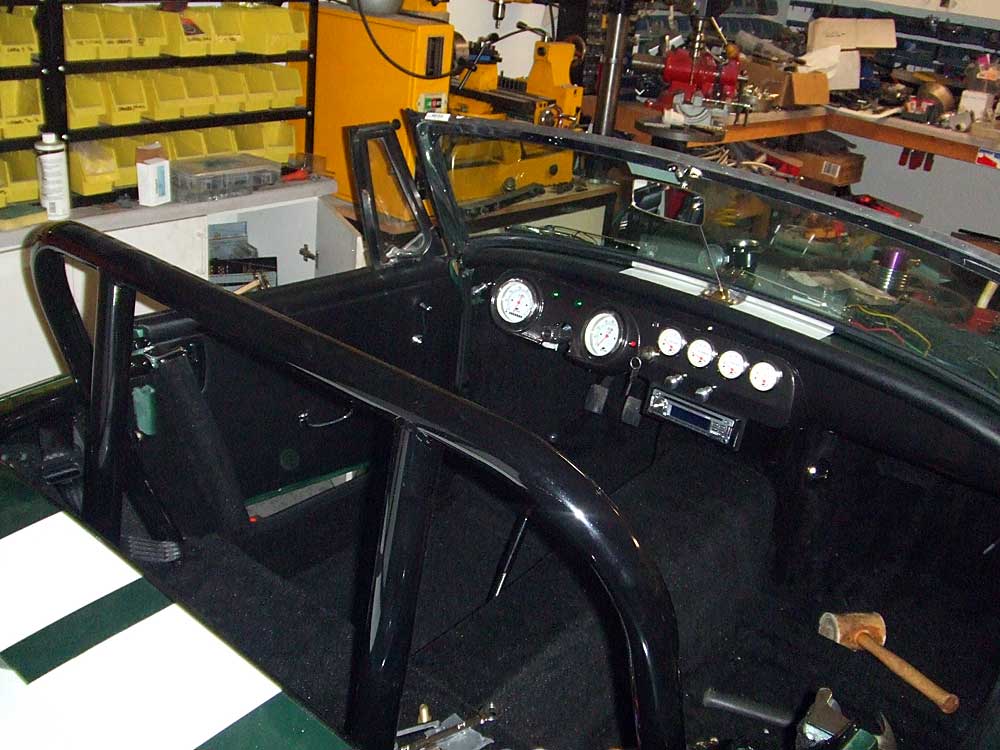 |
A shot towards the front of the car |
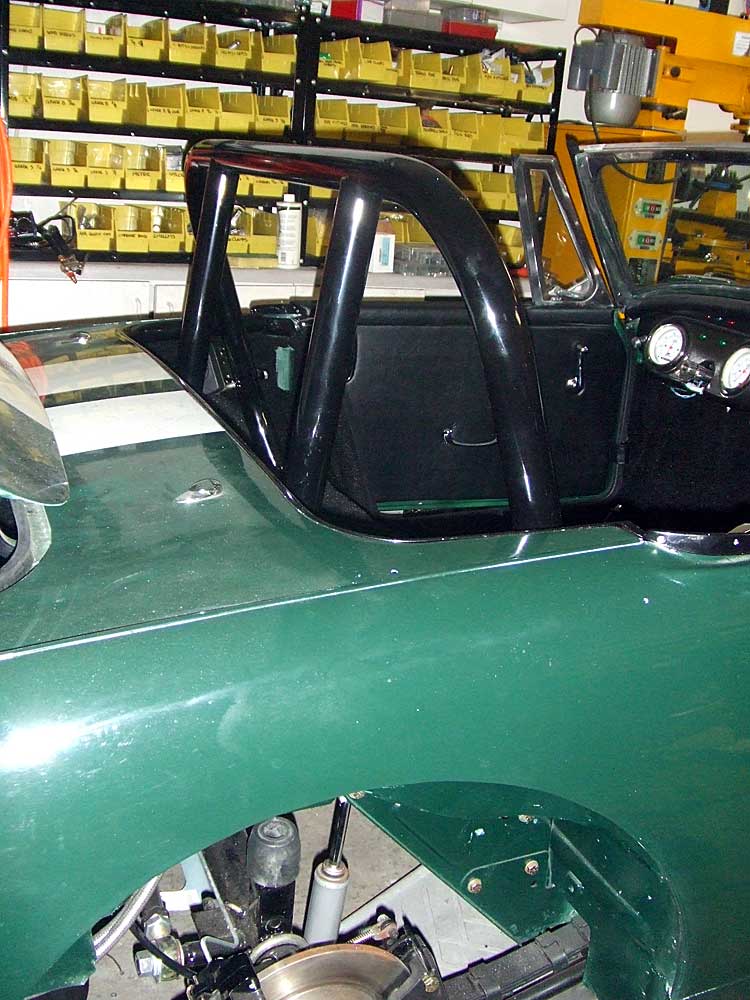 |
The rollbar |
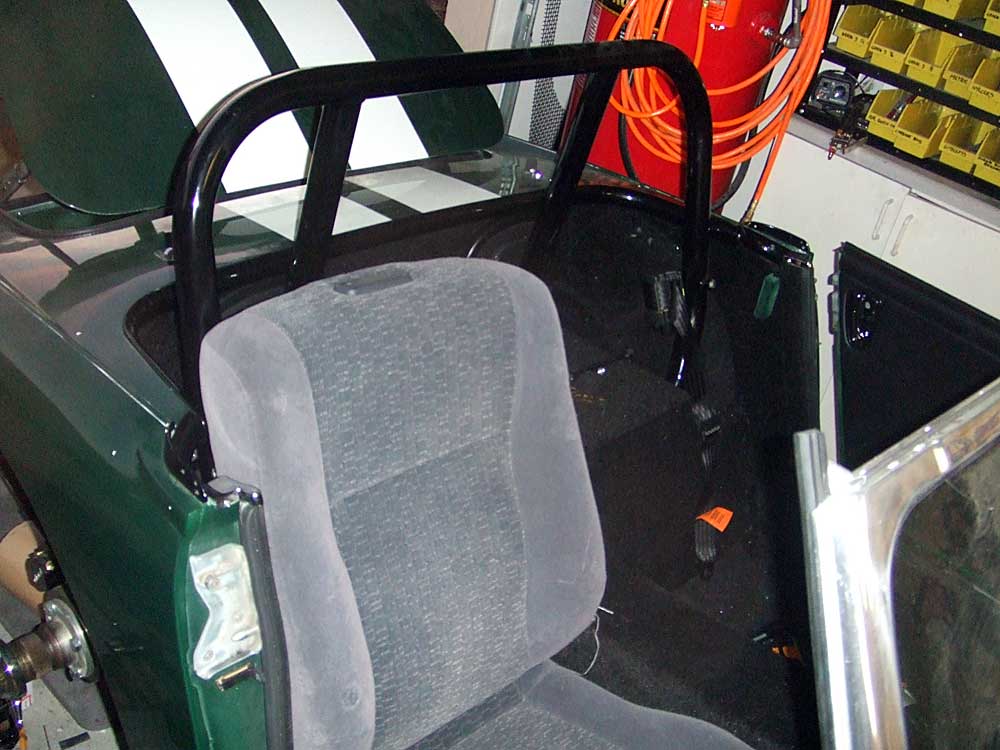 |
And, the big bumme of the day: I fitted the Honda seats without taking into account the thickness of the carpet and sound deadener. The 5/8" thickness that these items added prevent the seats from fitting in the car! I can jam them into place, but they won't slide freely. Bummer. I've had these two seats sitting in my den at home for a couple of years, and now I can't use them! |
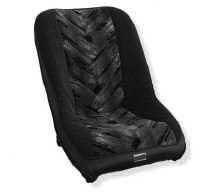 |
So, after a bunch of consideration and measuring, I decided to order some Racecraft Seats. I ordered the slimline lowbacks, similar to this picure, but all in black tweed with vinyl backs. They are 19" wide and are full suspension seats. This picture does not get any bigger. The seats should be finished and delivered in two weeks, so in the meantime, I'll start on the underhood wiring. |