
The Mite
Part :53
New Seats, Water Temp Sender and Steering Wheel Spacer
 |
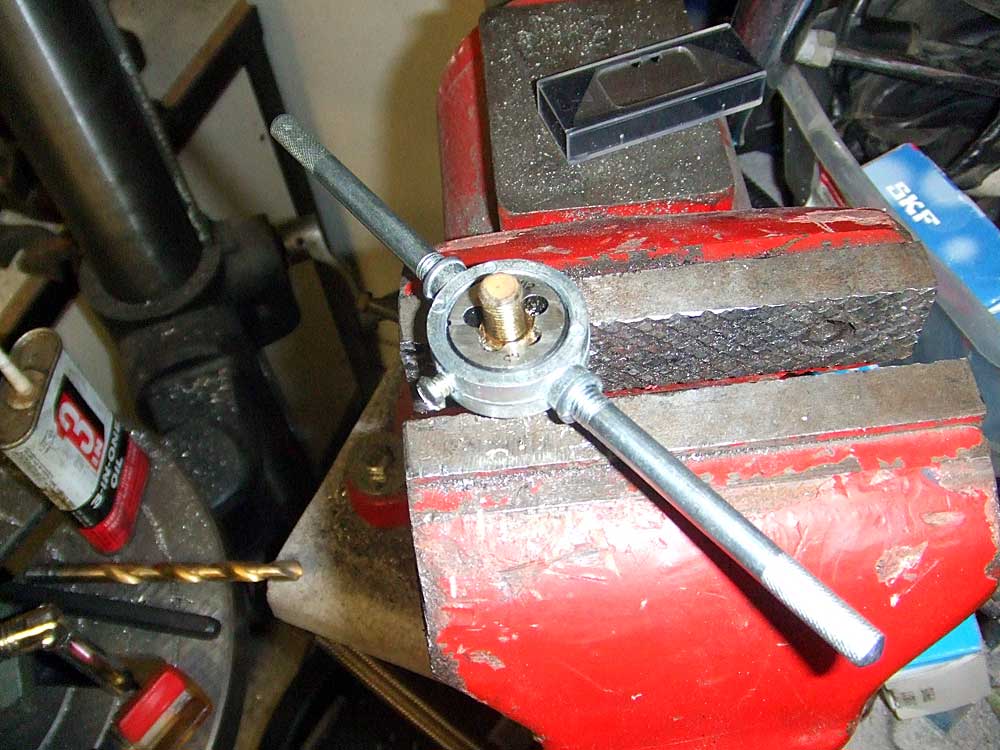
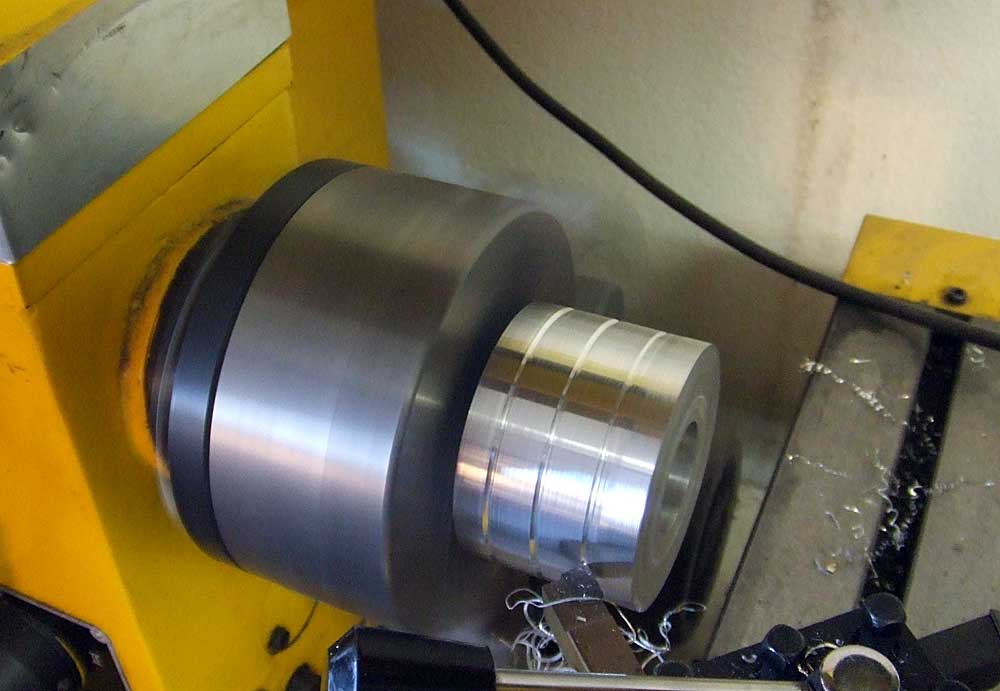
I started hooking up the wiring under the hood, from the engine sensors to the Electromotive Tec-2, and ran into a problem. The Miata engine uses metric-threads on the sensors, while the Tec-2 requries sensors from American cars. The water temp sensor is a GM unit with 3/8" pipe threads. The hole in the back of the Miata engine is 12mm X 1.5 thread. The stock Miata sensor also has a different electrical value than the GM unit, so I could not use the sensor that was in the engine. I had two options: remove the housing on the back of the engine, weld a pipe bung in place and screw the Gm sensor in, or see if there's enough metal on the GM sensor to re-thread for 12 by 1.5mm. Here's the sensor in the lathe, turning down to 12mm |
 |
There was plenty of metal on the sensor, so after obtaining the correct diameter, I used my trusty 12 X 1.5mm die and cut new threads on the sensor |
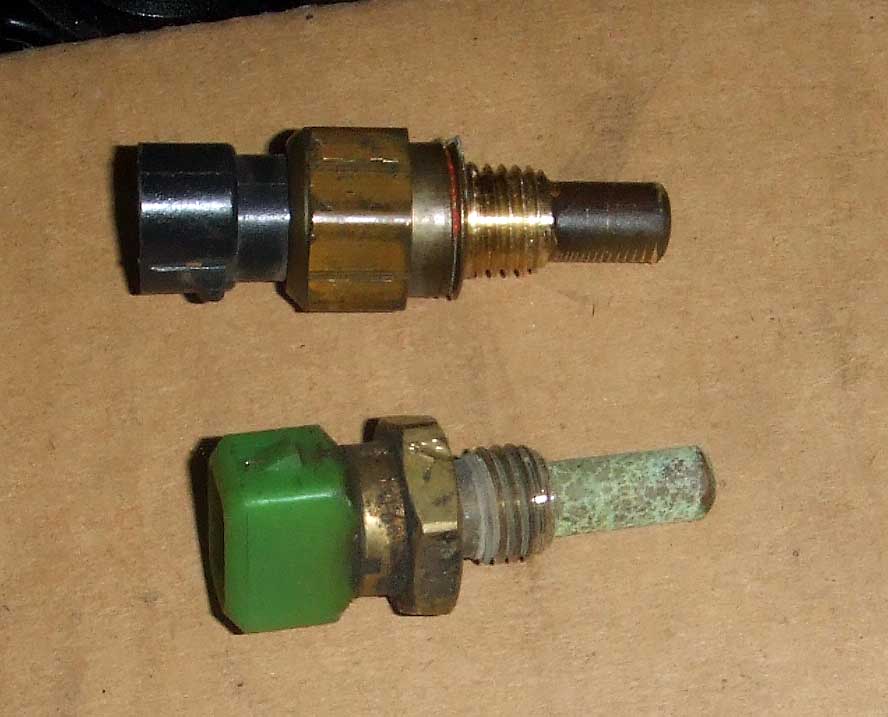 |
The top is the cut-down GM water temp sensor, and the bottom is the stock Miata |
 |
The modified sensor screws right into place |
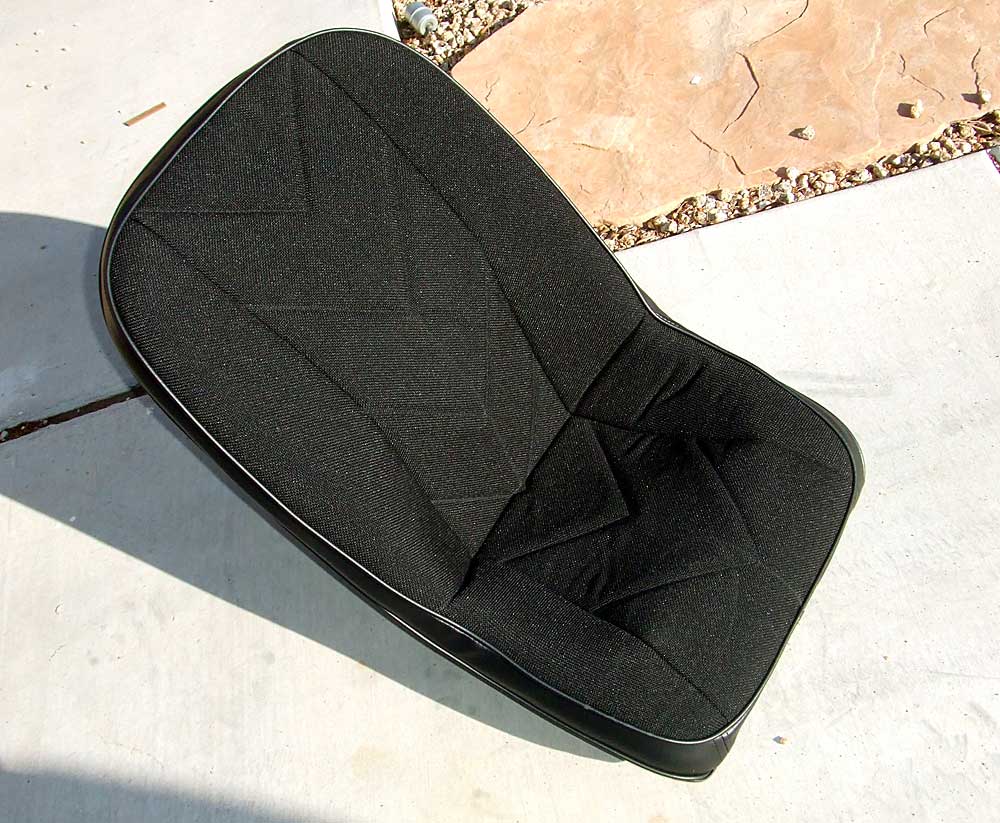 |
The seats came in! |
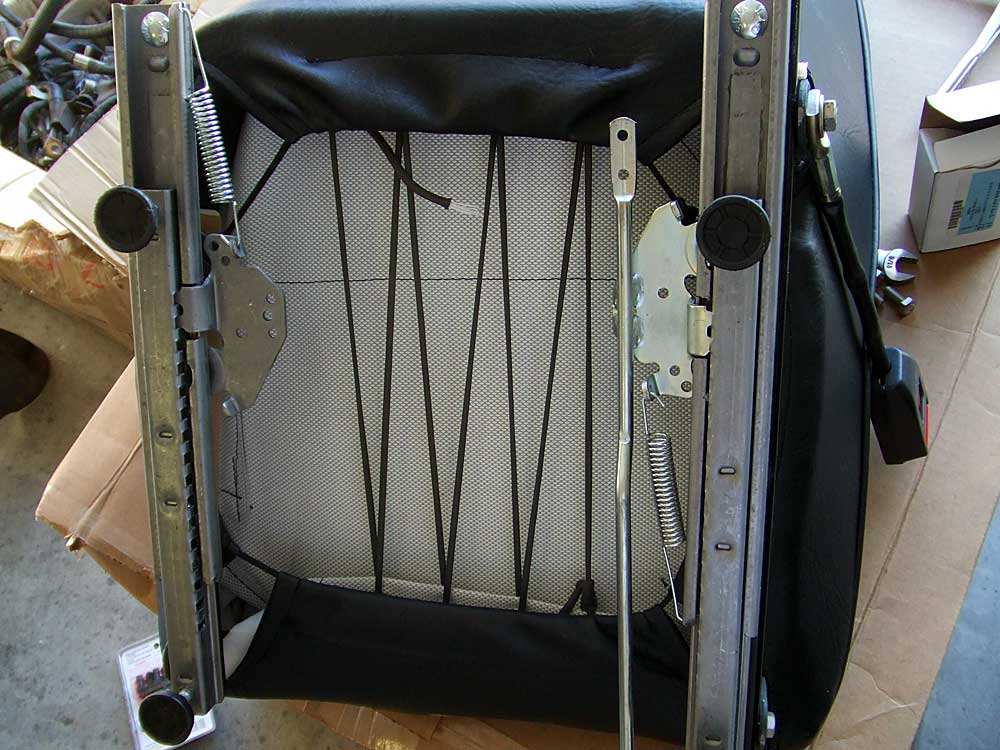 |
I attached the supplied sliders |
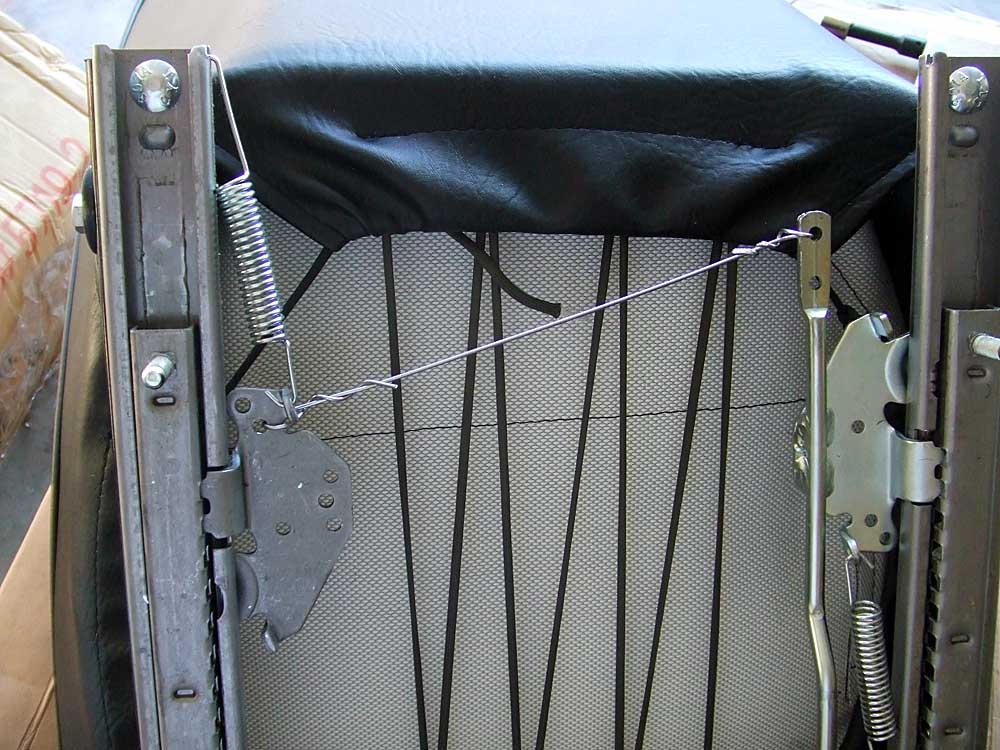 |
And ran a wire from the handle side to the other side to allow release of the locks when sliding the seat |
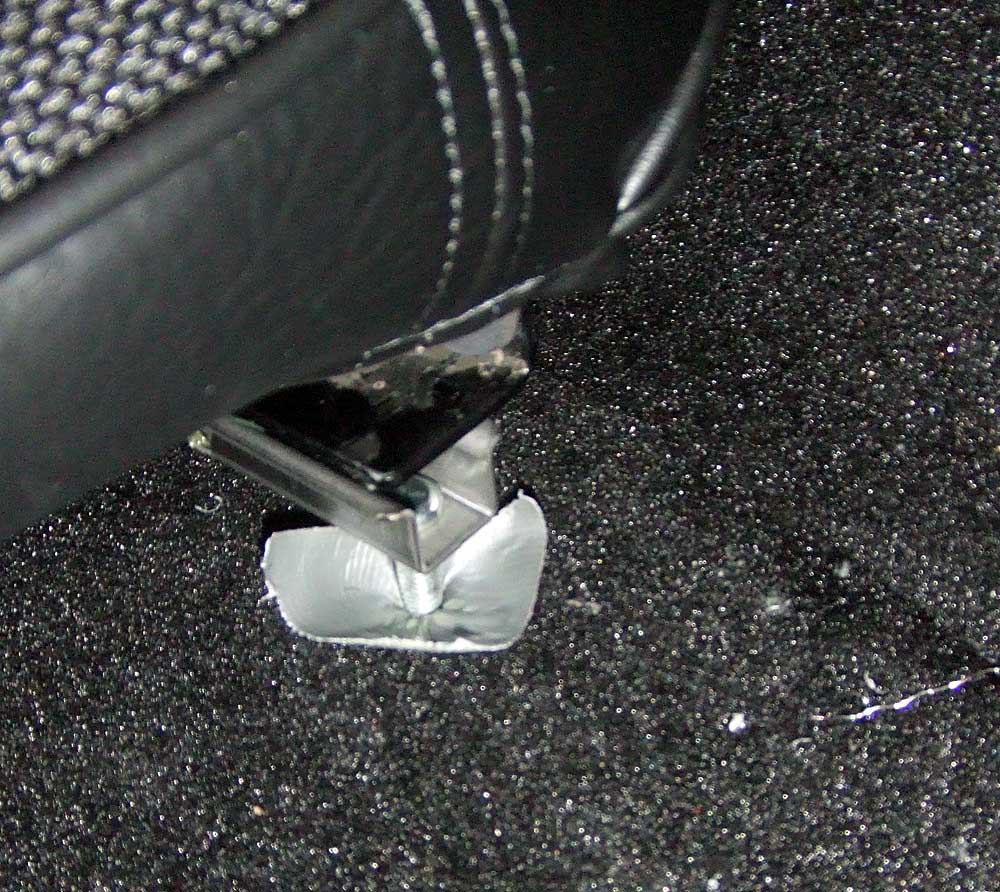 |
I placed the seats in the car, centered them and needed to locate the mounting holes. A bit of tape under the mounting studs and some pressure on the seat did the trick |
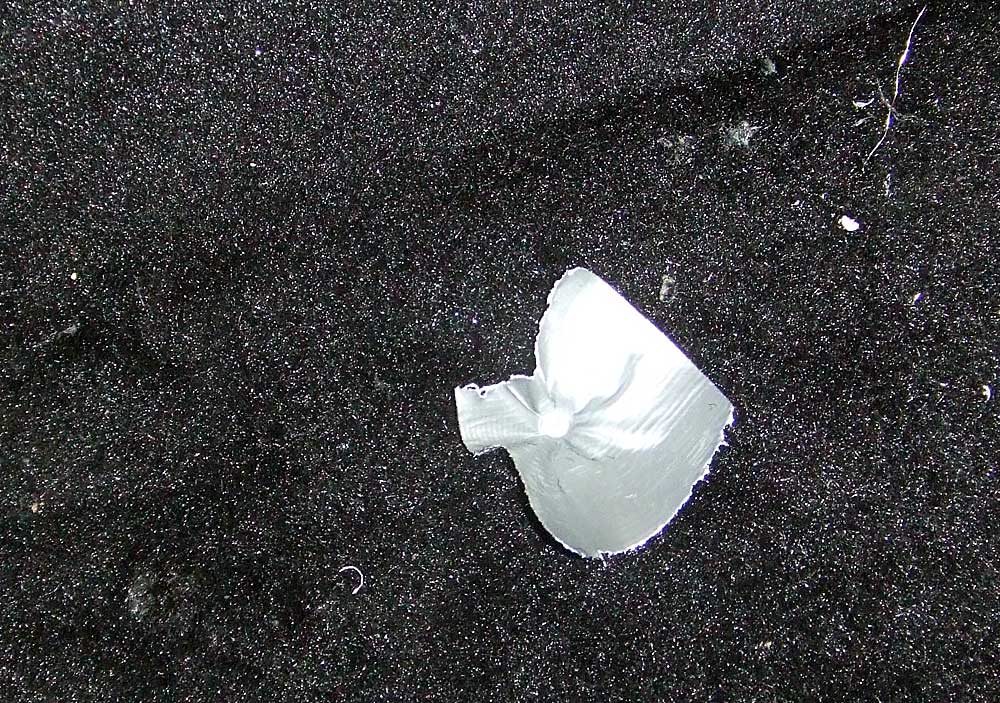 |
Here's the location of the mounting hole. I drilled them out and mounted the seats. The inner mounts landed in the stock Sprite re-inforcement channel under the car. |
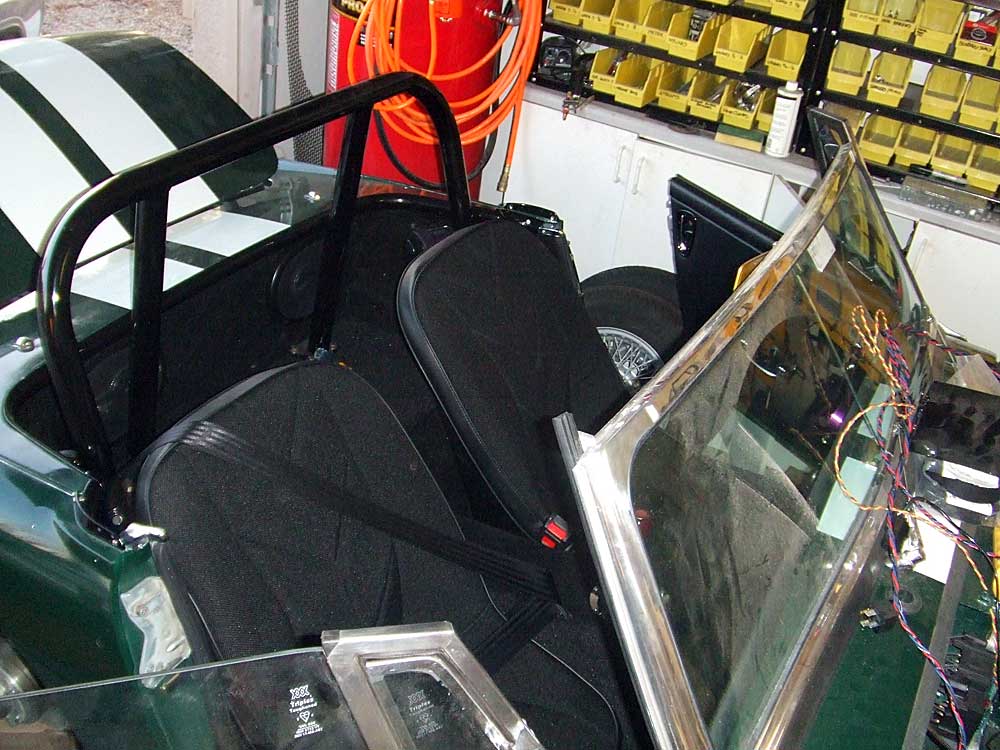 |
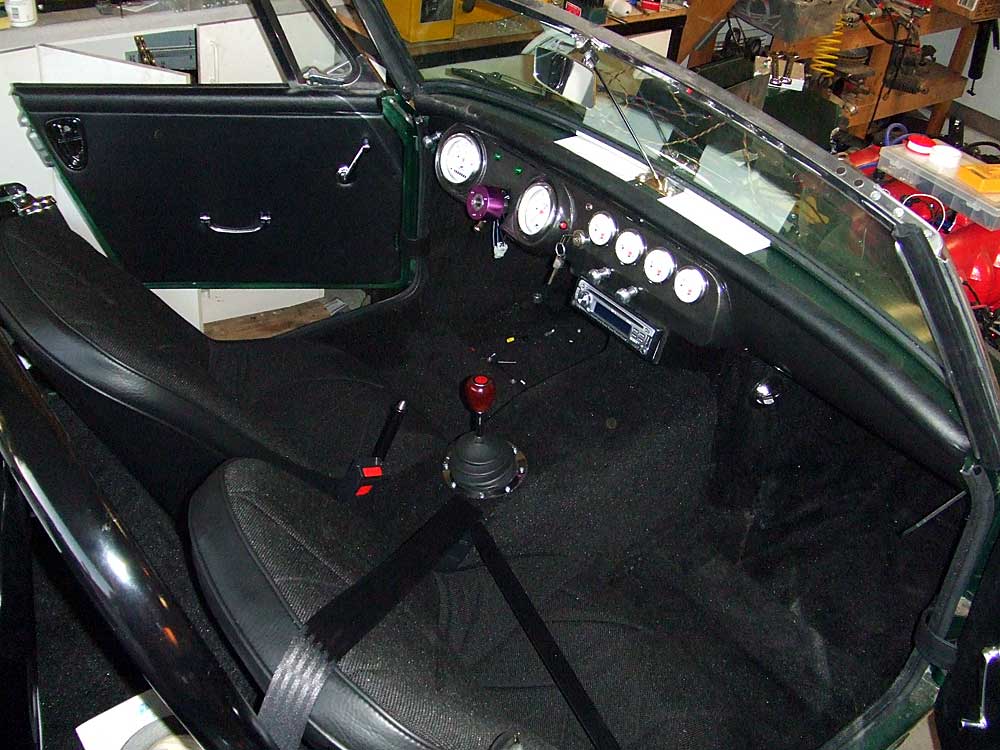
And here's the seats in the car |
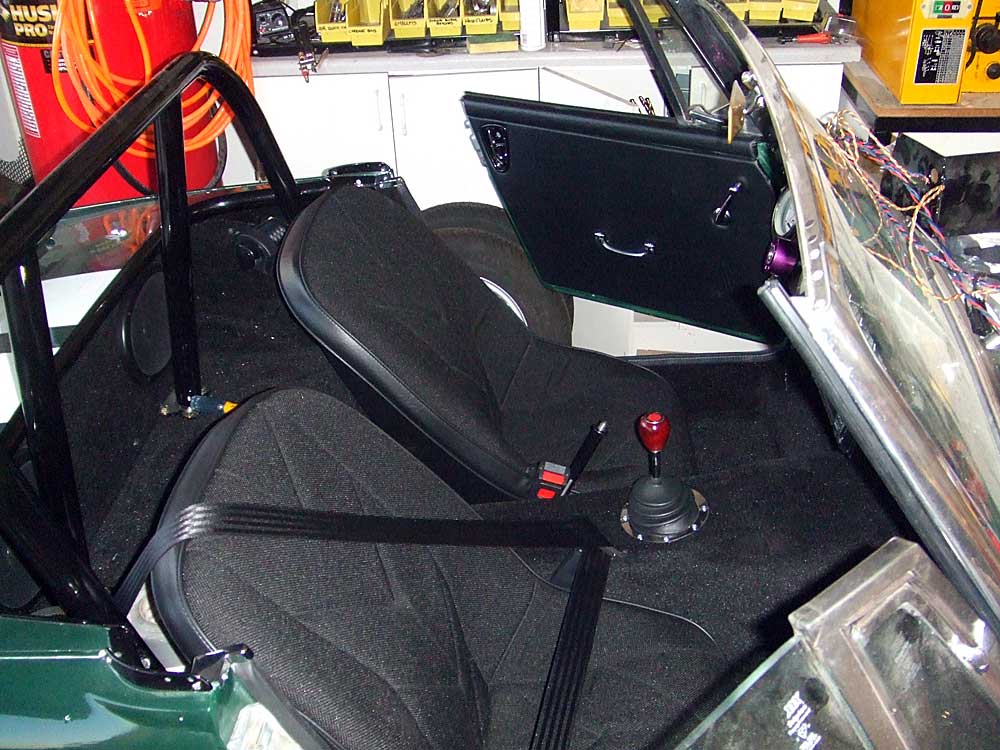 |
They are pretty comfortable, but man! What a small car! |
 |
The steering wheel hits my knee when I sit in the car, so my brilliant idea of having the wheel about 3" closer to the dash than stock..well, it wasn't so brilliant. |
 |
I happened to have a round lump of aluminum laying around that I turned down a bit and put some grooves in, andused it as a spacer between the wheel and the dash. |
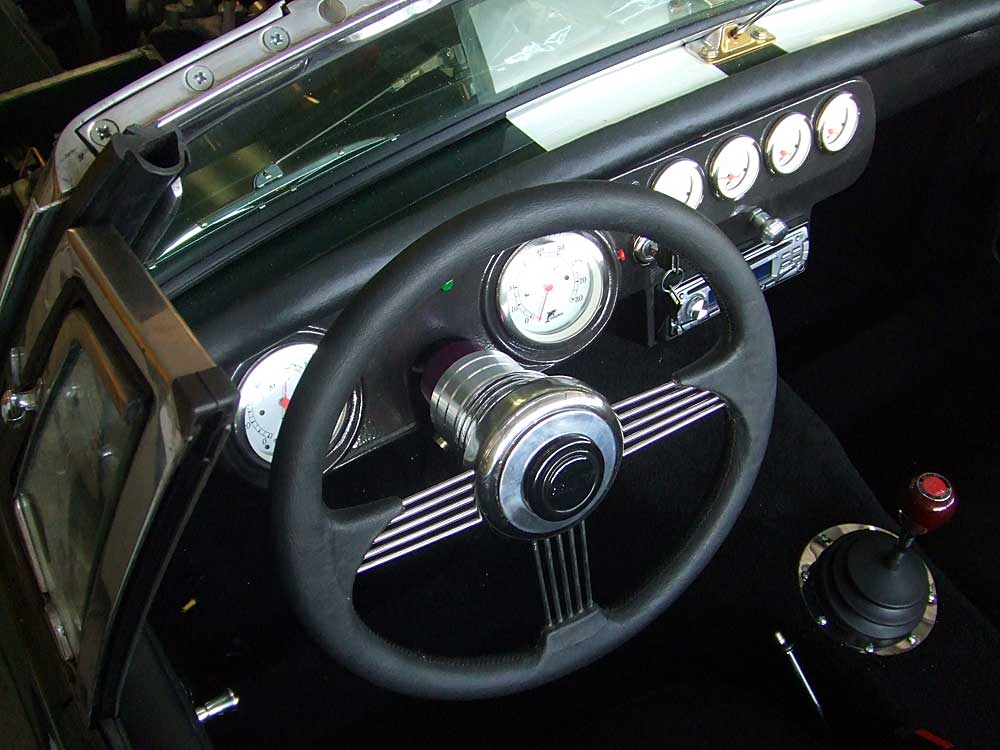 |
It looks almost like it's supposed to be there. And fits well,too. |
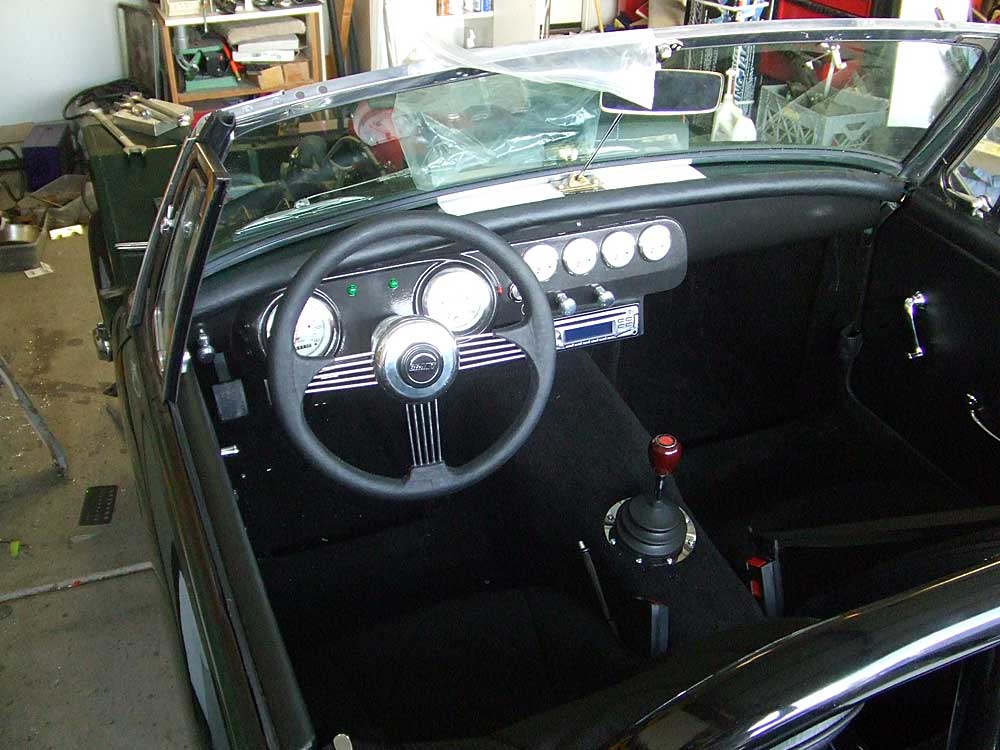 |
The wheel, shifter and pedals all feel good! |
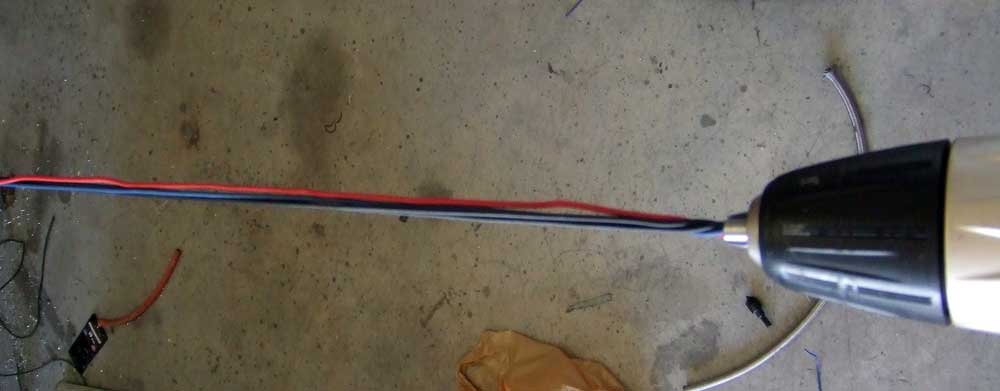 |
Back to the wiring. I learned a nifty trick from a stereo shop once: to keep your wires neat and organized, twist bundles together using a drill. Place one end in a vise, the other in a cordless drill and spin away. |
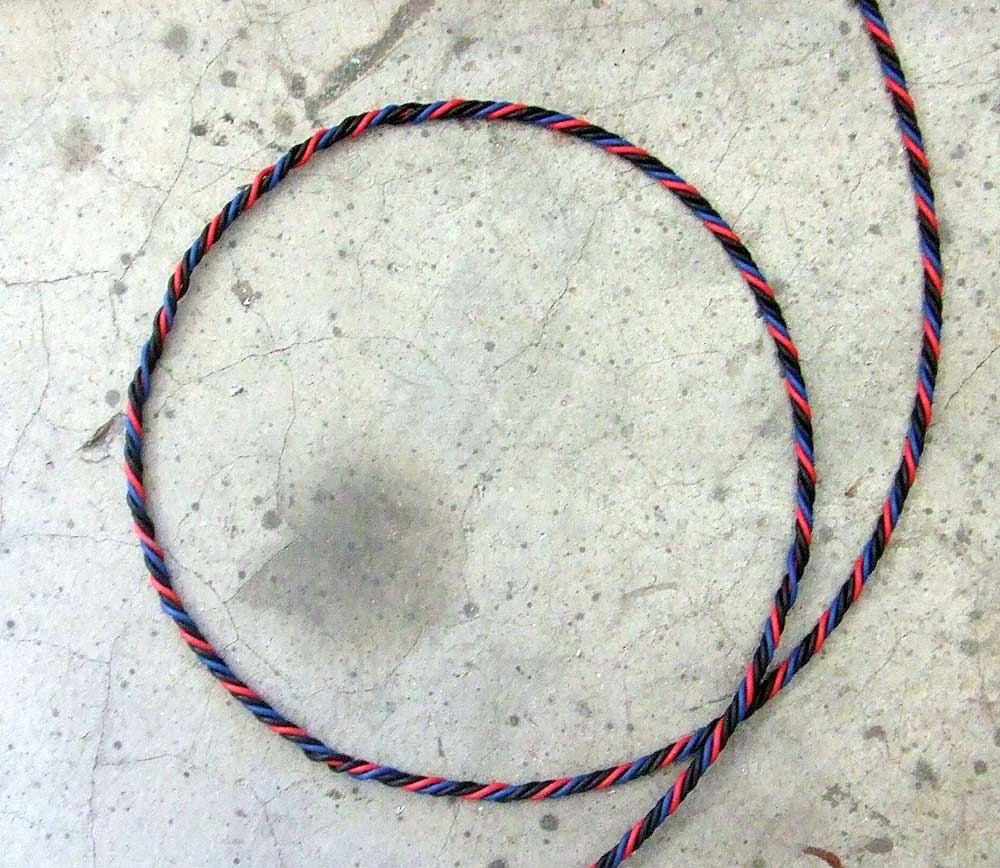 |
When you are done, there's a nice, neat bundle. |
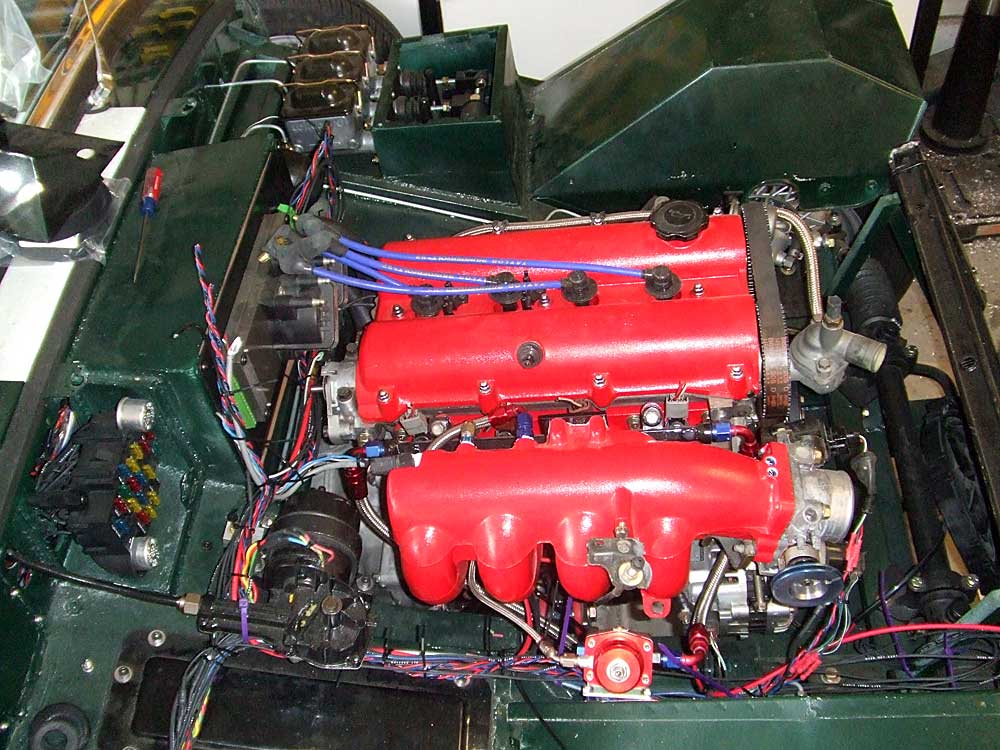 |
Here's where it's at right now. |