
The Mite
Part 7
Rear Suspension
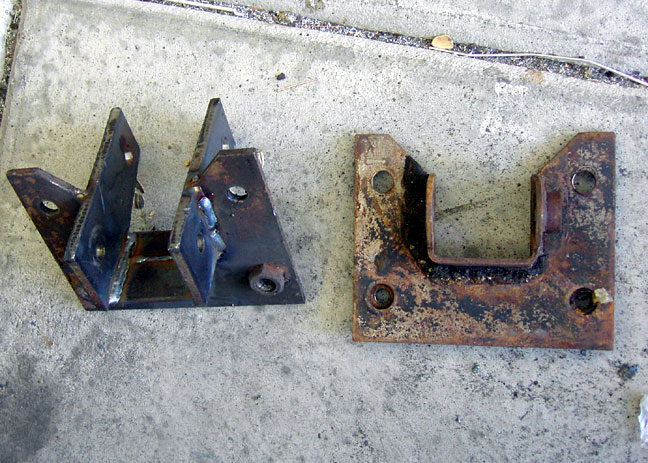 |
So, now I have rear disc brakes, but I have a car that has stock rear suspension. With increased horsepower comes some problems including axle spring wrap and side-to-side axle movement during hard cornering. To combat these problems, I need to make both "anti-tramp" or "traction" bars to limit spring wrap, and a panhard rod to eliminate side-to-side movement. Also, I'd like to lower the rear of the car a bit without resorting to lowered springs. The ideal solution is to raise the front spring mount. I just had to make new front spring hangers as shown here next to a stock one. |
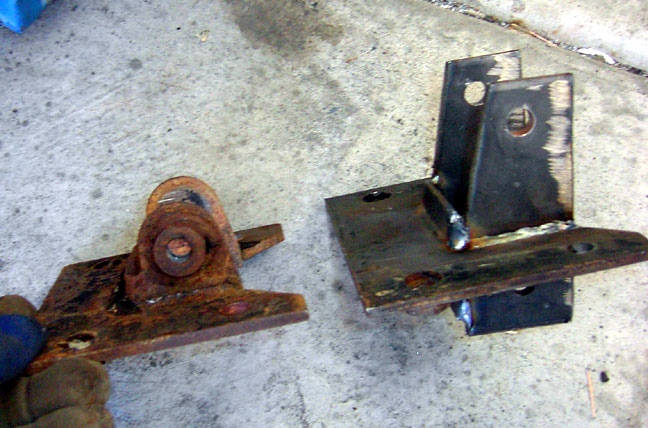 |
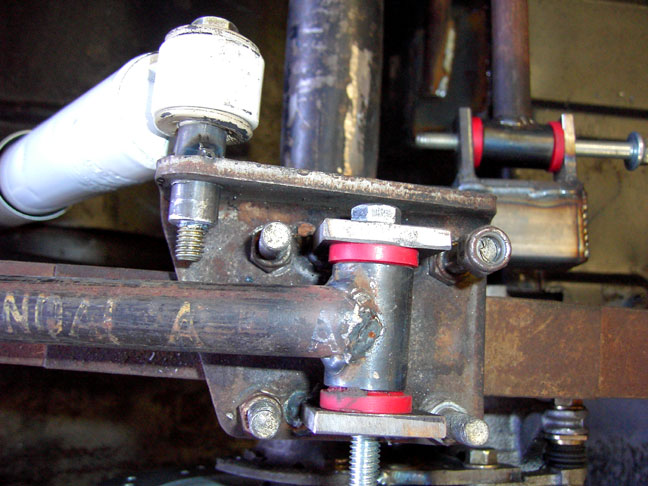
Here you can see the extra depth of the spring mounting holes. I've also left a tab on the bottom of the spring hanger to attach the traction bars to. |
 |
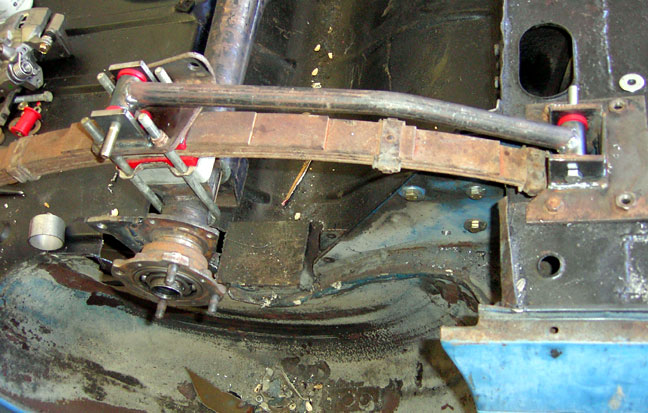
Here's the axle in the car, with the spring mounted into the new spring hangers. |
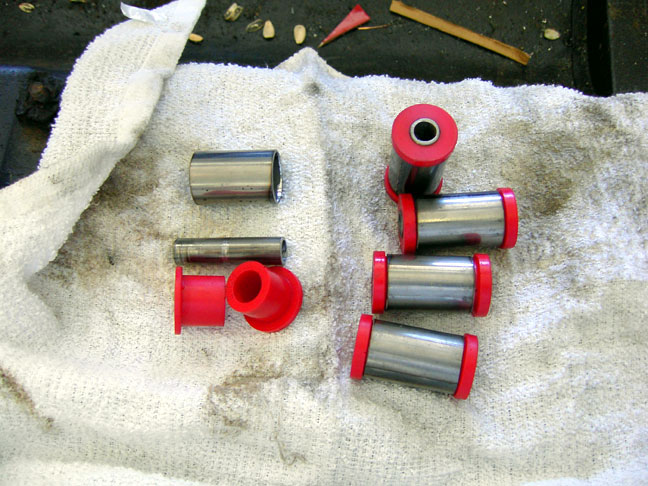 |
Rather than use a heim joint, I chose to use urethane bushings to help keep noise to a minimum. These are the bushings and the bushing holders I made. |
 |
The bottom of the spring with heavy tabs welded onto the lower spring plate to attach the traction bar to. |
 |
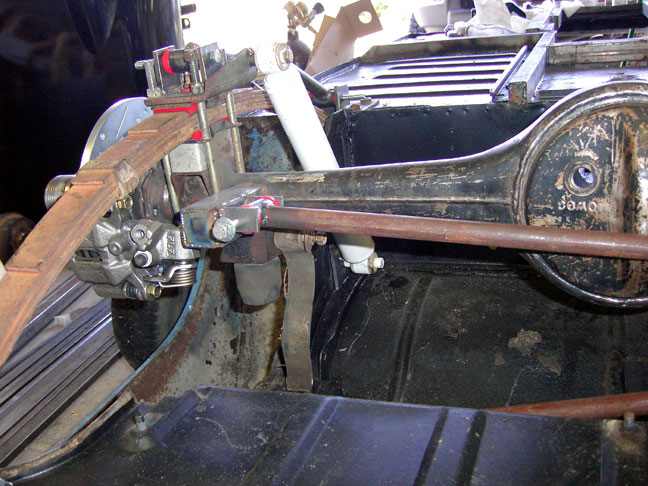
The traction bar on the front spring hanger |
 |
A nearly completed look at the bar. It will be cut and I will install a threaded adjuster to allow for fine tuning of the rear suspension once the full weight of the car is resting on the springs. With a slight adjustment I can be sure to eliminate any binding that may occur. |
 |
Now I have hopefully stopped spring wrap, and I don't want to use the stock lever shocks. Rear shocks from a Dodge Colt should fit ok, and they are made for a light car. Using shocks from a large car would provide too much damping and a rough ride. |
 |
Many suppliers sell a rear tube-shock conversion kit for a few hundred dollars, but why spend when you can make! Just take a plate, drill holes to mount it to the stock shock mounting holes and mark your tube shock location. |
 |
I made sure to allow for full compression and rebound of the suspension without allowing the shock to extend or compress completely. |
 |
Then I welded some thick walled tube to the spring plates to mount the shocks and presto! A tube shock conversion kit for less than $50. |
 |
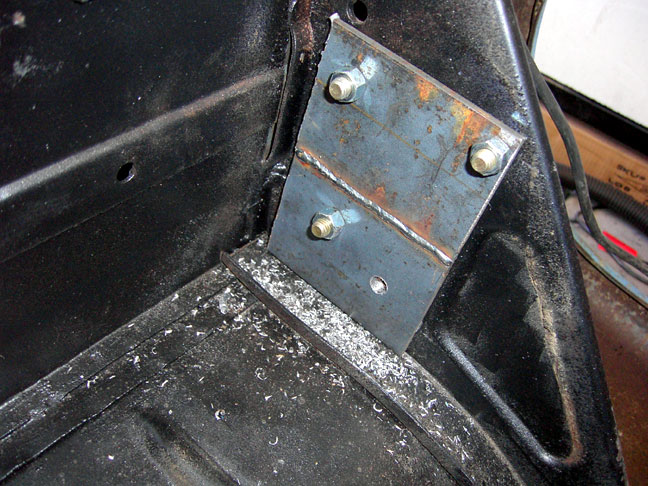
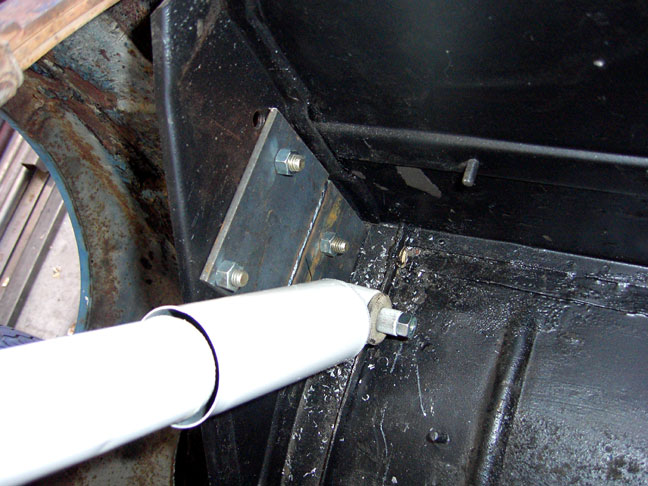
Then comes the panhard rod to limit lateral, or side-to-side movement of the rear end during cornering. First is a strong mount on the chassis to take the loads of the bar. I chose to weld a bracket to the frame under the sheetmetal of the trunk, then gusset and repair the trunk after a firm, strong mounting point had been made. |
 |
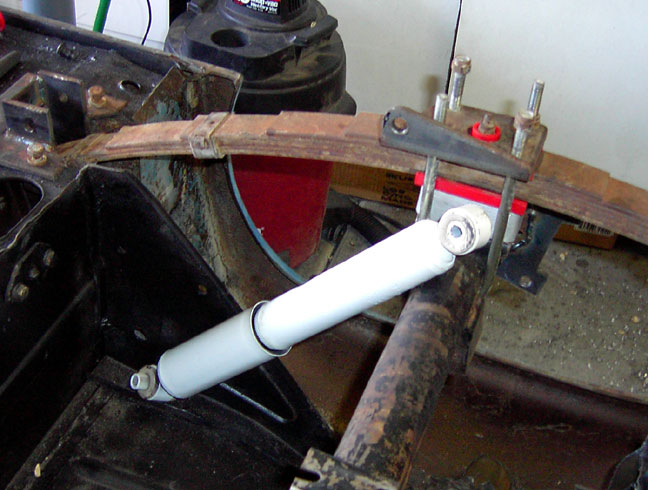
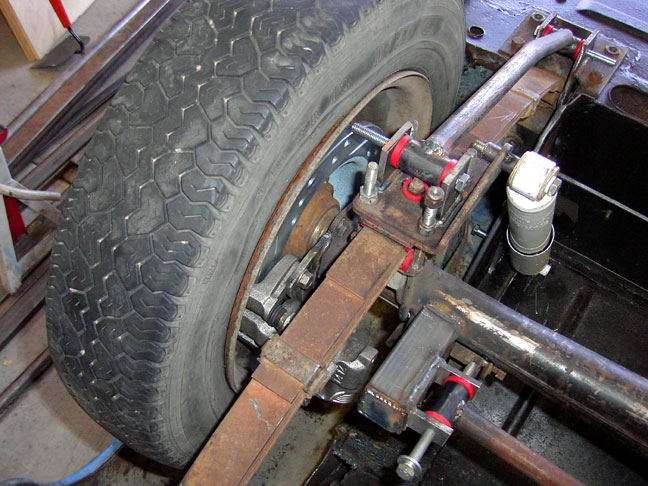
Here's the shock mount, traction bar mount and a top view of the panhard mount on the rear end. |
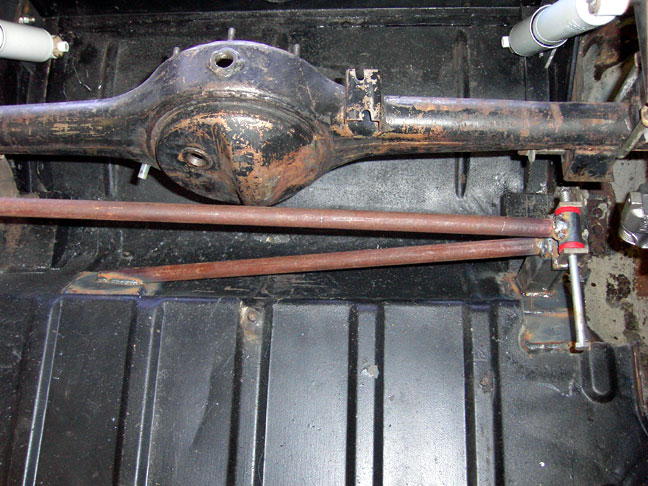 |
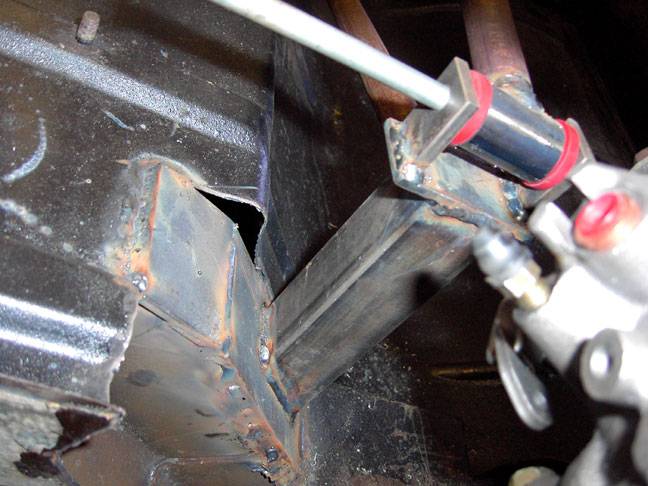
I ran a gusset bar off of the panhard bar frame mount to the sheetmetal on the opposite side to provide some additional support. Getting all the clearances right to avoid conflicts with the axle as it moves through all the suspension travel took a little time and careful measuring. |
 |
Having the panhard rod as long as possible allows the rear-end to move in an almost straight line up and down. It will still transcribe an arc who's radius is dictated by the length of the panhard rod, but with the added flexibility of the urethane bushings, this should not be a problem. |
 |
This is the plate welded to the panhard rod's lateral mounting gusset. |
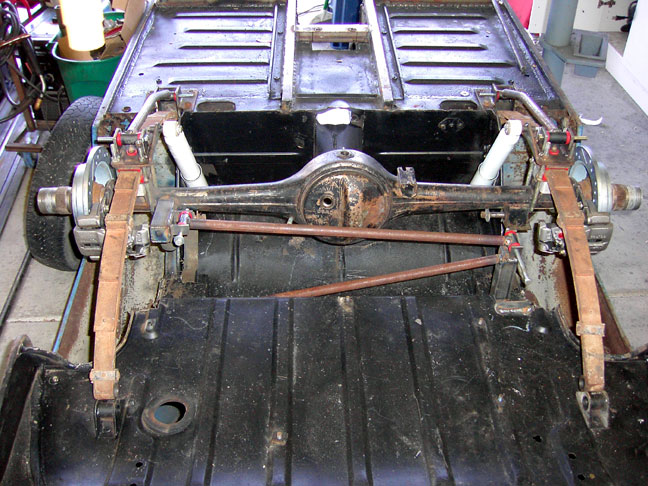 |
The nearly finished rear suspension |
 |
The Panhard rod mount on the rear axle |
 |
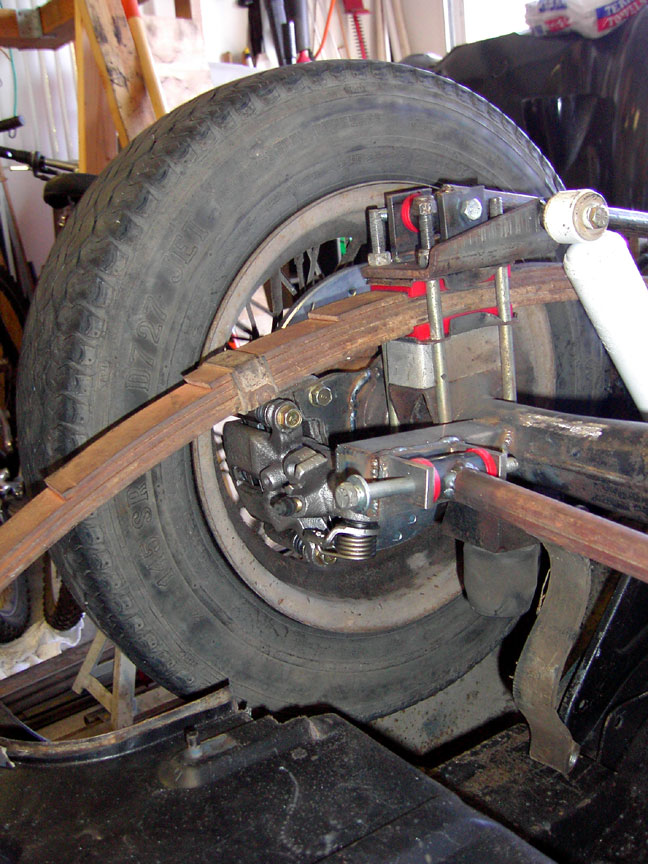
This is how it looks with a wheel on the axle. Note the clearance for the brake rotor and caliper |
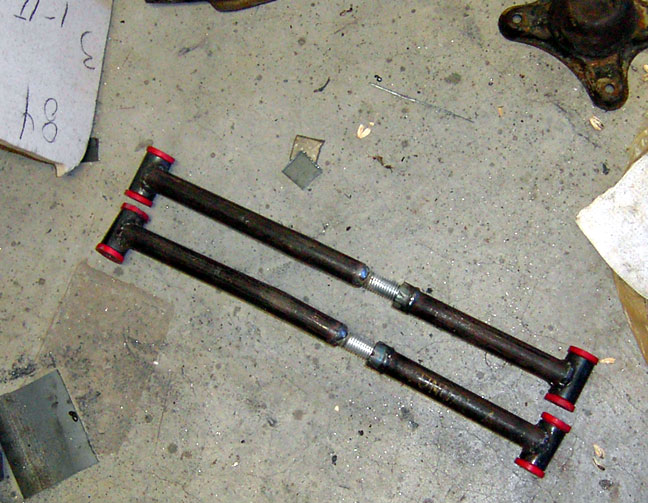 |
Here's the traction bars with adjusters, all they need now is a lock nut and some paint. |
 |
I can't wait to get the whole thing on the road! I've still got to get the adjusters on the traction bars and figure out how to run cables for the parking brake. |
 |
In case you have not guessed, the car was upside-down for this whole fabrication project. It sure was easier than crawling around on my back underneath the vehicle. |