The Mite
Part: 11
Front Tube Shock Conversion
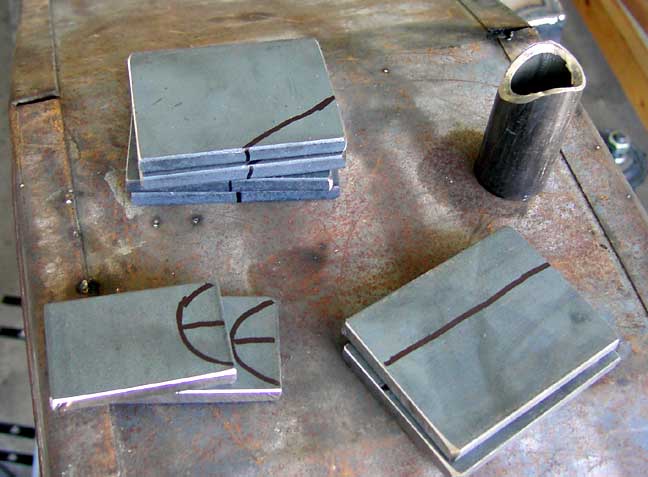 |
Since I replaced the Armstrong lever shock with the fabricated upper control arm, I was left with no shocks on the front. I wanted to do a front tube shock conversion anyway, and here are the parts for the mount. |
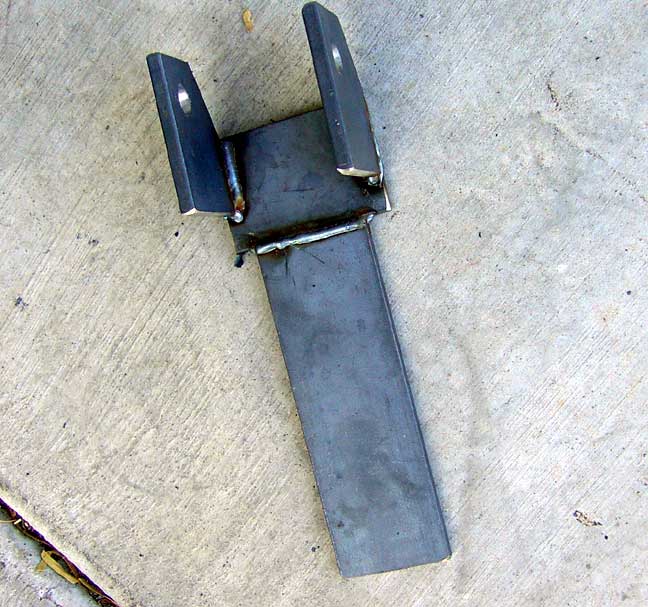 |
This is the welded mount, ready to be welded onto the fenderwell of the car. |
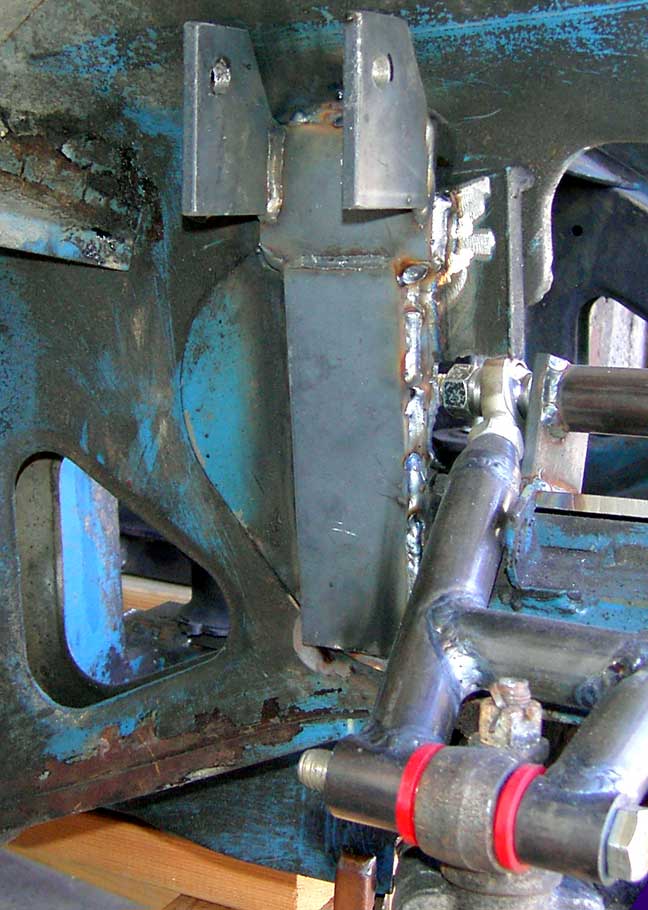 |
Here's the mount welded to the fenderwell. I probably could have bolted it in and made it smaller, but I wanted to have the top shock mount as high as possible to allow the use of longer, more readily available shocks. I also figure the weld spreads the load over a larger area and helps to brace the fenderwell around the area I had to snip out to clear the A-arm. |
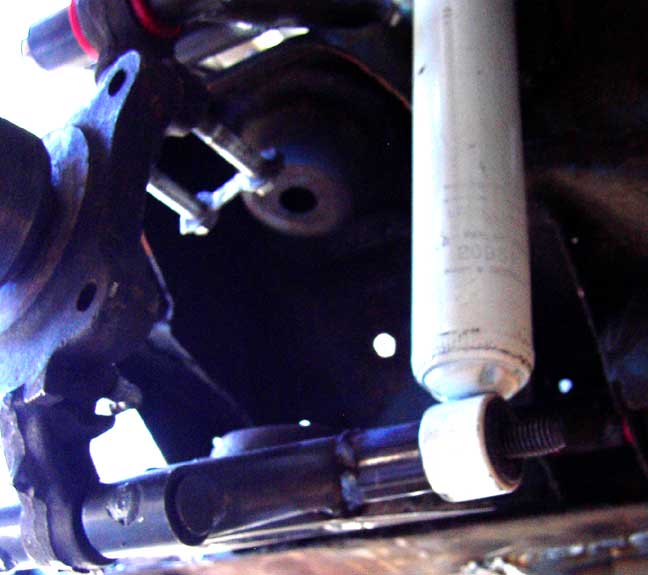 |
The bottom mount is simply a 1" o.d. tube with a 1/2" threaded rod welded to the bottom A-arm |
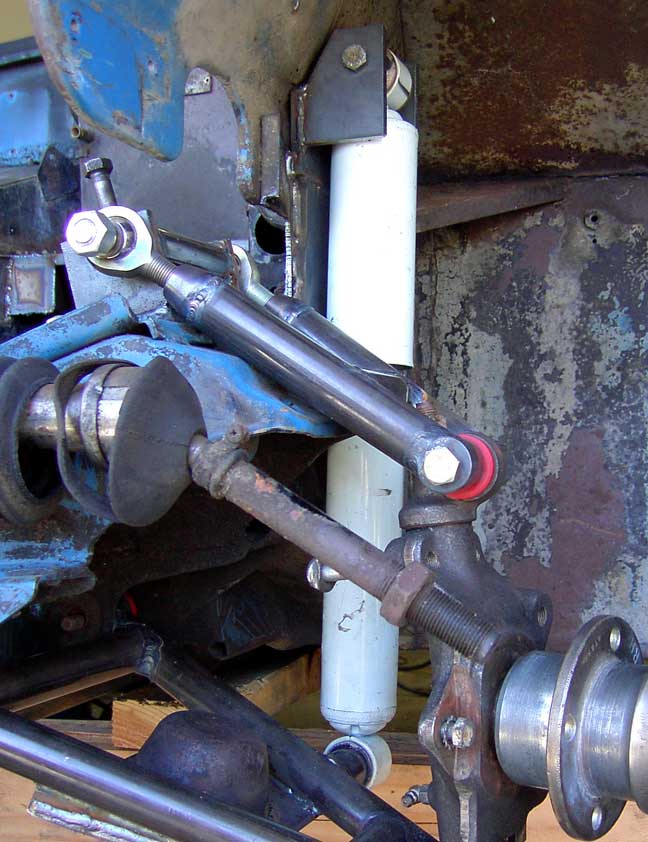 |
Here's the completed tube shock conversion. The shock travels in a vertical direction and the mount is strong. |
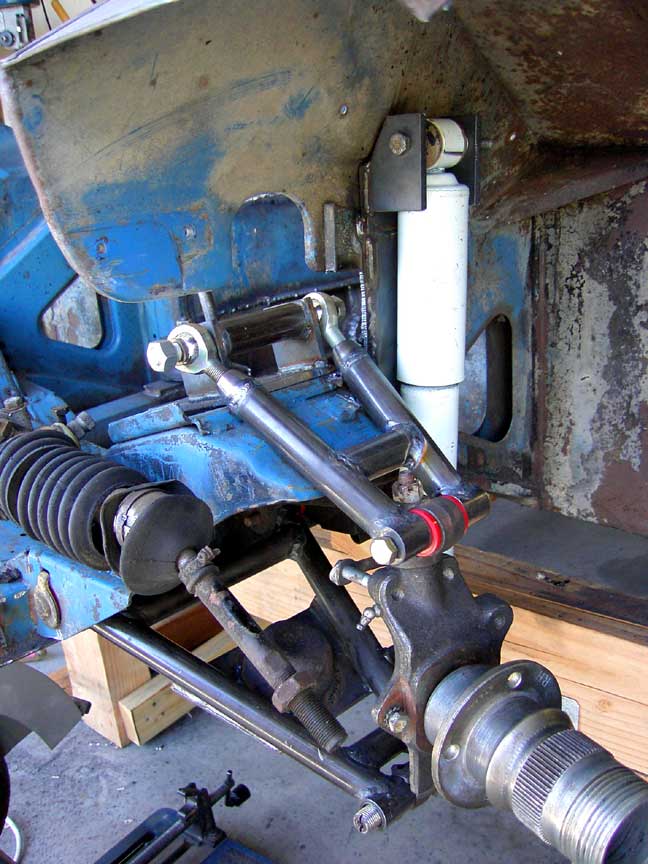 |
Another view of the shock mount with the a-arms. The steering rack rebuild is next, then comes the front brakes and sway bar. |