
The Mite
Part: 26
Pictures of the car after body filler and ready for paint.
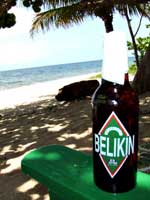 |
It's been a while since I did any work on the car. Phoenix has been HOT and we had to go to Belize for a vacation. I can't say enough nice things about the people in Belize. Everyone was friendly and quick to smile and the snorkel/scuba, fishing, hiking on Mayan ruins and food was great! So was the Belikin. |
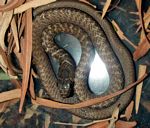 |
When I finally got back into the garage, I found this little guy greeting me at the door! He's about the diameter of a pencil and maybe 10" long. I took a few pics and then let him go in the back yard. |
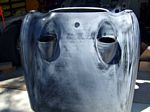 |
The 'glass hood was near perfect, so I just washed it thoroughly to remove any mold-release from the gel coat, and then sanded the surface to promote primer adhesion. |
 |
The dash took a little body filler along my seams and inside the main gauge bevels to smooth things out. |
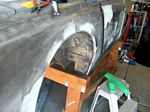 |
The body was very straight,
but I still spent the better part of 4 days applying body filler and sanding
it smooth with the two green Sanding Boards |
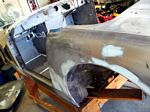 |
After some trial-and-error and a call to the paint shop where I got the filler, I got the hardener-to-filler ratio figured out and got the car smoothed out. |
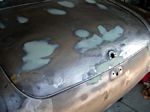 |
The trunk had a bunch of small dents that couldn't be hammered out due to the bracing on the underside of the trunk lid. Nowhere on the car is the filler more than 1mm thick. |
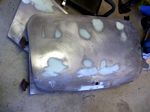 |
The trunk lid off the car |
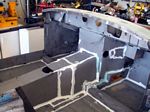 |
I used automotive seam sealer |
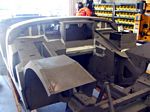 |
The same seam sealer was used on all the seams in the engine compartment. Next up: making a paint booth and spraying primer! |