
The Mite
Part: 27:
Building a paint booth and spraying
the primer!
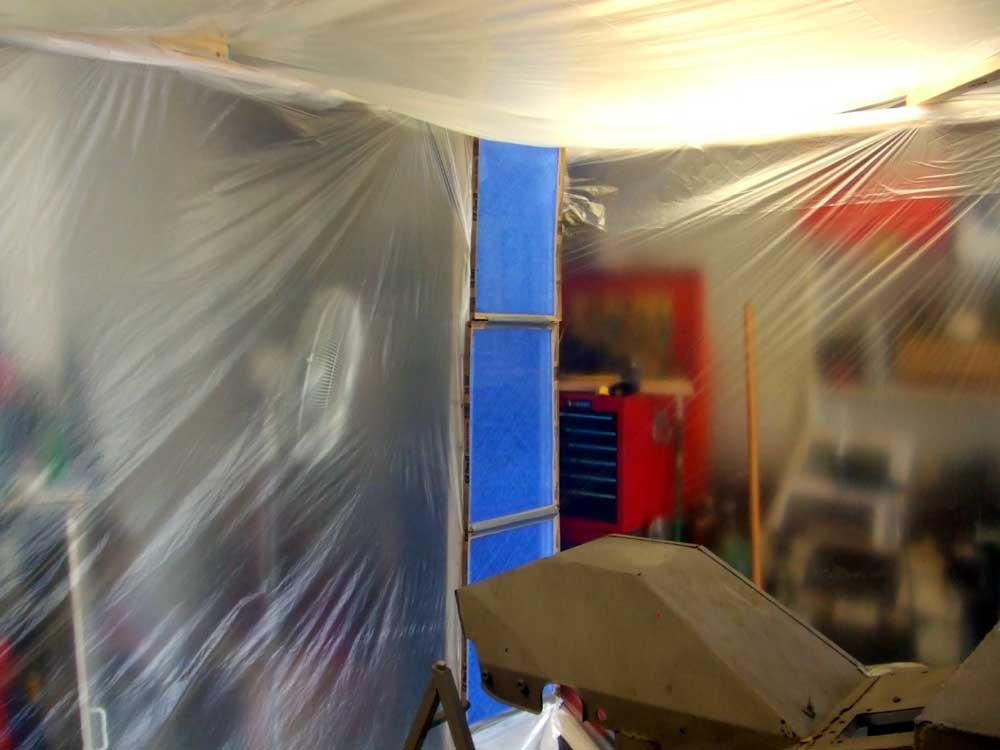 |
With the body work finished, the next step is to spray the primer. First, I need a spray booth to keep the overspray from covering everything in the garage, and also to keep the dust and bugs down to a minimum. I spent about $100 on 2 x 3's, painter's plastic, fans and filters. Here's the back of the paint booth that was hammered together in my garage. There's three a/c filters stapled and taped to a gap in the plastic to allow filtered air into the booth. |
 |
This is the best $15.00 I spent on the booth - an air-stapler from Harbor Freight. It was a great time saver and kept my hands from getting cramped trying to use a hand stapler. It came complete with a ton of staples, too. |
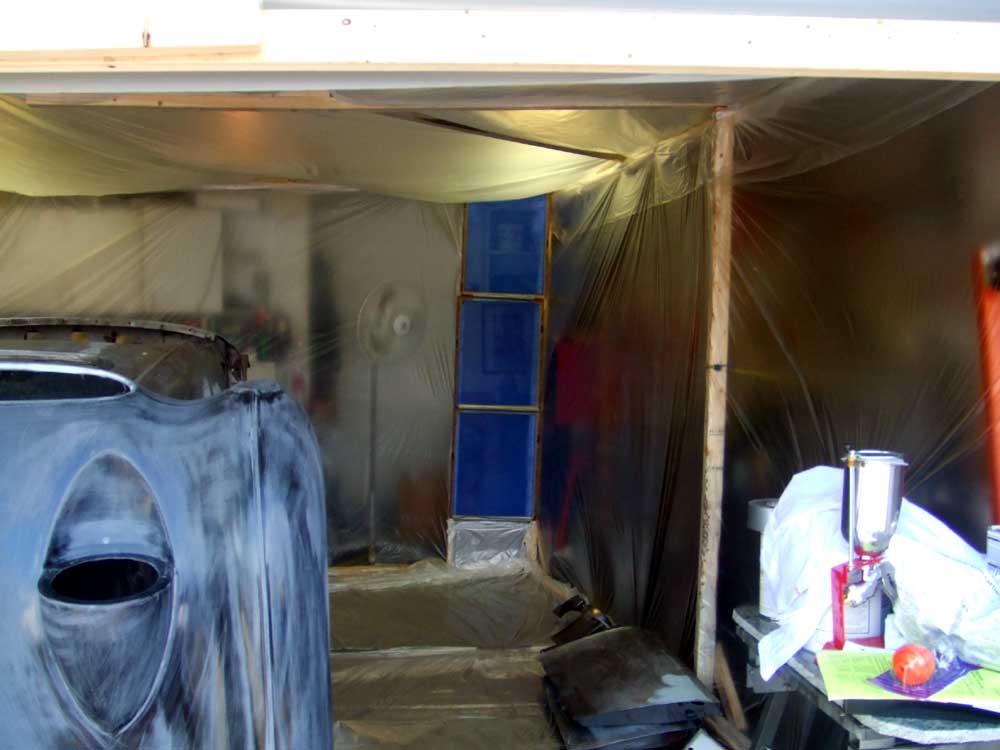 |
Here's another view of the booth, and you can see a small table set up near the front to mix the paint. |
 |
From outside the garage you can see two exhaust fans that pulled the air out of the booth. The plastic was taped to the fans and covered the front of the garage. |
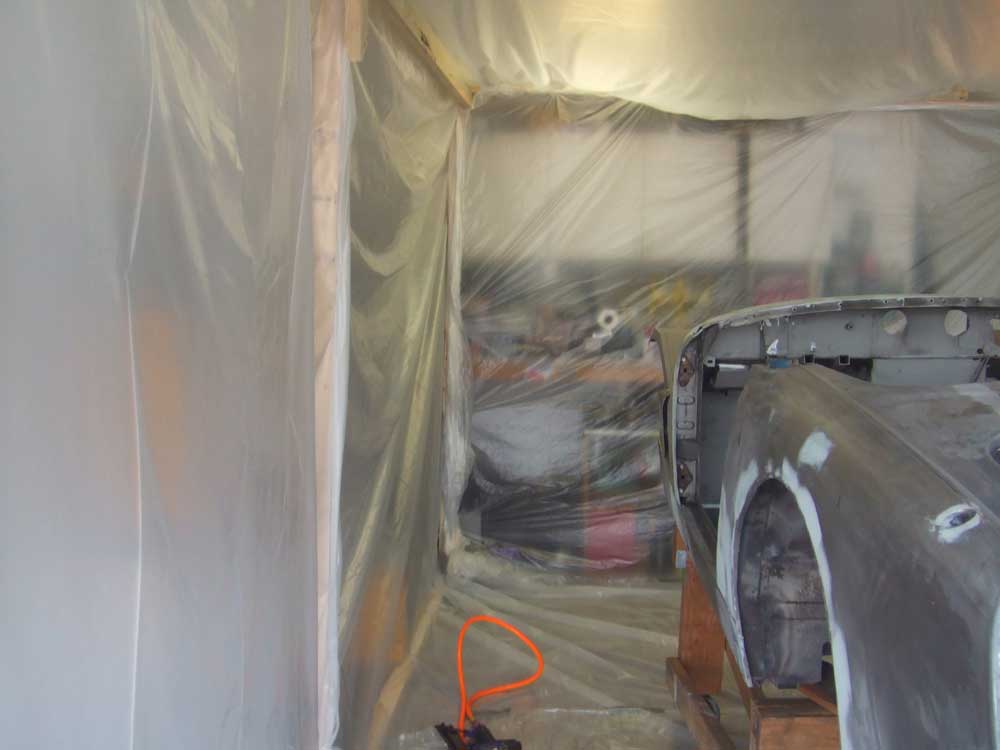 |
I moved the car into the center to paint it, and I had about 4 feet all around the body. |
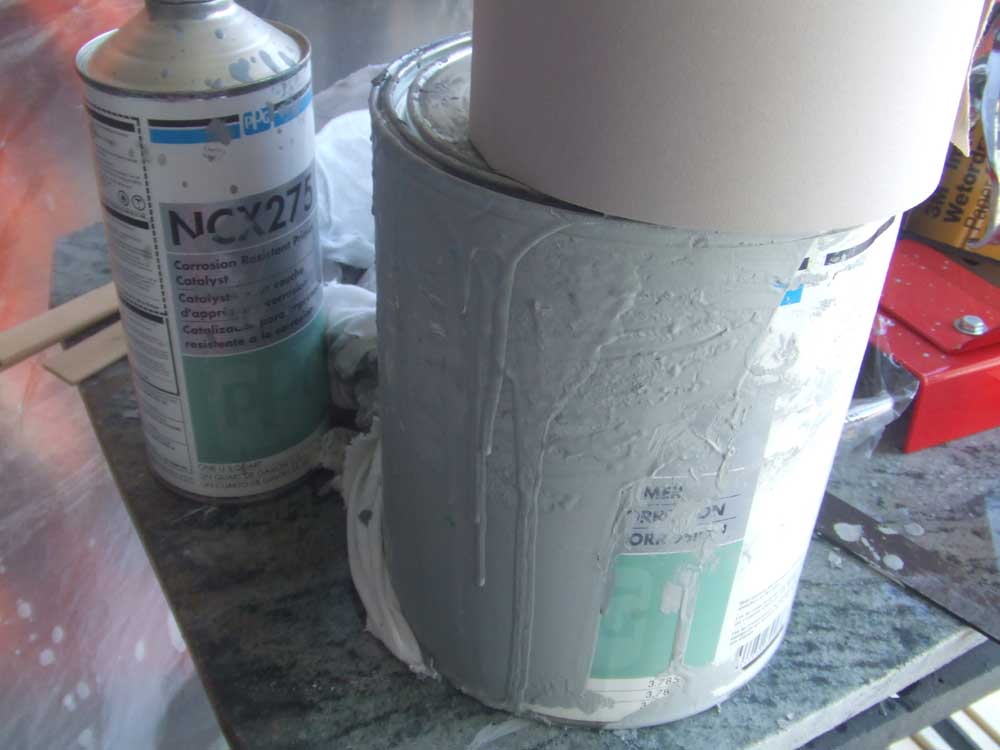 |
This is the primer I used, it's PPG NCP 270 Deltron High-build sandable primer. I sprayed 3 wet coats on the car, hood, doors and bonnet. It took WAY longer than it does on TV, almost 3 hours of painting to get everything coated. I only walked into the paint one time, so that area had to be sanded and repainted. |
 |
This is the Devilbiss |
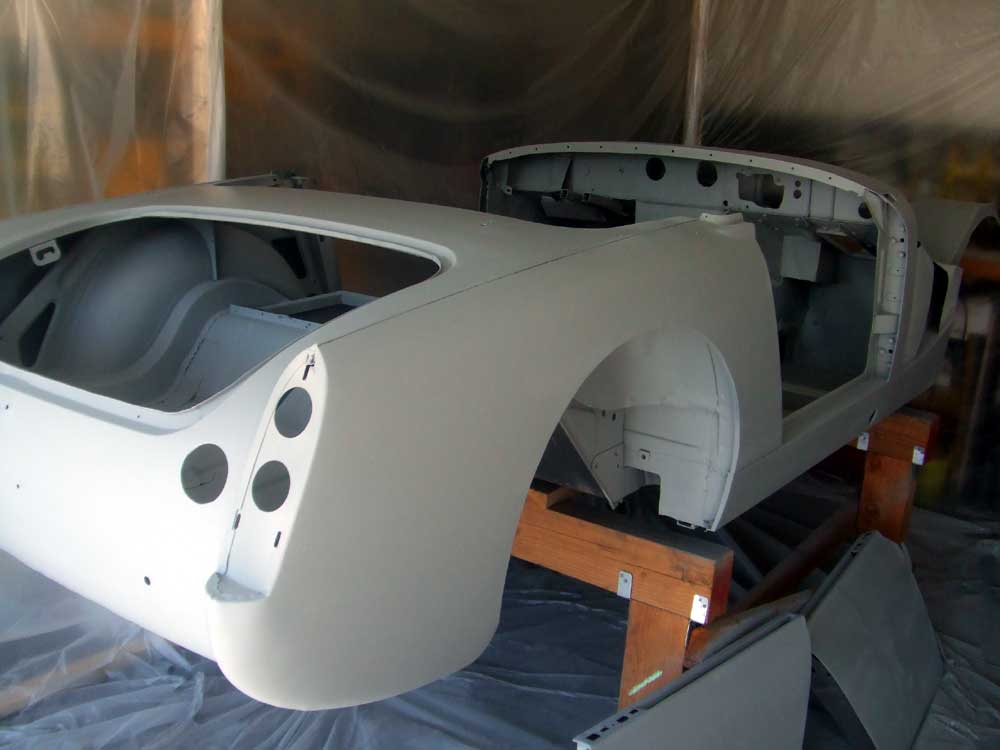 |
Here's the body of the sprite - I think it turned out pretty good. No runs or drips. |
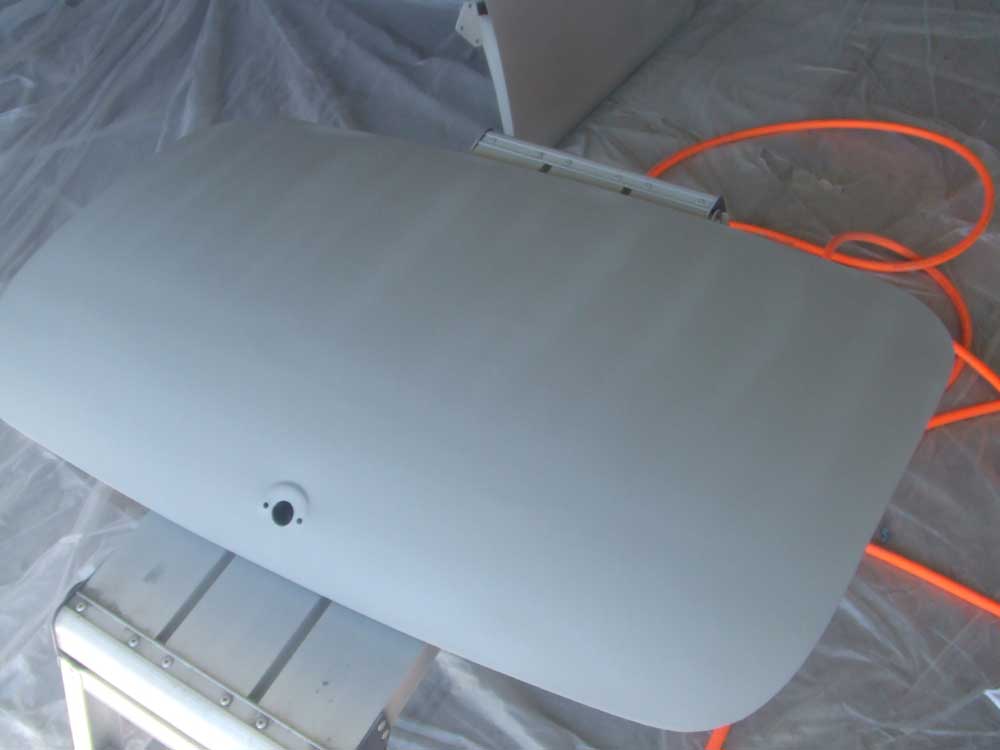 |
The primered trunk lid |
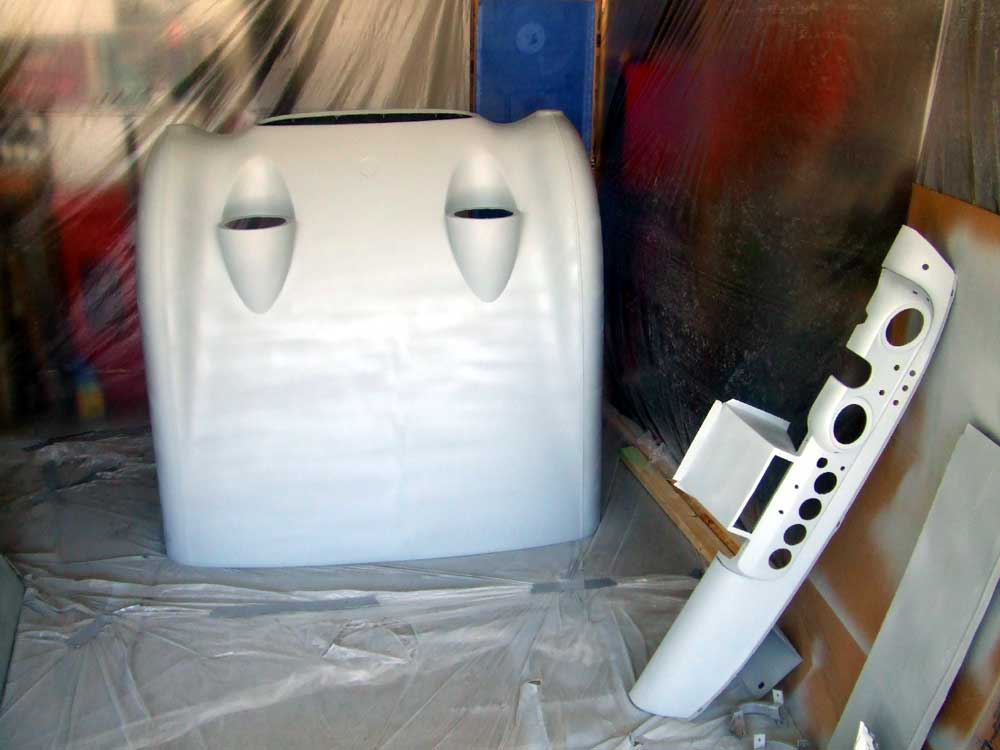 |
The bonnett and dash. I'm going to spray the dash with a hammertone finish instead of the crinkle that was originally on it. |
 |
Here's an enhanced image of the primer. I've blown up the contrast to show the dark areas that are the primer before block sanding, and the lighter areas after blocking the primer. The reduction in orange-peel is quite evident. The 'scratches' on the sanded area are not scratches, they are shiny lines from paint-builldup on the sandpaper. I was in a hurry to take a picture, I'll be wet-sanding the whole car so this won't occur. The plan is for British Racing Green with two white strips down the center of the car. It'll probably be another few weeks before I get to spray the color. I'm using the PPG basecoat/clearcoat system for the final color. |