The Mite
Part: 28
Taping the stripes and Spraying the Paint!
 |
It's been a long time getting here, but today it is finally time to spray the paint! I block sanded the whole car during the week. Block sanding takes WAY longer than they show on TV, and it is tiring and very messy. I replaced the plastic on the homemade paint booth due to sanding dust and primer overspray before I began to paint the Mite. I've decided to lay down a couple of white stripes in the center of the car, so my first step is to spray a patch of white where the stripes will be. |
 |
Here's the trunk lid with a white patch on it. the borders don't make much difference at this point, just three nice coats of white. |
 |
The trunk area of the car got white paint, too. I sprayed it on Friday mid-afternoon. Due to the properties of this PPG paint, I now have a 24 hour window during which I must finish painting.
|
 |
Here's what the garage looked like this weekend. |
|
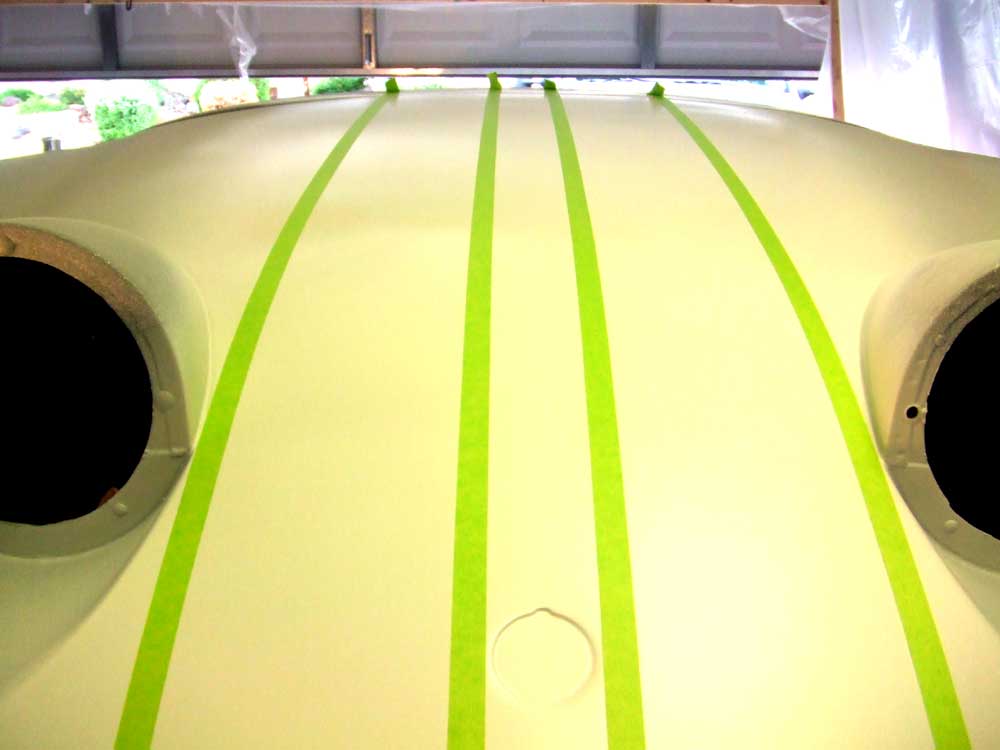
After the white dried, I tape and masked |
 |
It took about a half hour to get the stipes layed out straight and parallel |
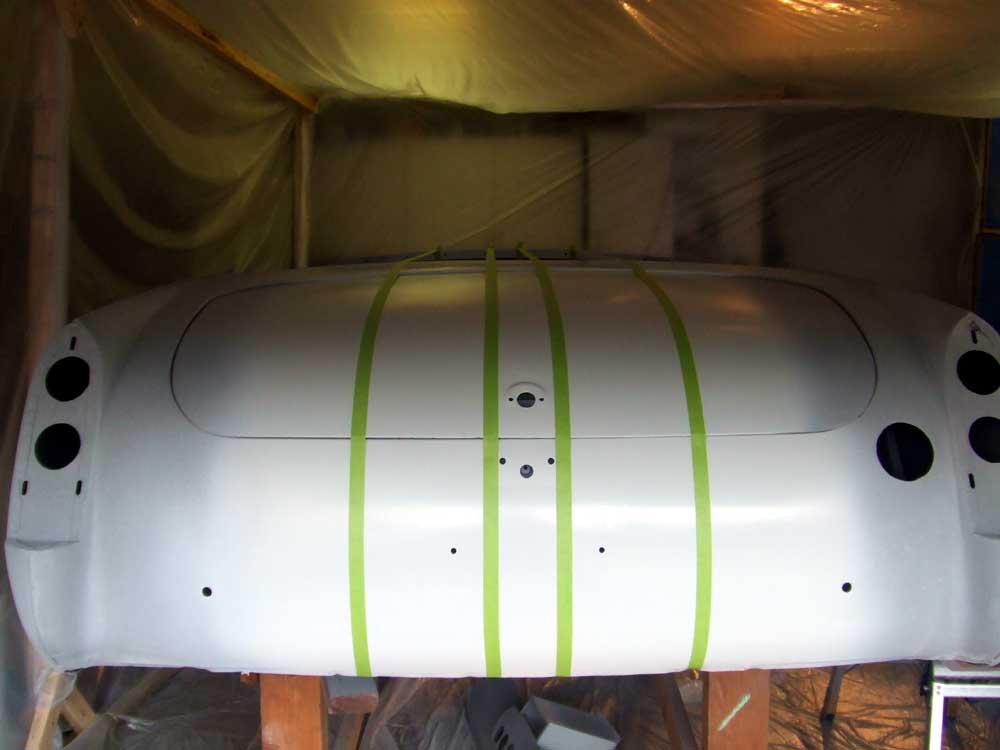 |
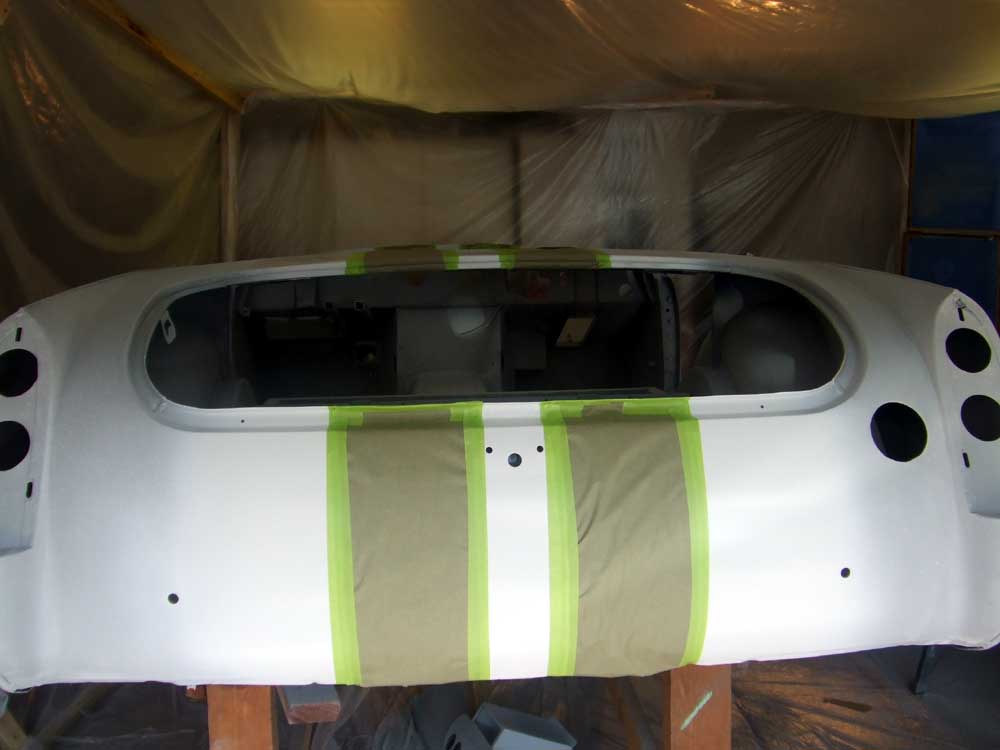
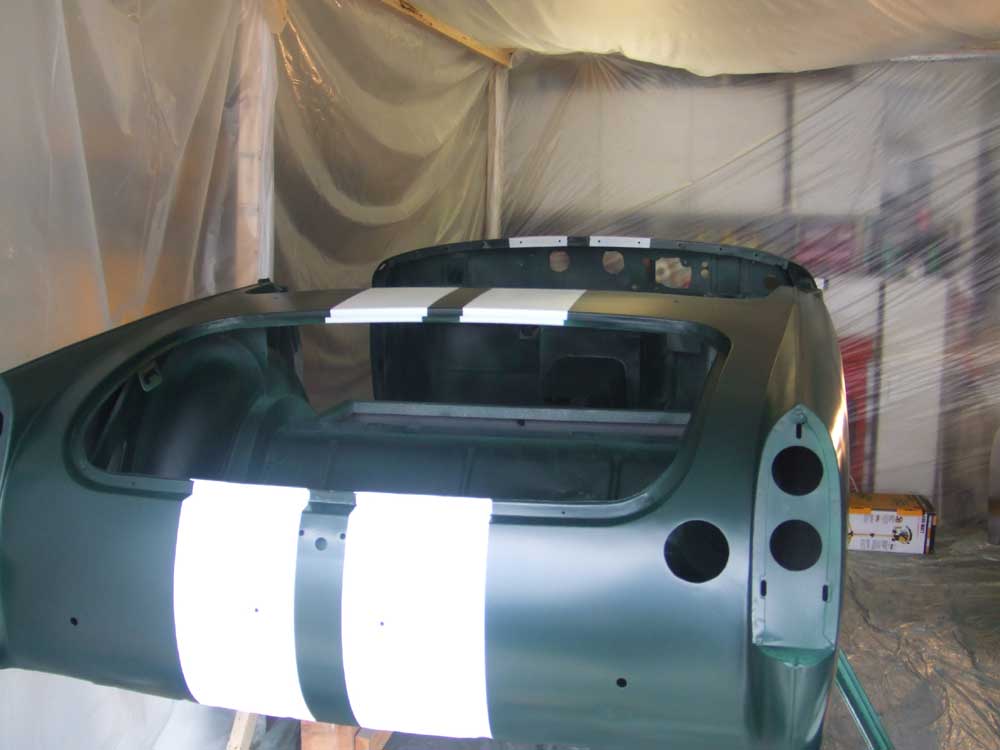
The back of the car |
 |
Then I masked off the stripes. I covered what I want to keep. |
 |
It's almost a negative image of what the final product will look like - here there are dark stripes on a light car. |
 |
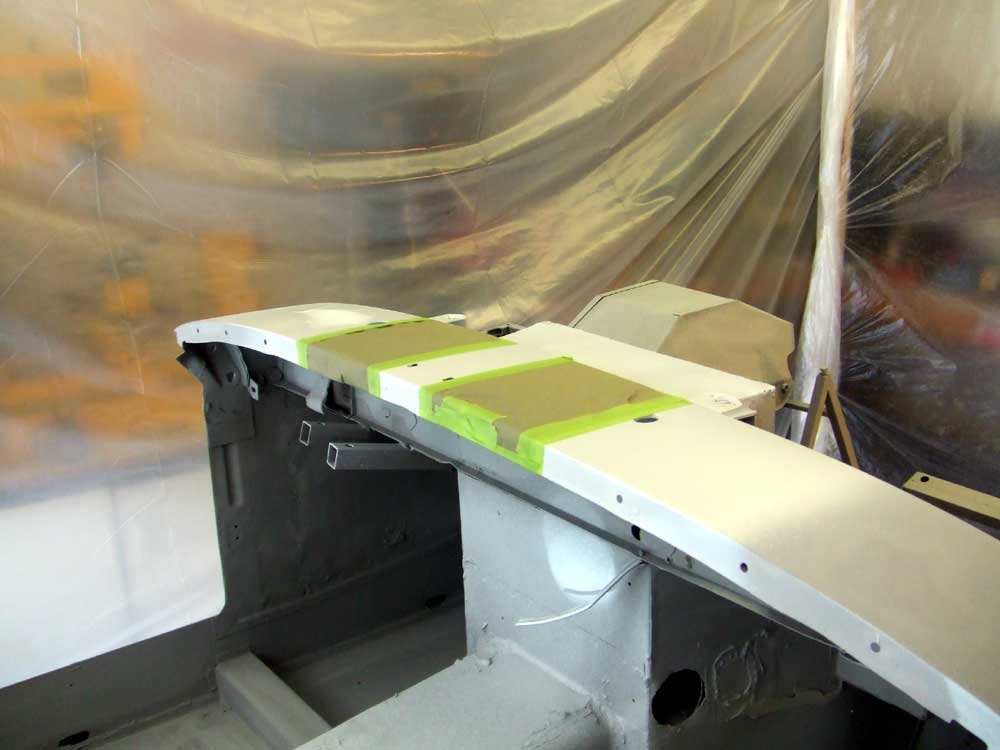
The trunk area. |
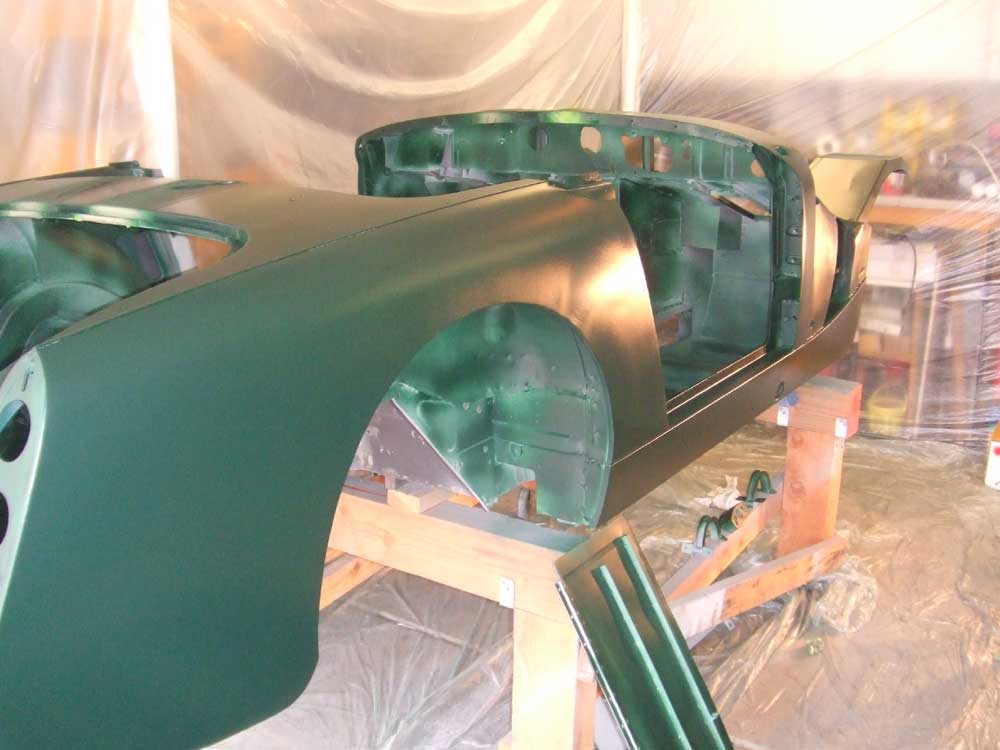 |
The next morning, I sprayed the 3 coats of green. It dries to a dull finish and then the clearcoat makes it shine. In between the primer, white and green, I cleaned the whole car with wax and grease remover and tacked it with a tack rag. |
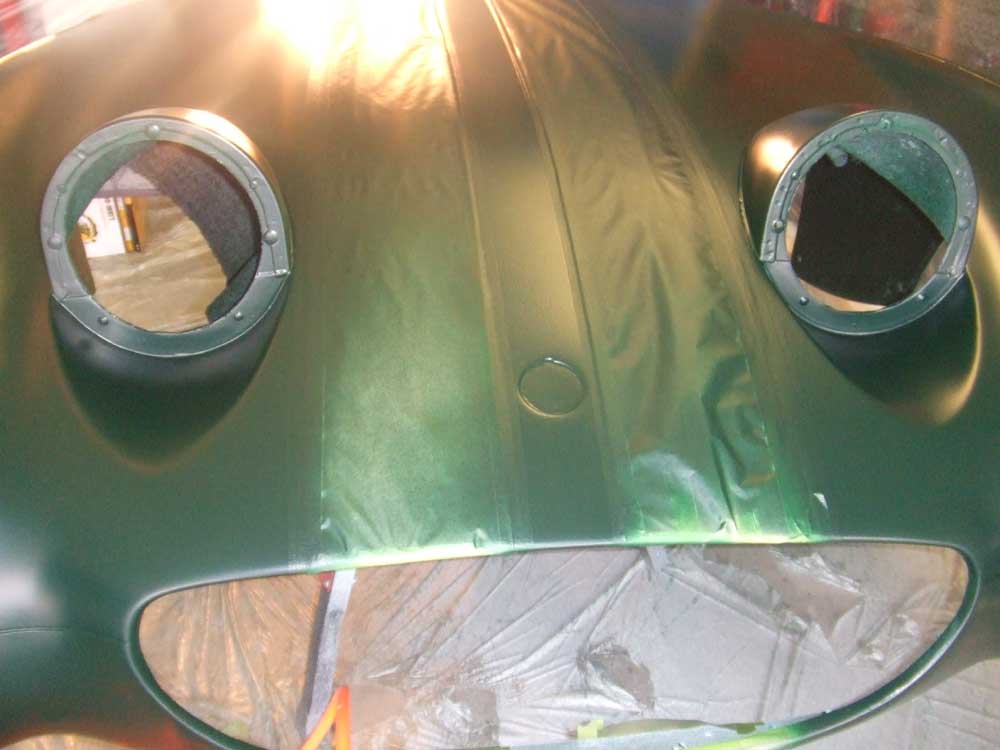 |
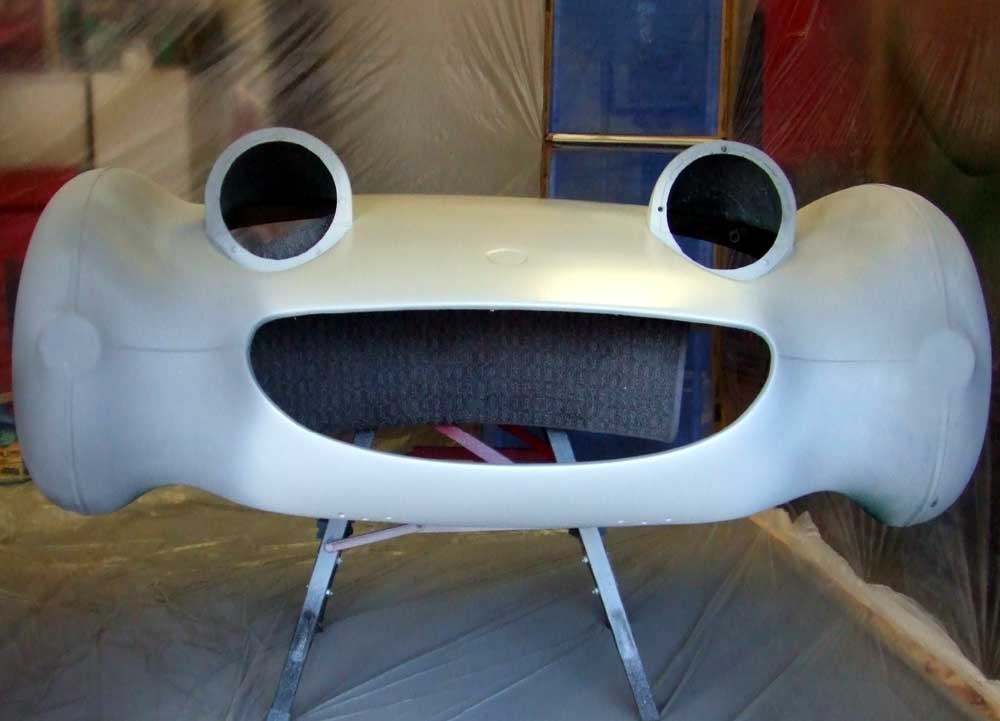
The Bonnet masked and shot
green. Yes, I was wearing a Respirator |
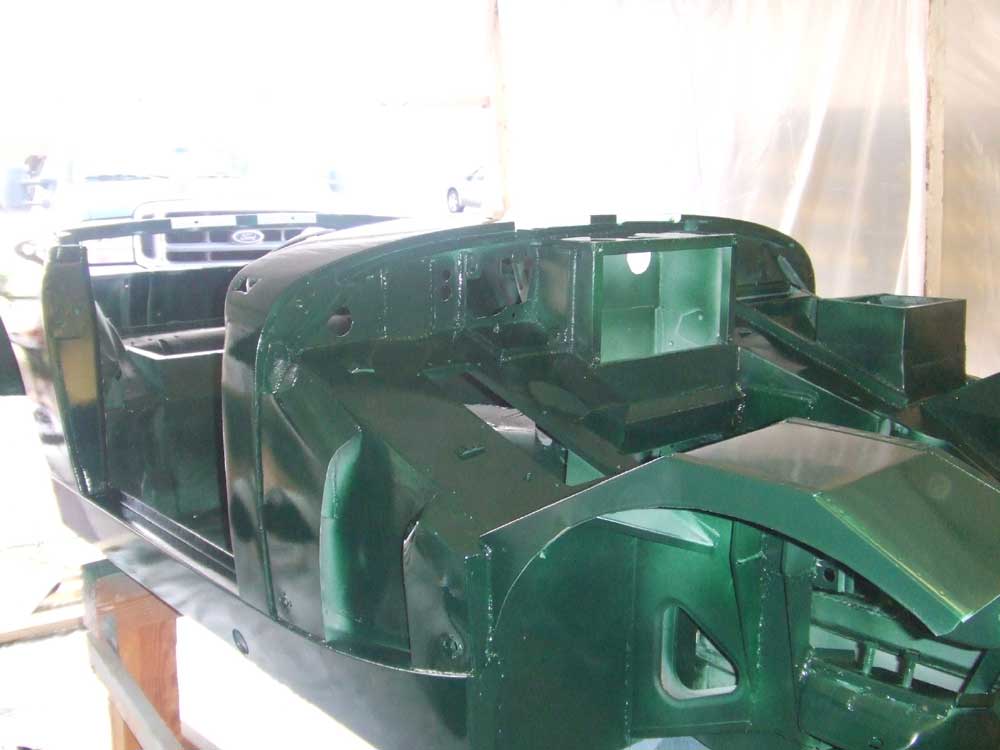 |
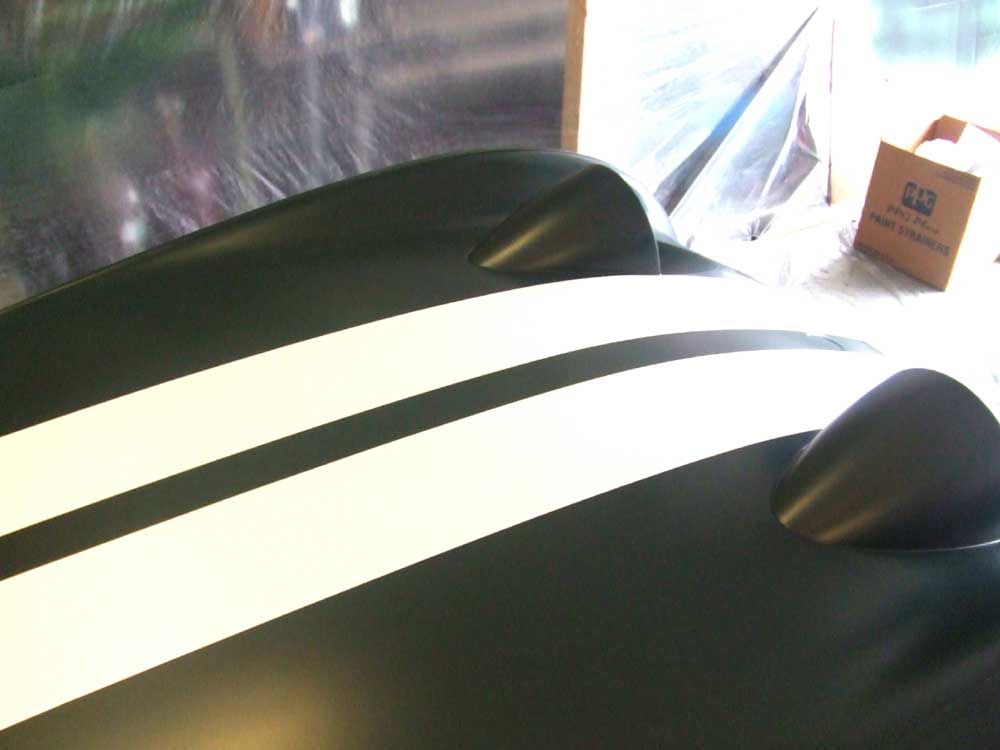
The engine area, after the tape and masking was removed |
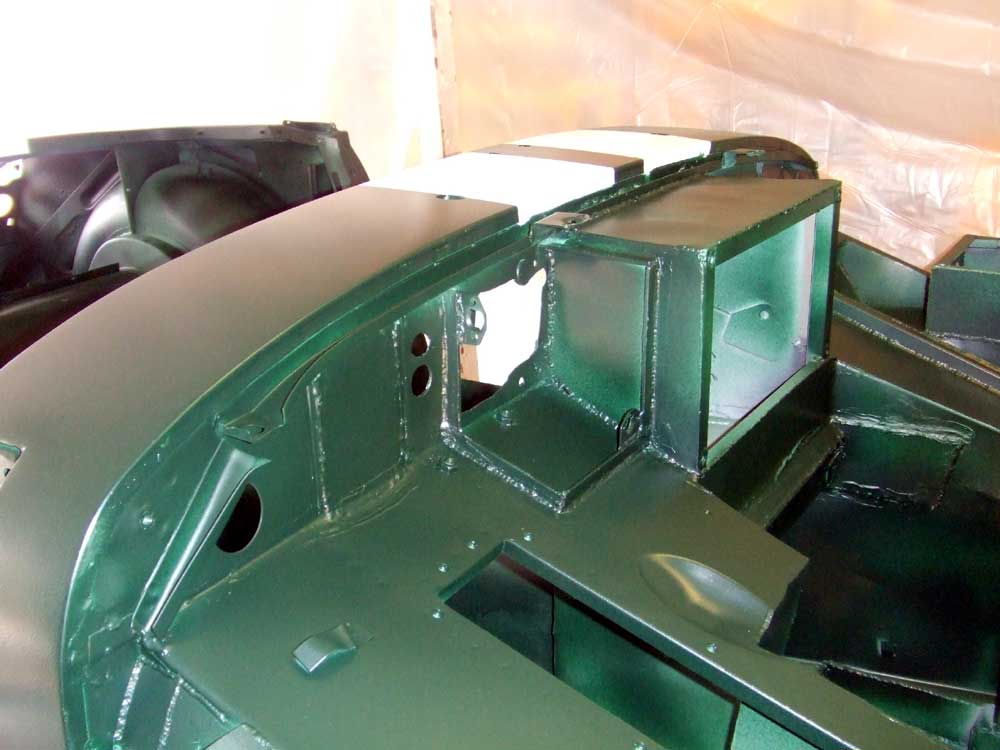 |
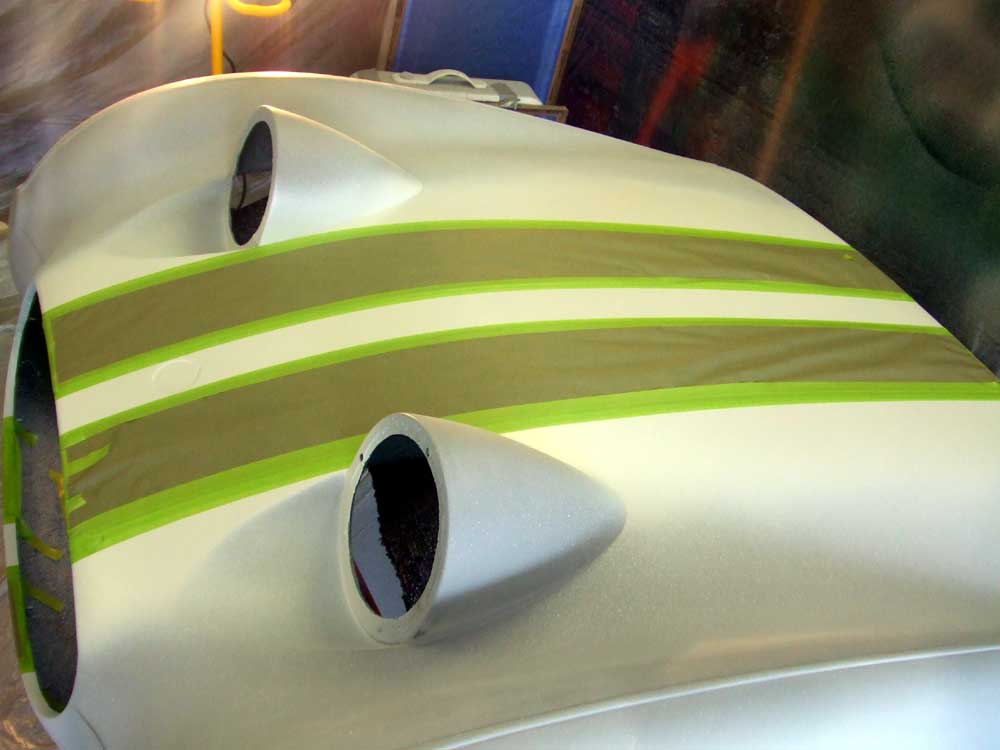
A closer look showing the stripes on the cowl |
 |
A view of the rear, dull before the clearcoat |
 |
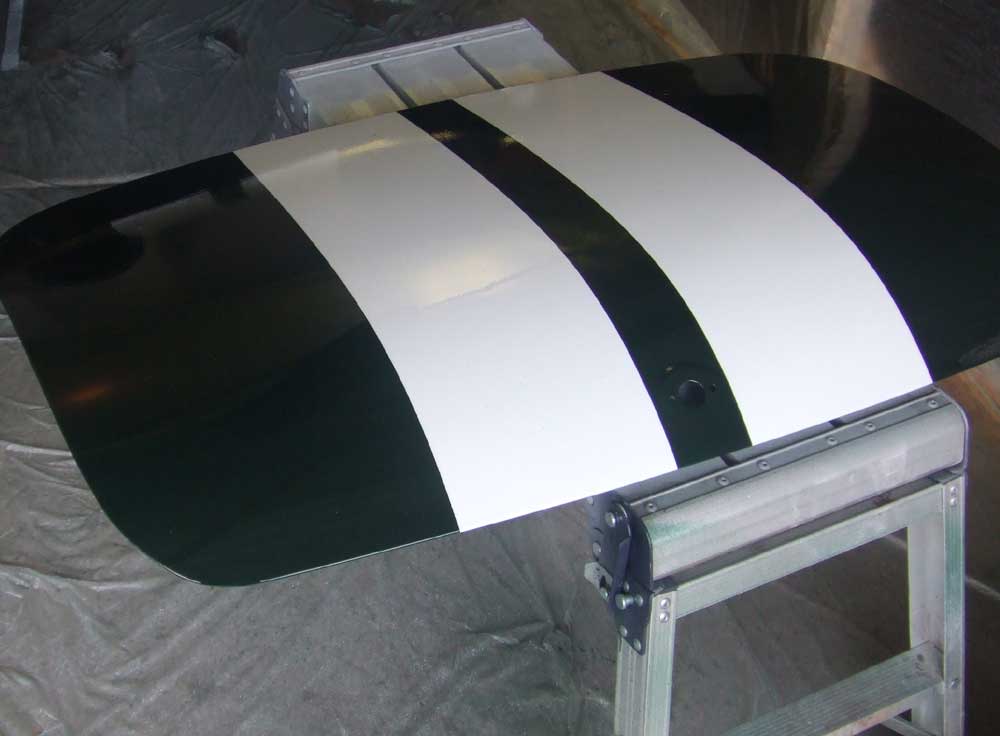
The Bonnet, dull before clearcoat |
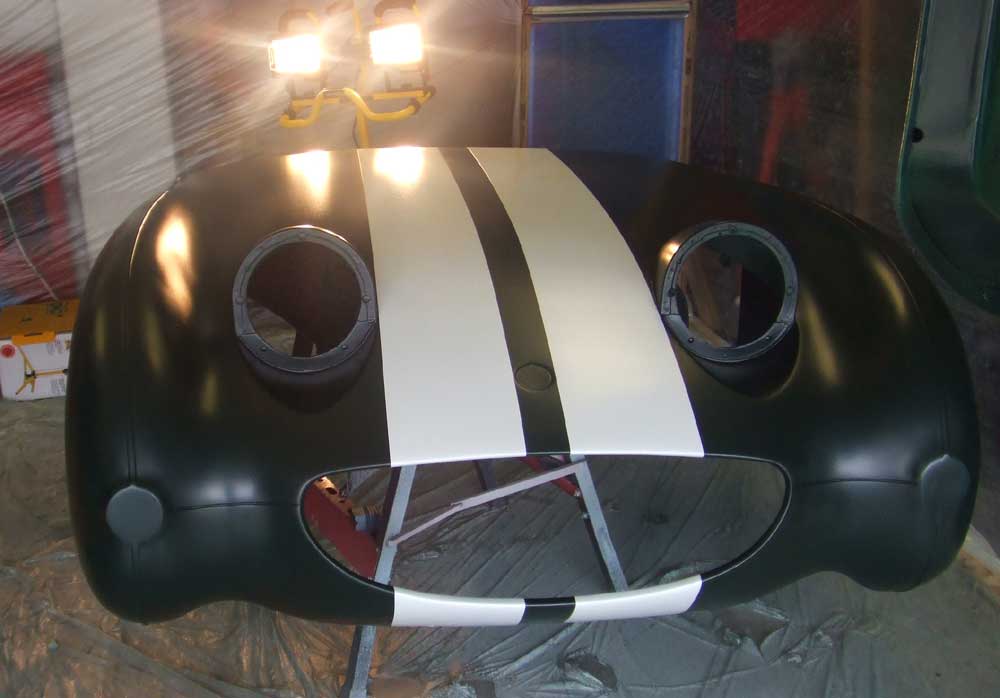 |
Another shot of the dull hood |
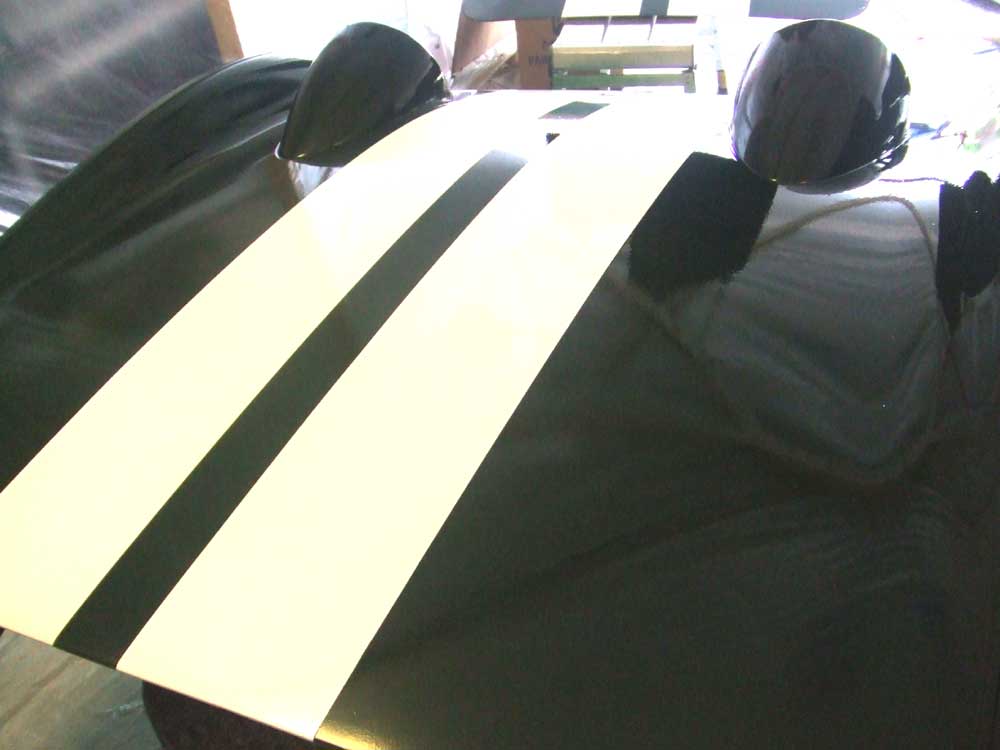 |
Then.....Three coats of Urethane clear and it's nice and shiney! |
 |
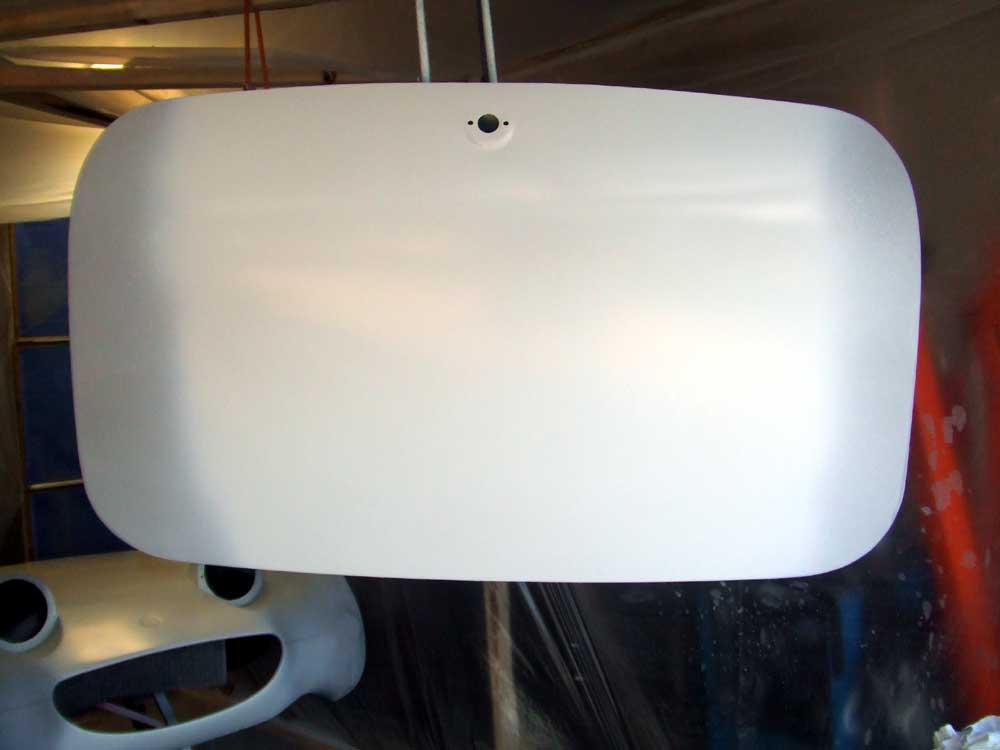
The trunk lid |
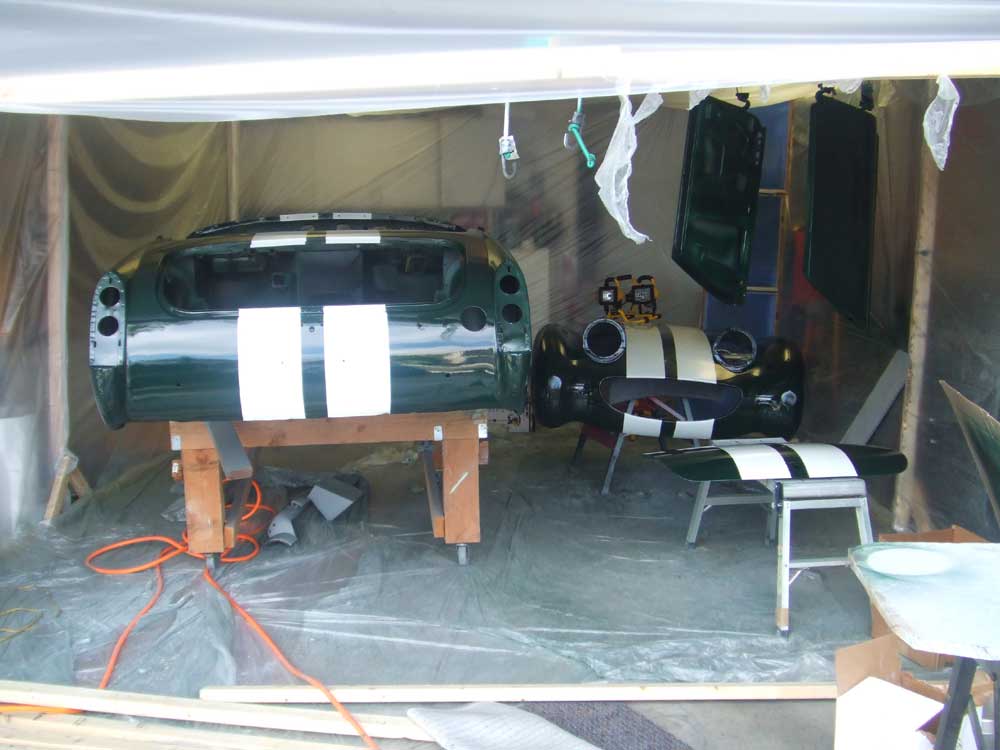 |
And the whole garage. Now I get to color-sand the entire car and buff it to remove any orange peel. |
 |
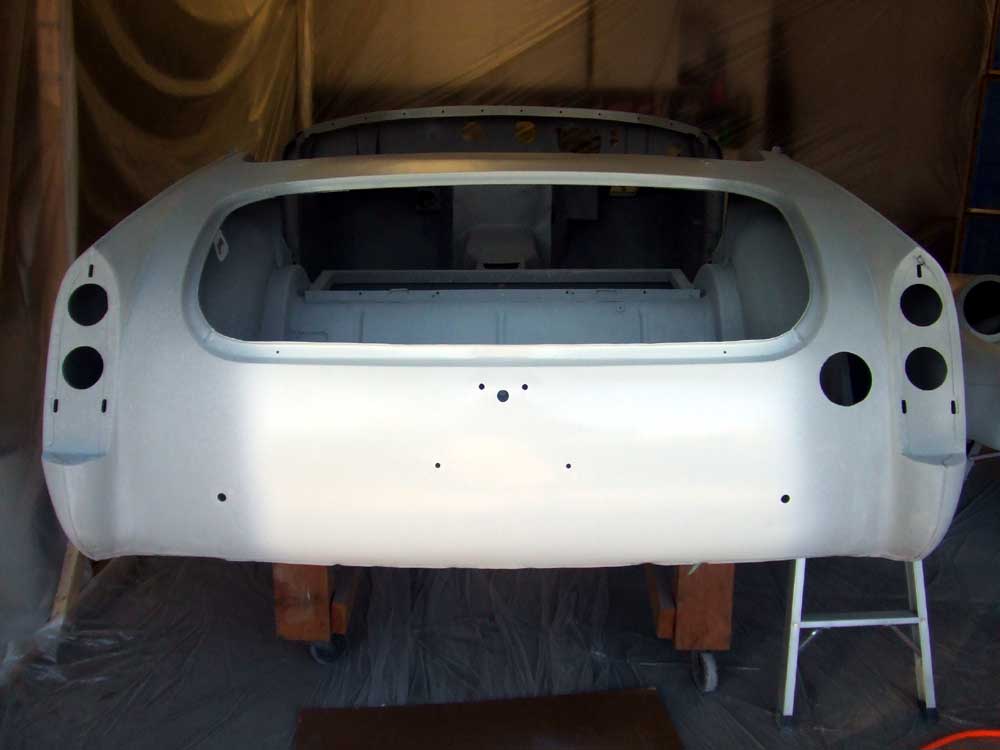
Here's the back end |
 |
and a close-up of the hood. |