The Mite
Part: 30
Beginning Re-assembly of the Front Suspension
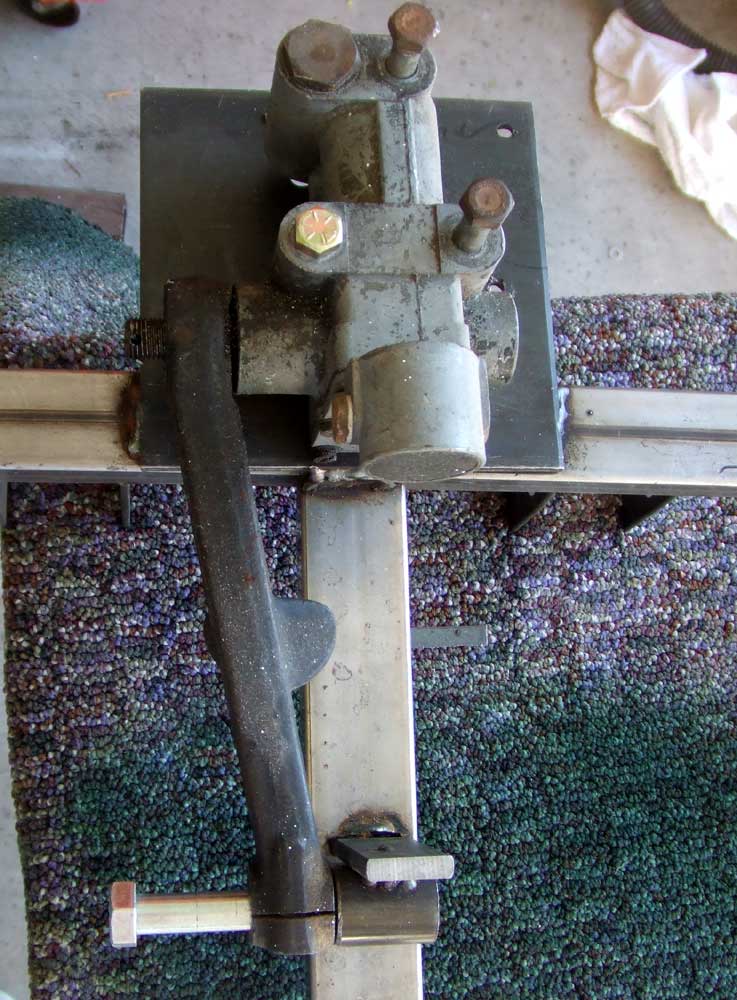 |
With the car painted, now it's time to re-assemble everything and hope that I got it all correct. The first thing I did was place the front lever shocks back on the jig to make sure that the jig was correct. |
 |
Then, with the a-arms back from getting powder coated, I assembled them making sure that they lined up perfectly with the jig, assuring that the stock suspension geometry would be retained with the new arms. |
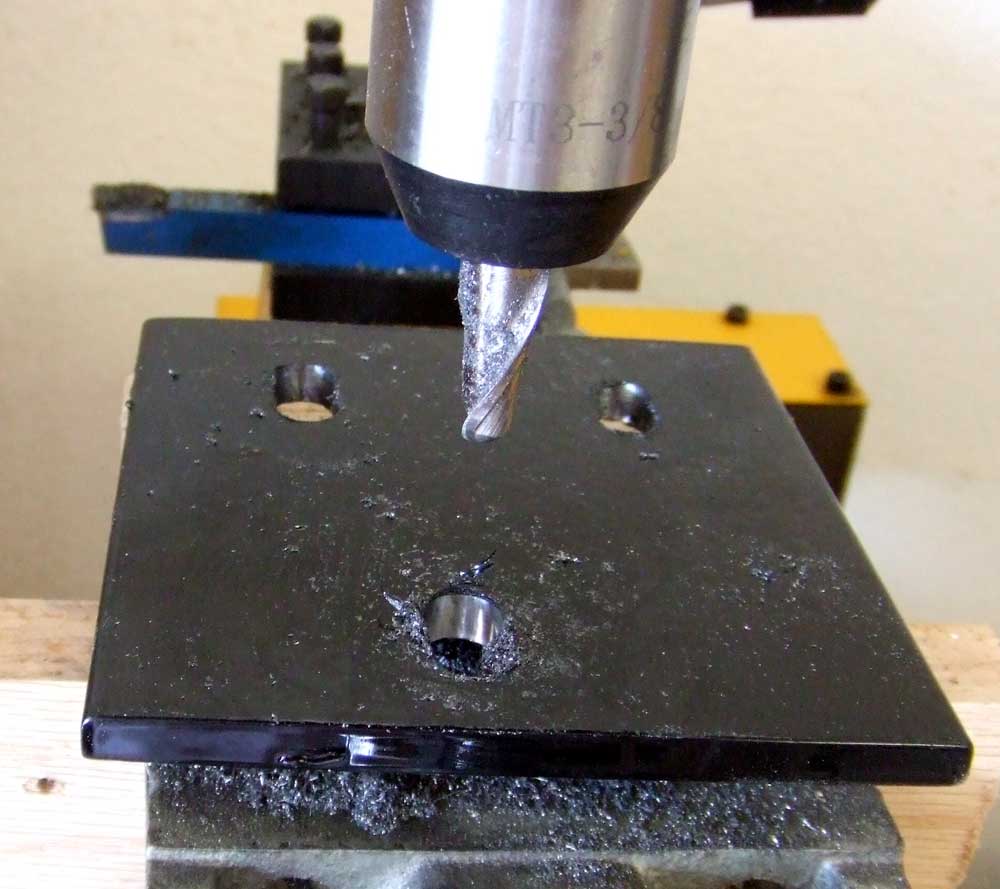 |
Then, to allow some adjustment of camber, which might be necessary with the car slightly lowered, I machined the holes in a-arm support pivot plate. The 1/4 inch of adjustment should be more than enough. |
 |
Then, the spindle was attached to the a-arm, using two urethane bushings and two washers. It took a couple of gorillas and some fancy language to get the bushings compressed and into the space between the bosses on the a-arm, especially with the gloopy grease that was included with the bushings covering everything. I wanted the bushings to be about as tight as they would be on the stock front end when the upper fulcrum bolt is tightened to specs, so I put a couple of bushings in the upper trunnion and used a lever shock and stock nut and tightened them up. I measured the crush of the bushings and duplicated that on my a-arms using different thicknesses of washers. |
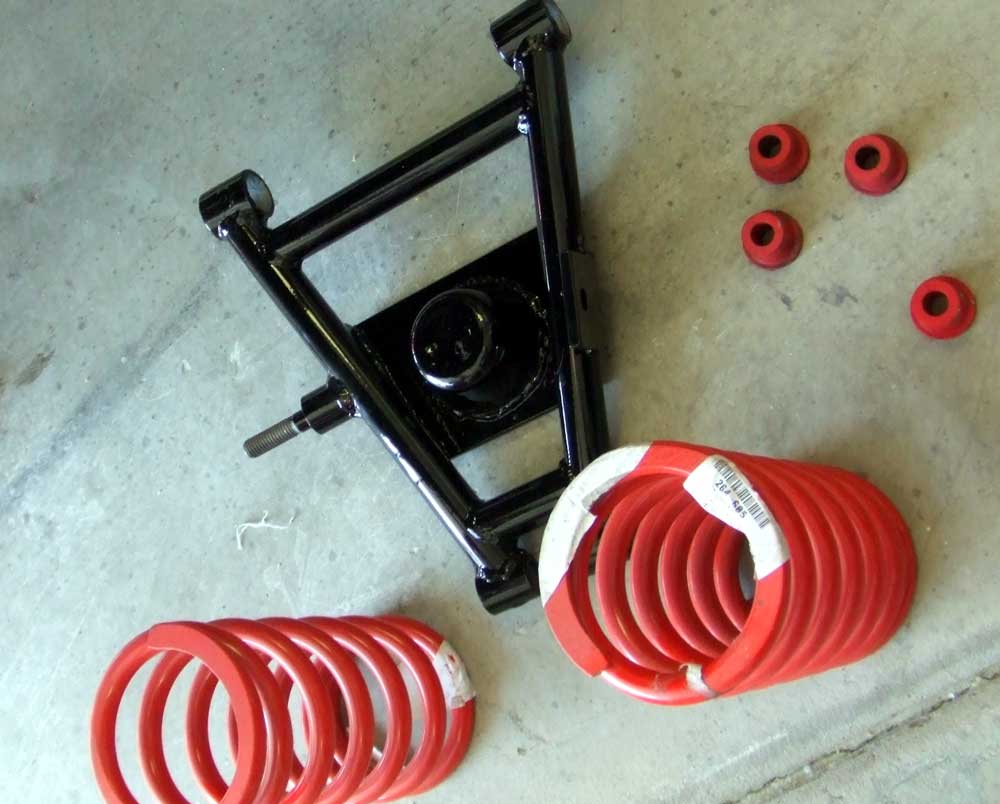 |
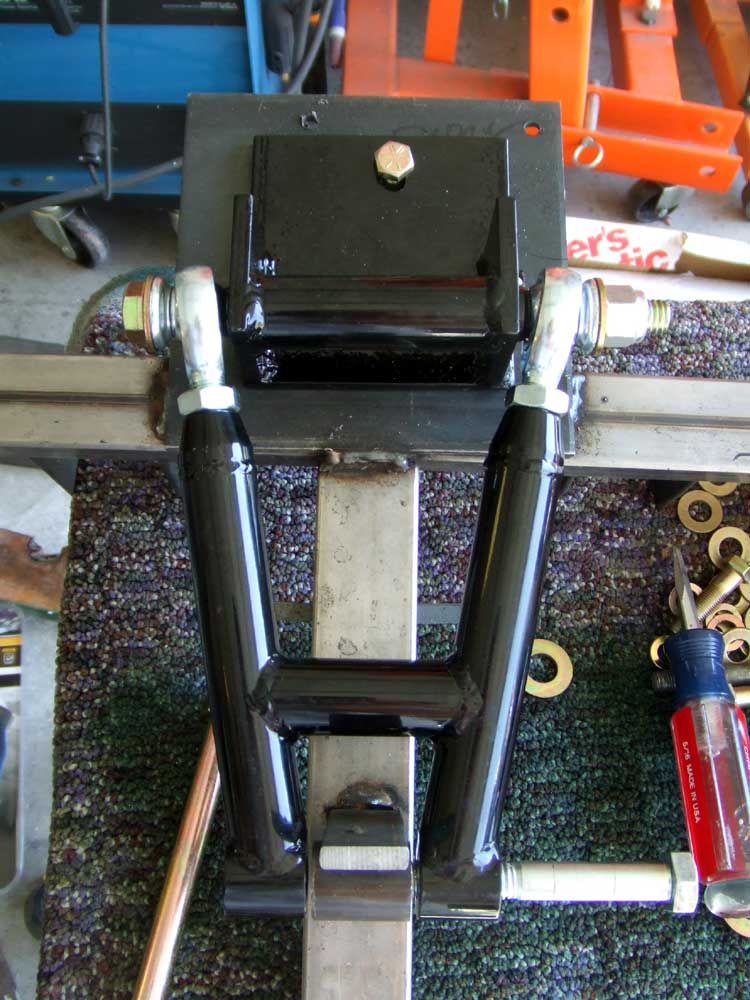
Here's the bottom a-frame with the new 340 pound/inch springs from Moss and the urethane bushings. |
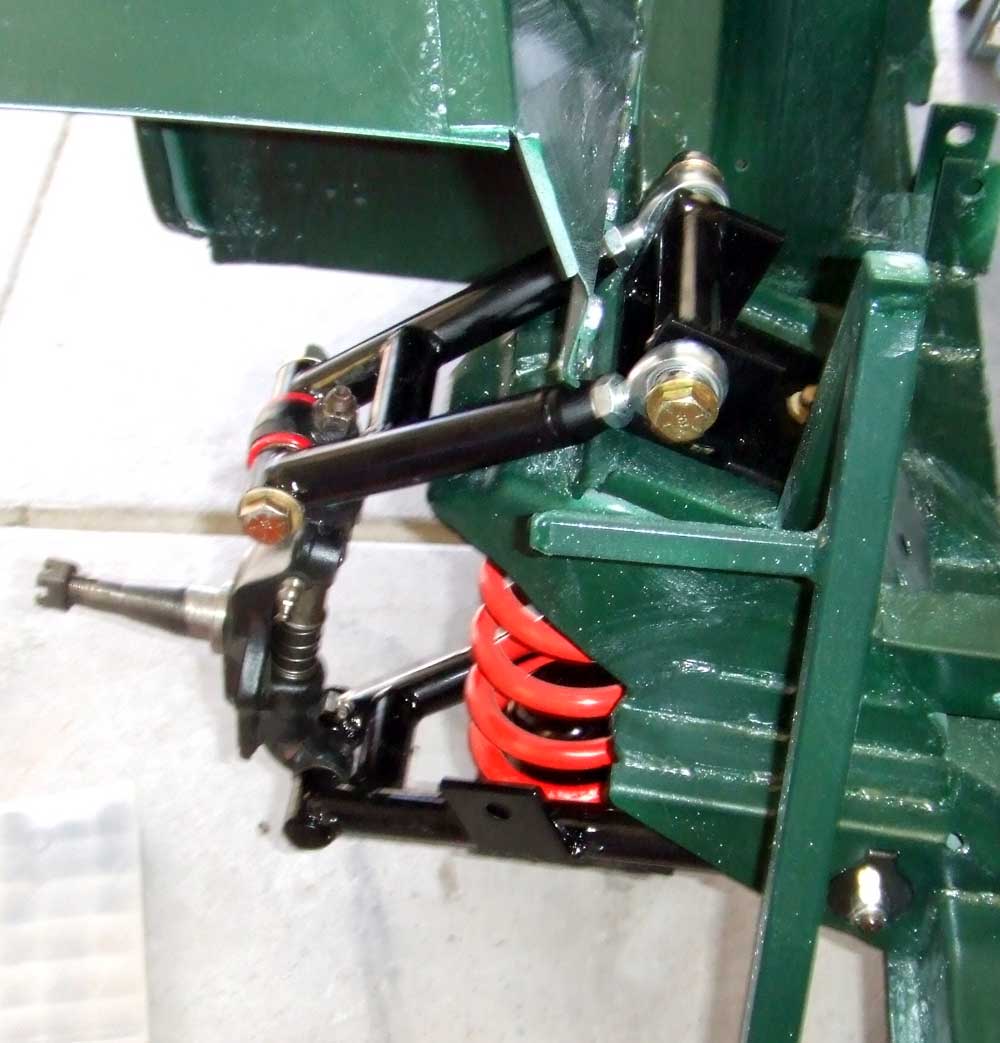 |
The whole mess assembled and ready for the hub |
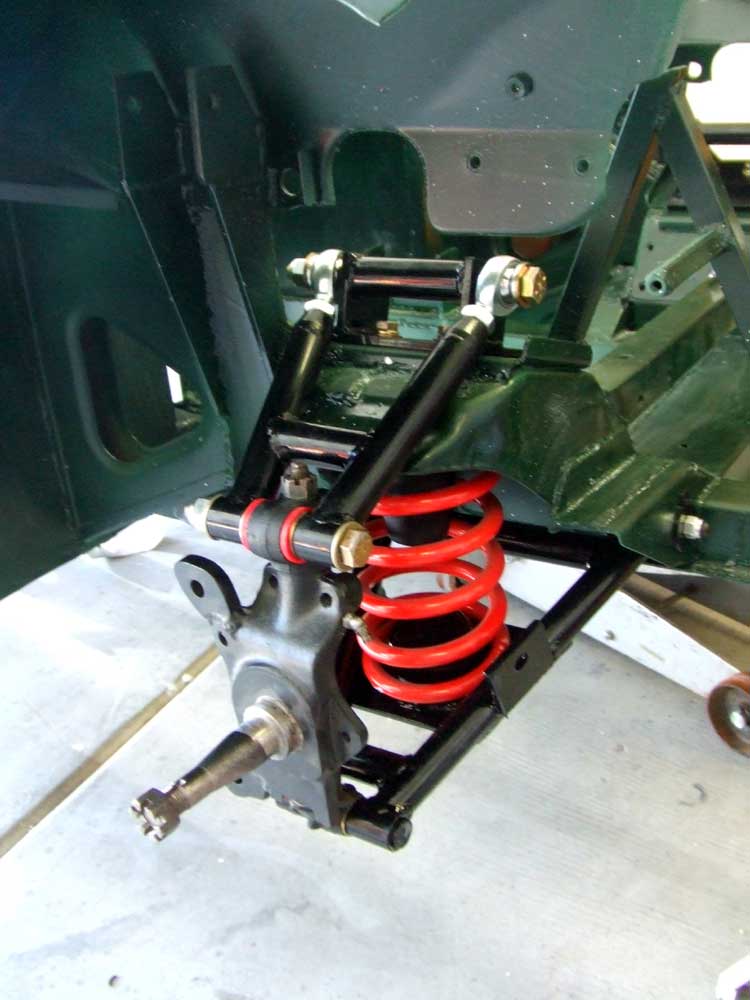 |
Another view of the assembled suspension. The lower threaded fulcrum pin is held captive by a flat-sided pin that must be carefully driven into the bottom of the swivel pin. |
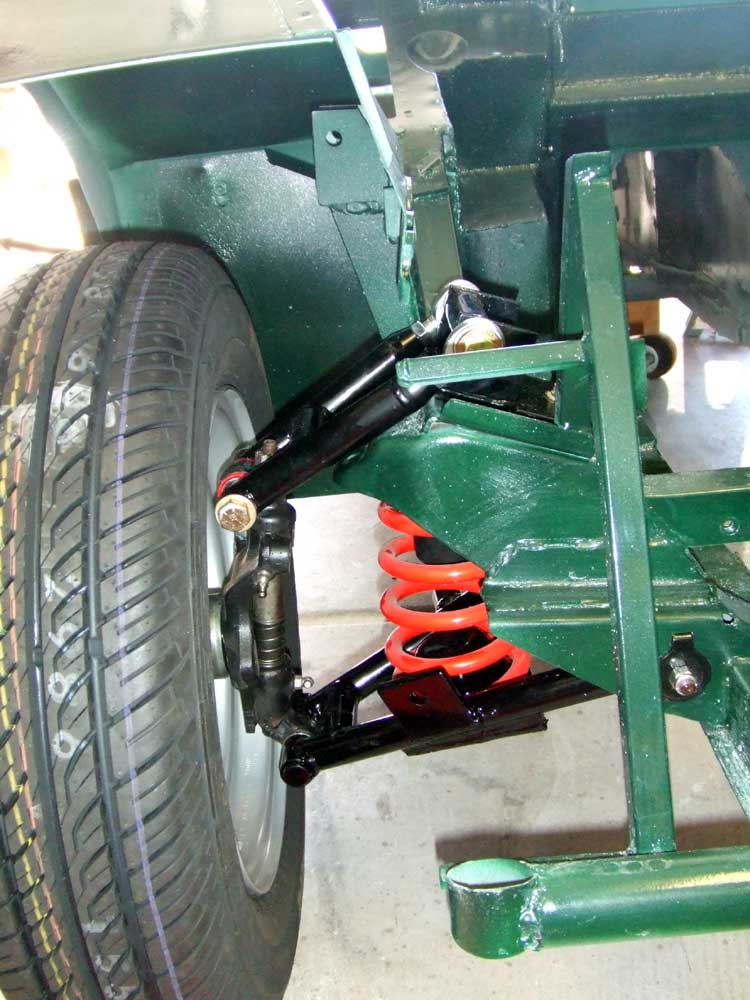 |
The front hubs are on and a wheel is in place. This is the first time that the car has been on wheels in a couple of years |
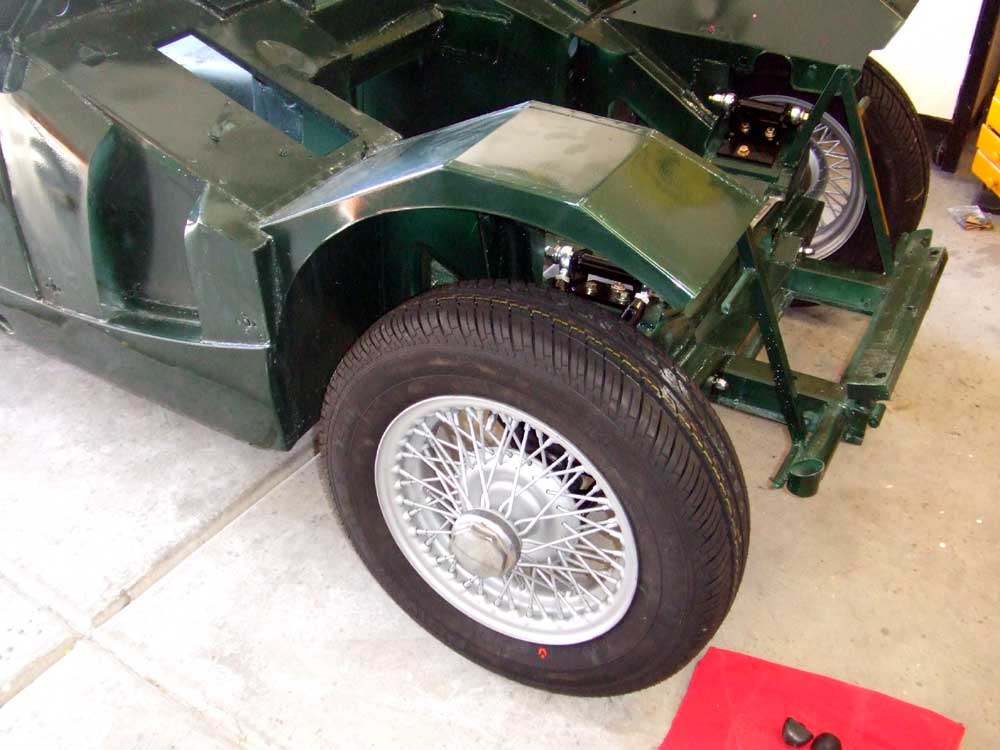 |
Here's another view of the wheels and tires on the car. I bought 4 new wheels over the last couple of years and took the best old one I had to be powder coated as a spare. The 5 tires, mounted and balanced with road-hazard guarantee, cost less than one tire for my truck. Not counting the tubes and rubber bands, of course. Next, after a trip to Copperstate Nut and Bolt for some more Grade 8 fasteners, is the rack and pinion, the steering arms and the front brakes, as well as the rear leafs and spring hangers. |