
The Mite
Part: 31
Finishing up the front suspension and beginning on the rear...
 |
The cheesy shocks
I used as mock-up were replaced with KYB gas shocks, KYB 343144 GR-2 Shock |
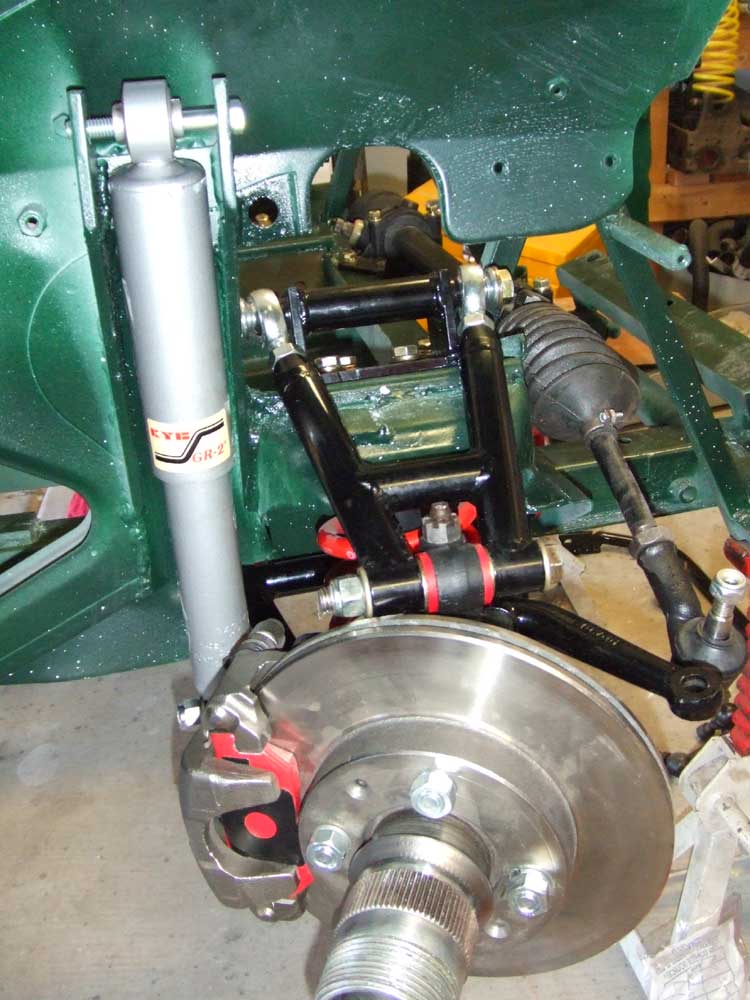 |
Here's the assembled front end. Everything fits and works great with no interference. I need to make/buy some bushings to center the shock in the upper mount, but other than that, everything is ready for plumbing the brakes. |
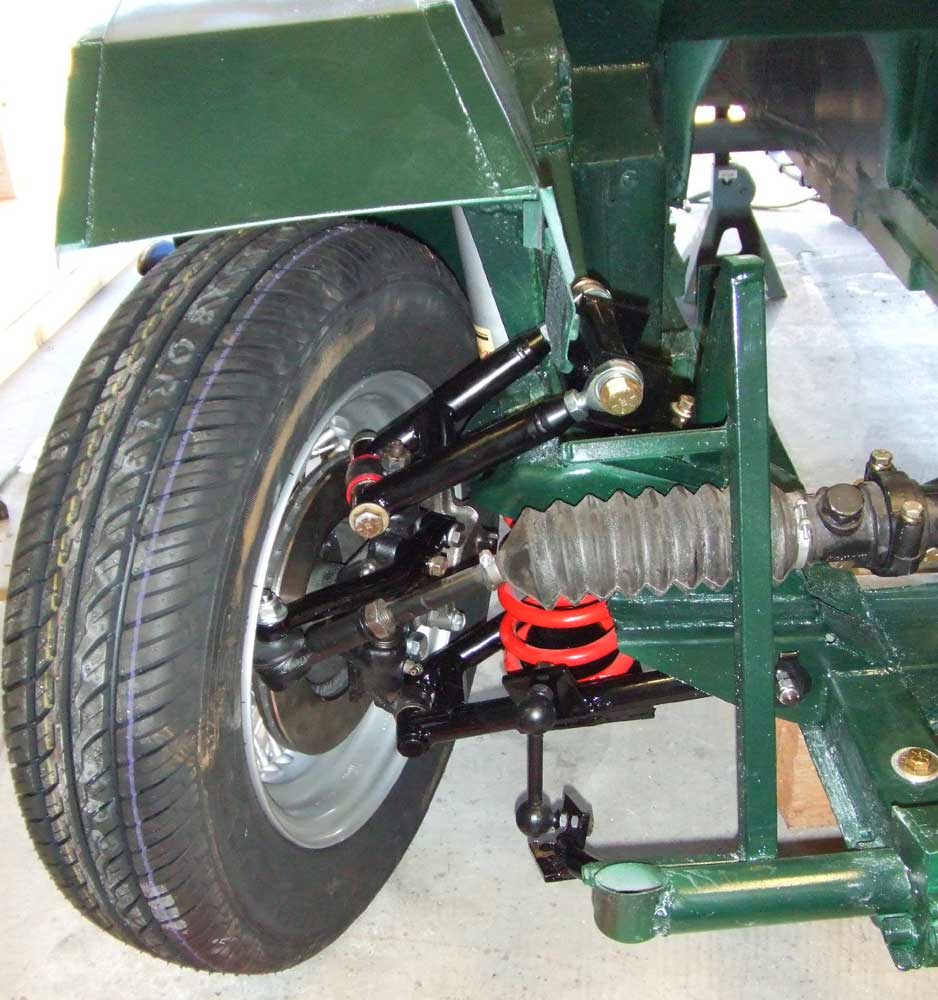 |
And I still need to put in the upper bump stops. I was going to re-use the stock bumpstops, but I think I'll get some nice urethane bolt-in jobs. The rack was rebuilt earlier and I got some new tie rod ends on ebay a while ago. |
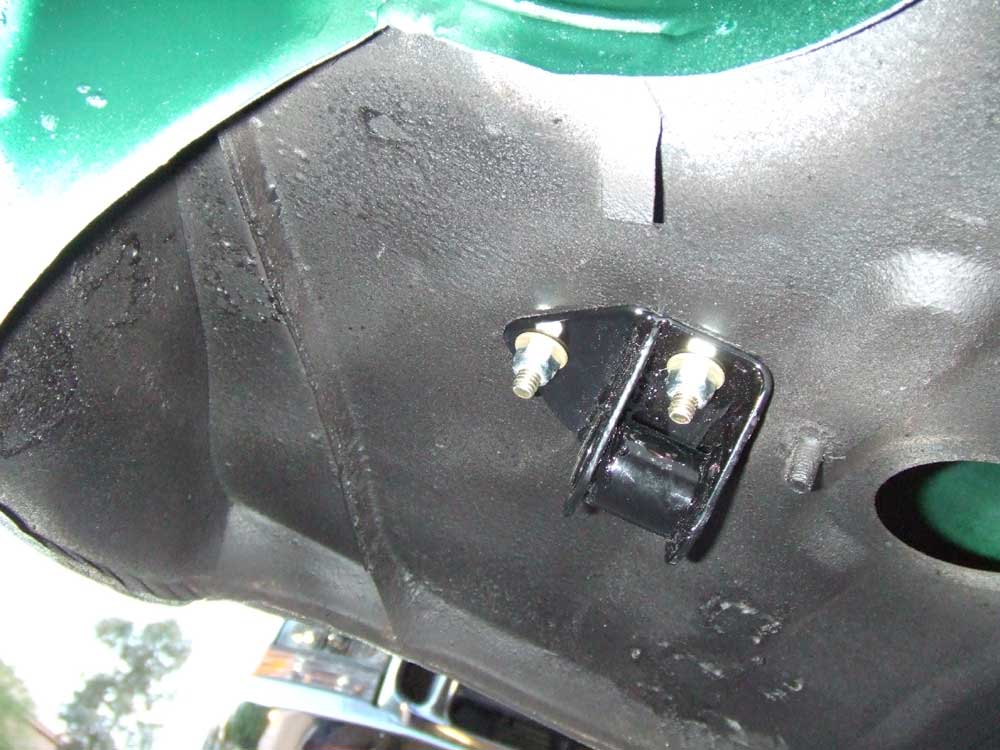 |
Now I begin the back. The spring hangers are back from the powder coater and secured with grade 8 hardware. yea, it's overkill, but it sure looks nice! |
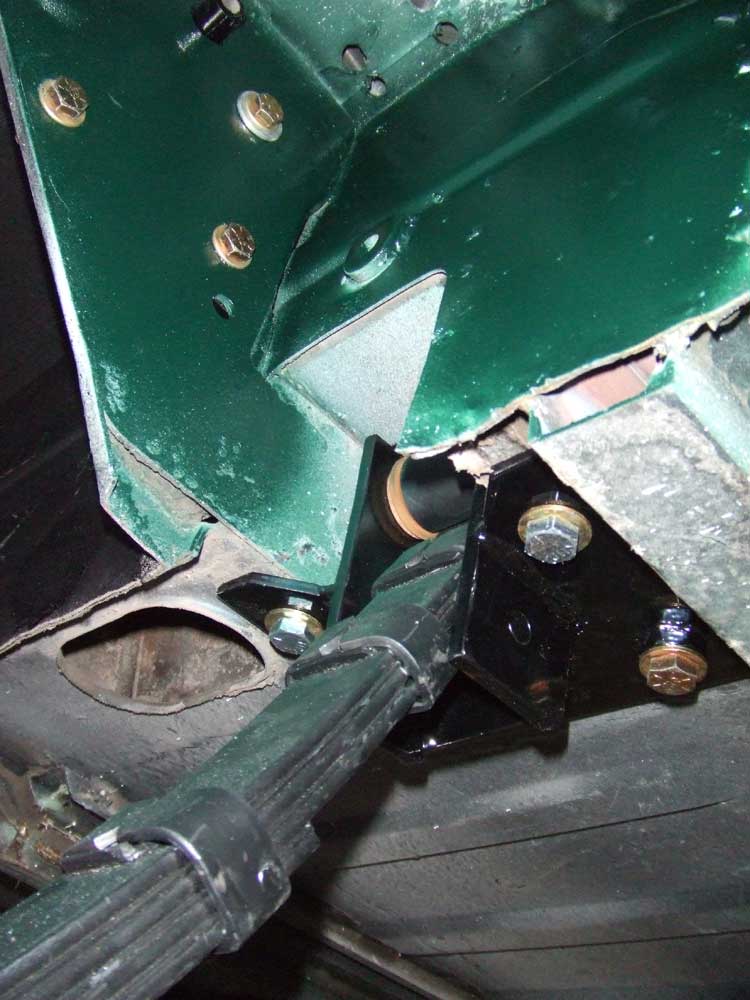 |
The front spring hangers are also installed, and remember: the spring goes on first, then install the hanger. |
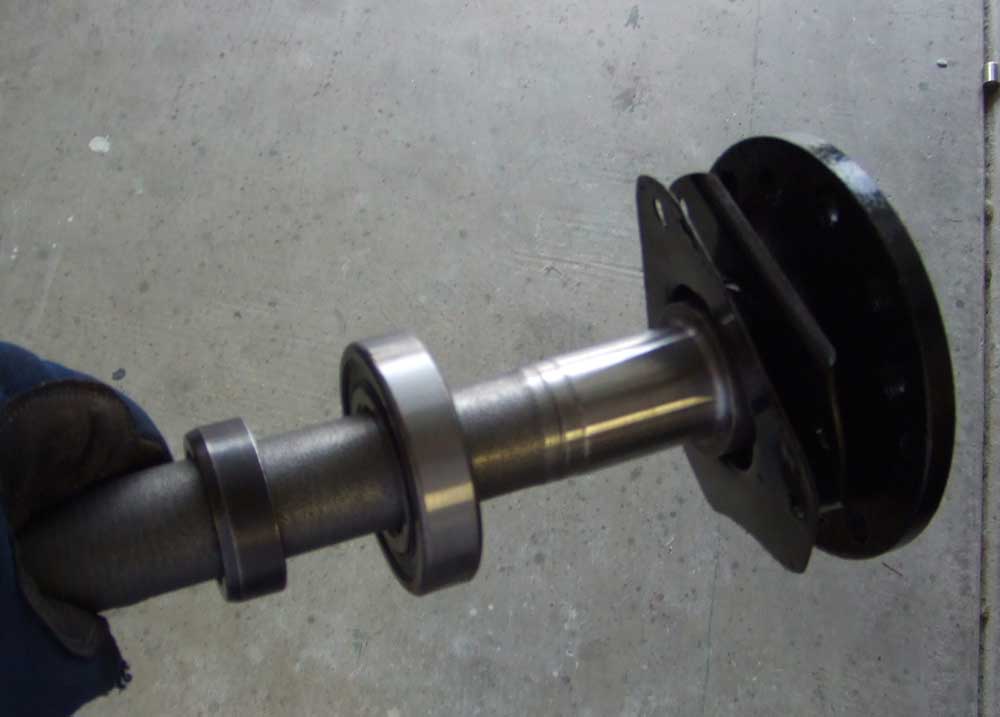 |
Now I've got to prep the mazda rear for installation. First, new bearings must be pressed onto the newly shortened axles. I remembered to put on the cut-down backing plates and the inner spacer. the collar nearest my hand is what secures the bearing on the shaft. |
 |
I used a piece of pipe the
diameter of the collar and pressed the mess on to the axle with the 20 ton press |
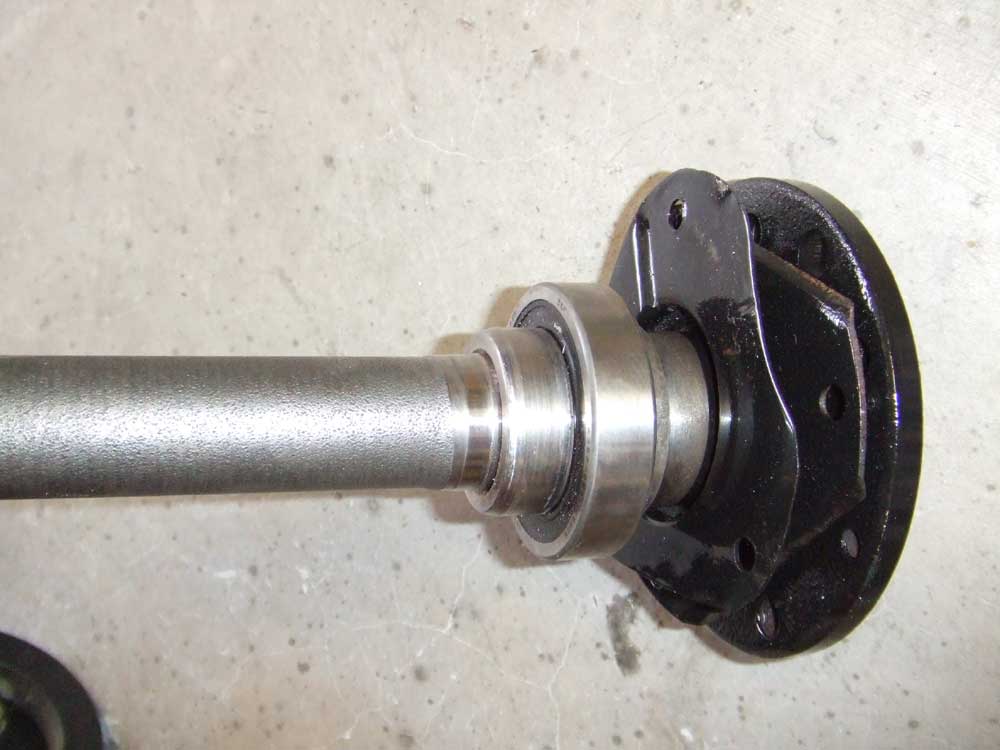 |
Here's the assembled axle |
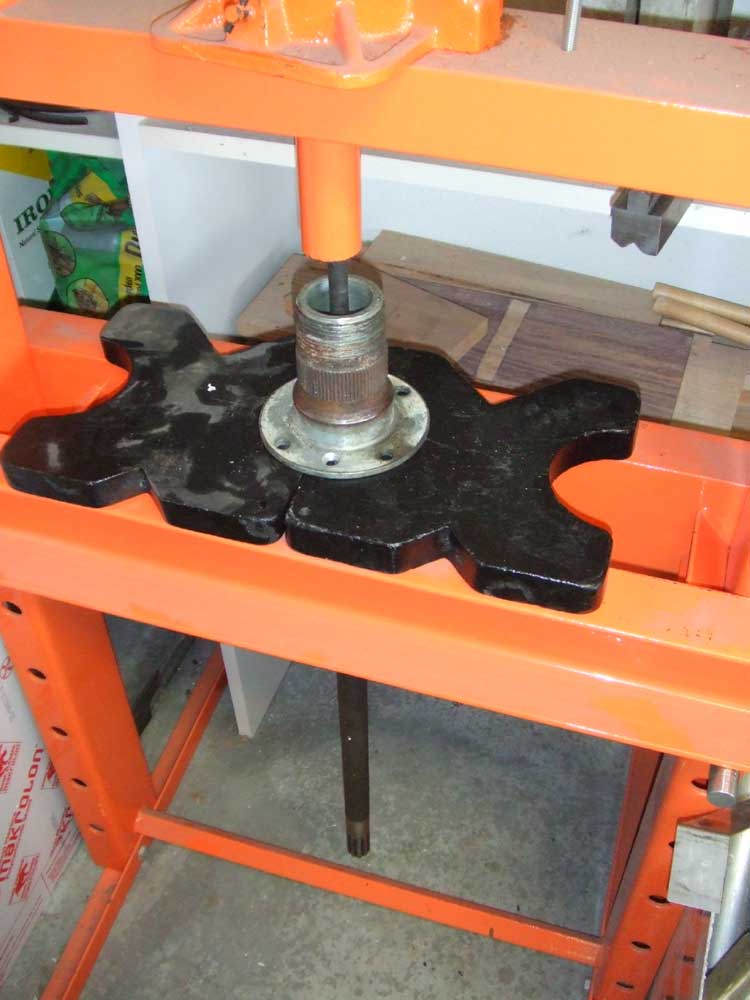 |
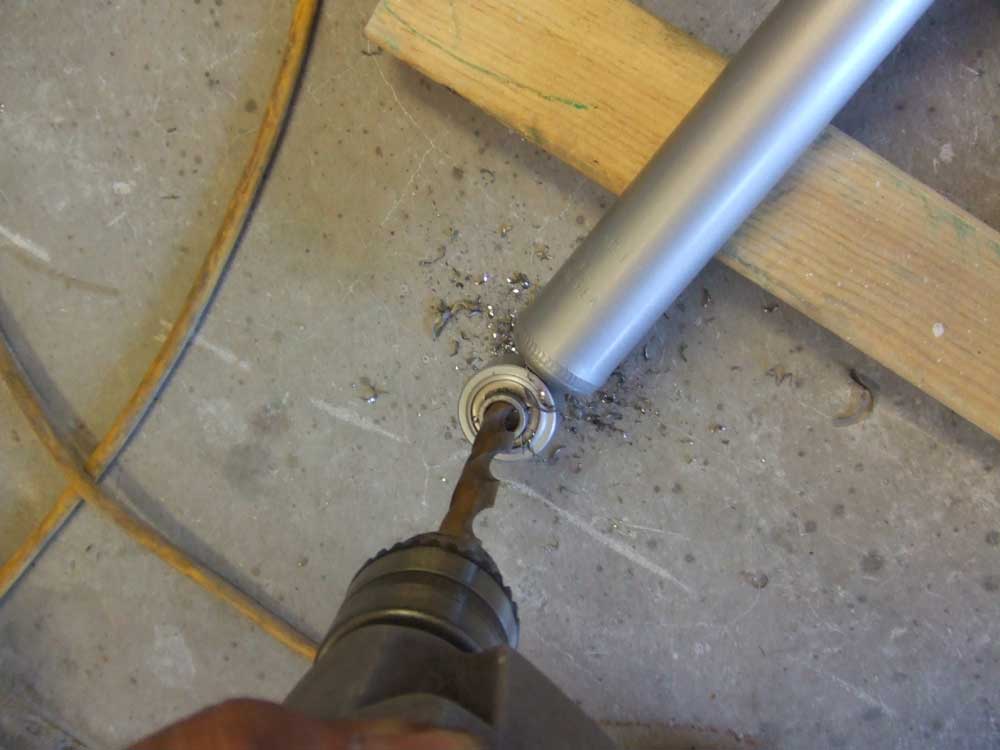
I also needed to press out the stock axles from the splined hubs so I could use the hubs on the mazda rear. They were pressed out using the press and a steel rod. |
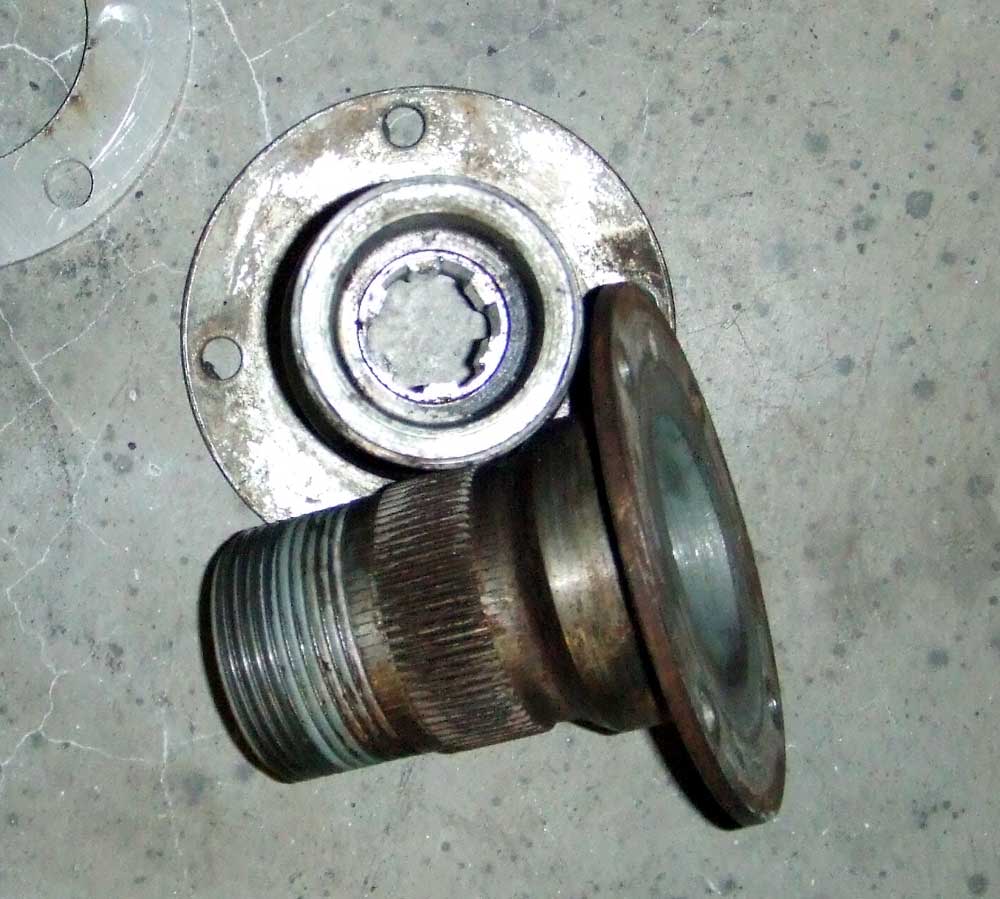 |
This is what the hubs looked like after the axles were pressed out. They will bolt to the mazda axles. |
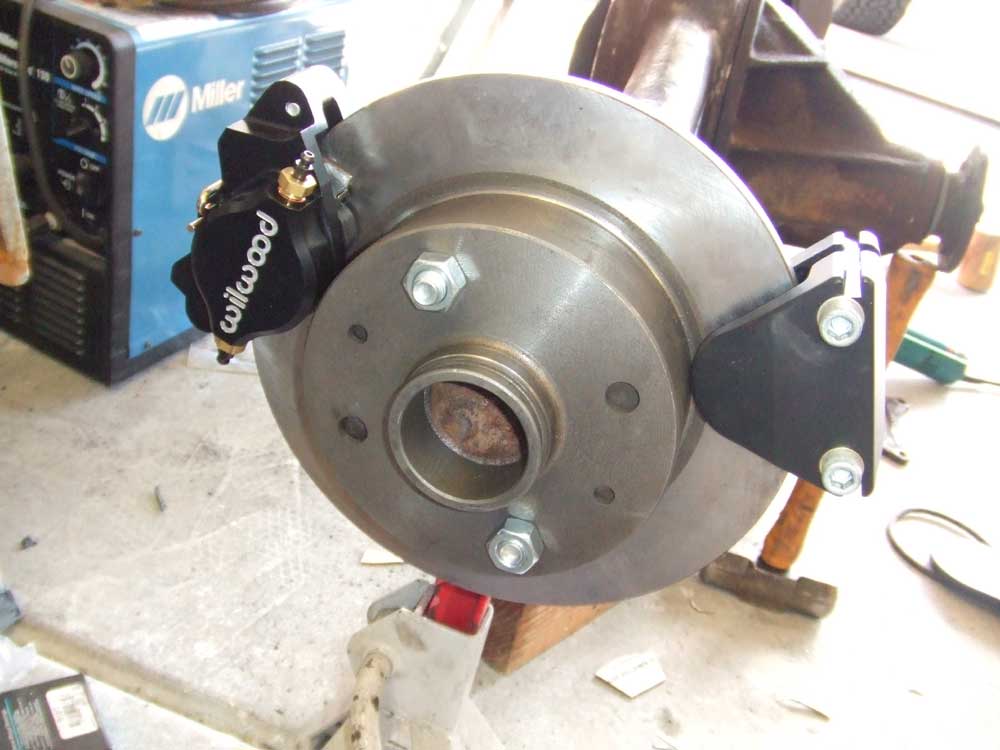 |
Now it's time to make the brakes work. The stock Mazda calipers and brackets hit the leaf springs, so I'm going to use a set of Wilwood Dynalite single calipers and a Mechanical Spot caliper for the parking/emergency brake |
 |
This is the location that I want the calipers, so now I have to fab up some mounts for them |
 |
Luckily, the caliper box makes great cardboard template material. Here's the template... |
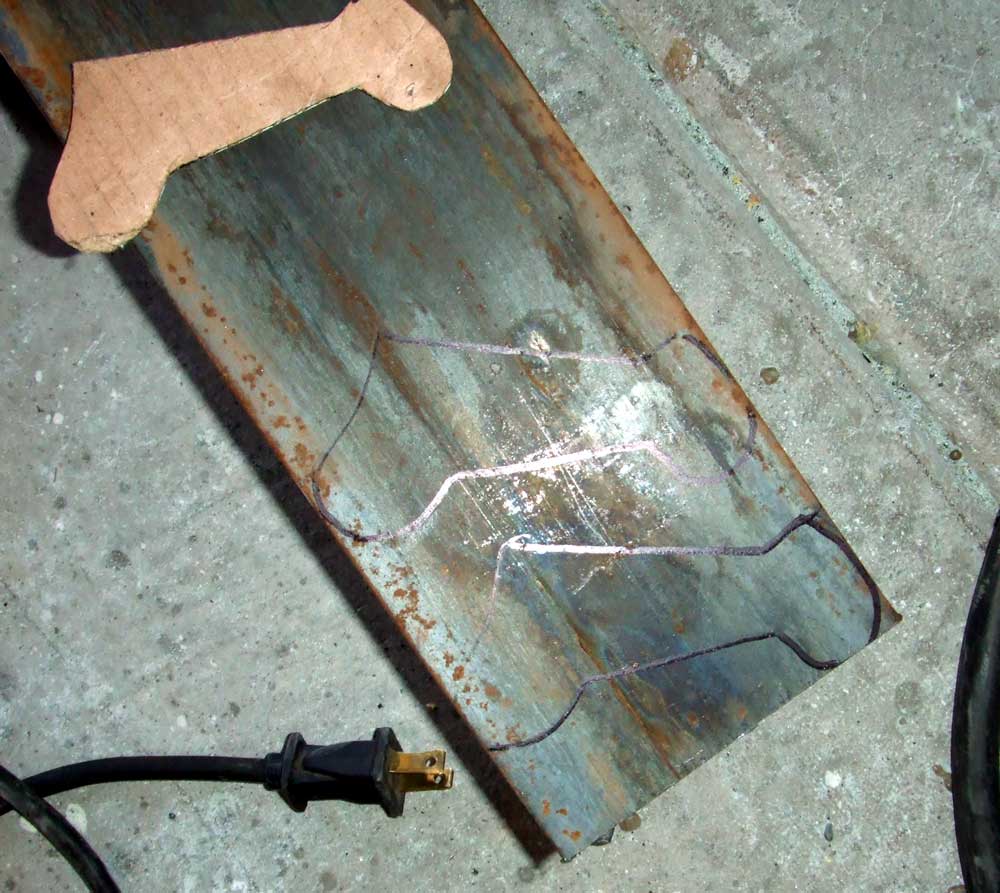 |
The template was placed on a piece of 3/16 stock and traced. I cut the brackets with the plasma cutter and finished them with a flap-disc on the hand grinder |
 |
Then, a couple of holes were drilled, and the result is shown in this picture |
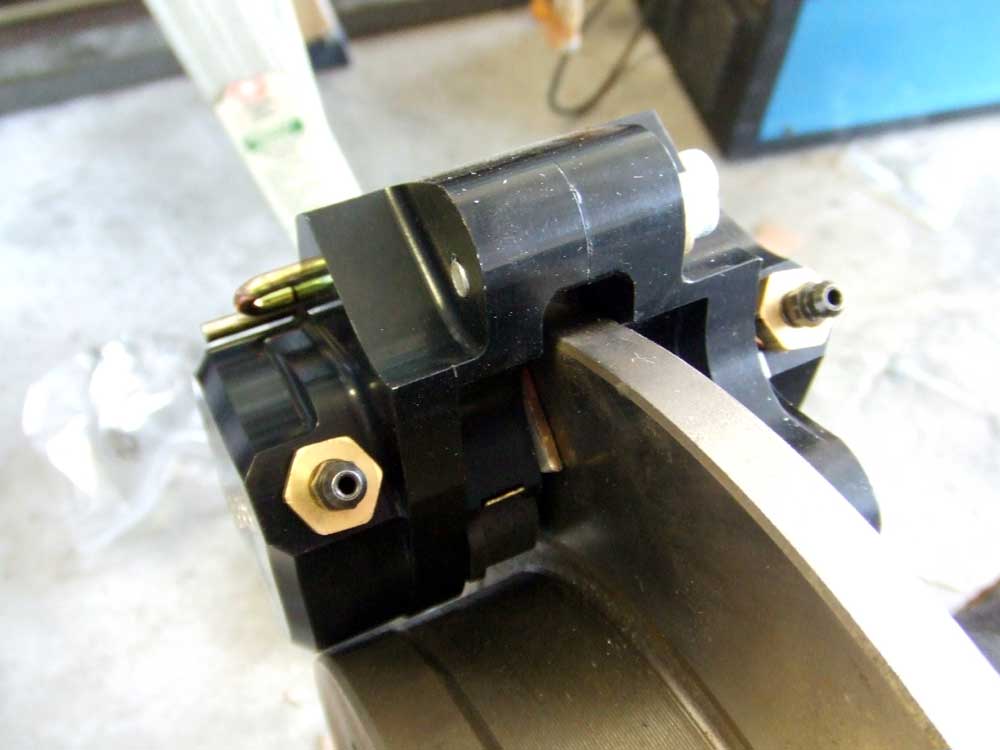 |
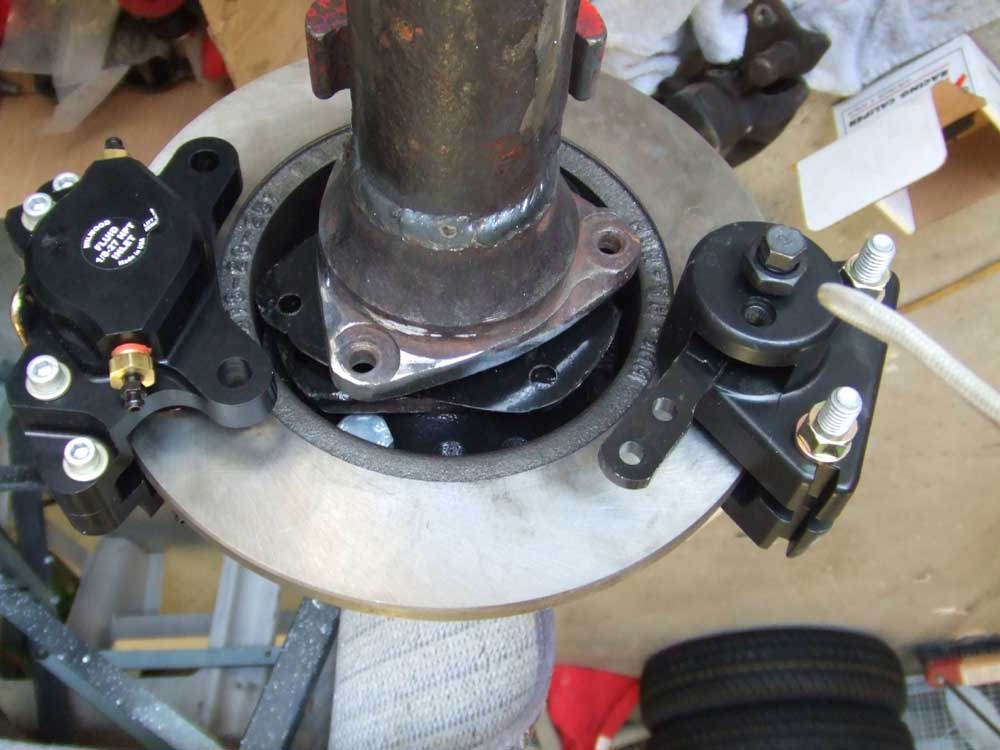
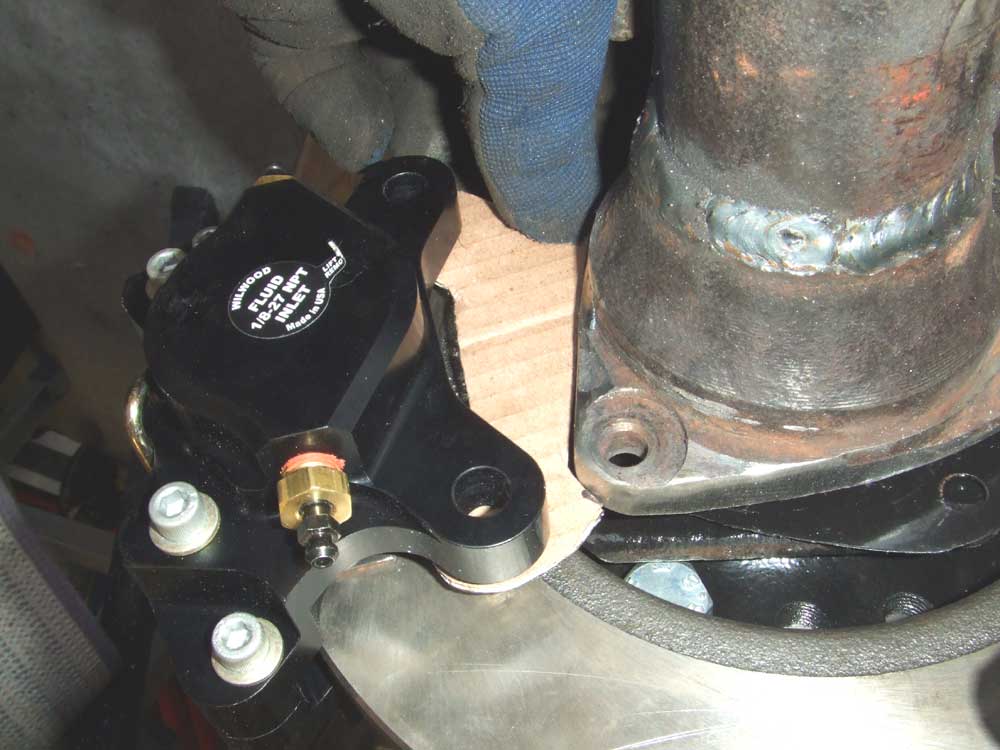
The caliper needs to be centered and squared on the disc. I used a couple of steel shims that caused the caliper to be a nice press-fit onto the rotor to align everything |
 |
Then, everything was tacked and then the caliper removed and the axles, too. Once the rearend was empty, I tacked both sides to prevent the brackets from moving and then welded them to the rearend. The Two-prong bracket is for the mechanical spot caliper, it's a floater and needs to be able to move on its mount. More on the spot caliper next time. |